Here is the first of two treat containers I created for Demos Galore, I followed a video over at CreateWithDee.com. One change I would make to her version is to use the Tear & Tape next to the folds and not the edges of the sides, it doesn’t gap then.
I needed to get treats for the basket and since I was only going to Costco before Demos Galore, I have a really big bag of Ghiradelli to work through. 🙂
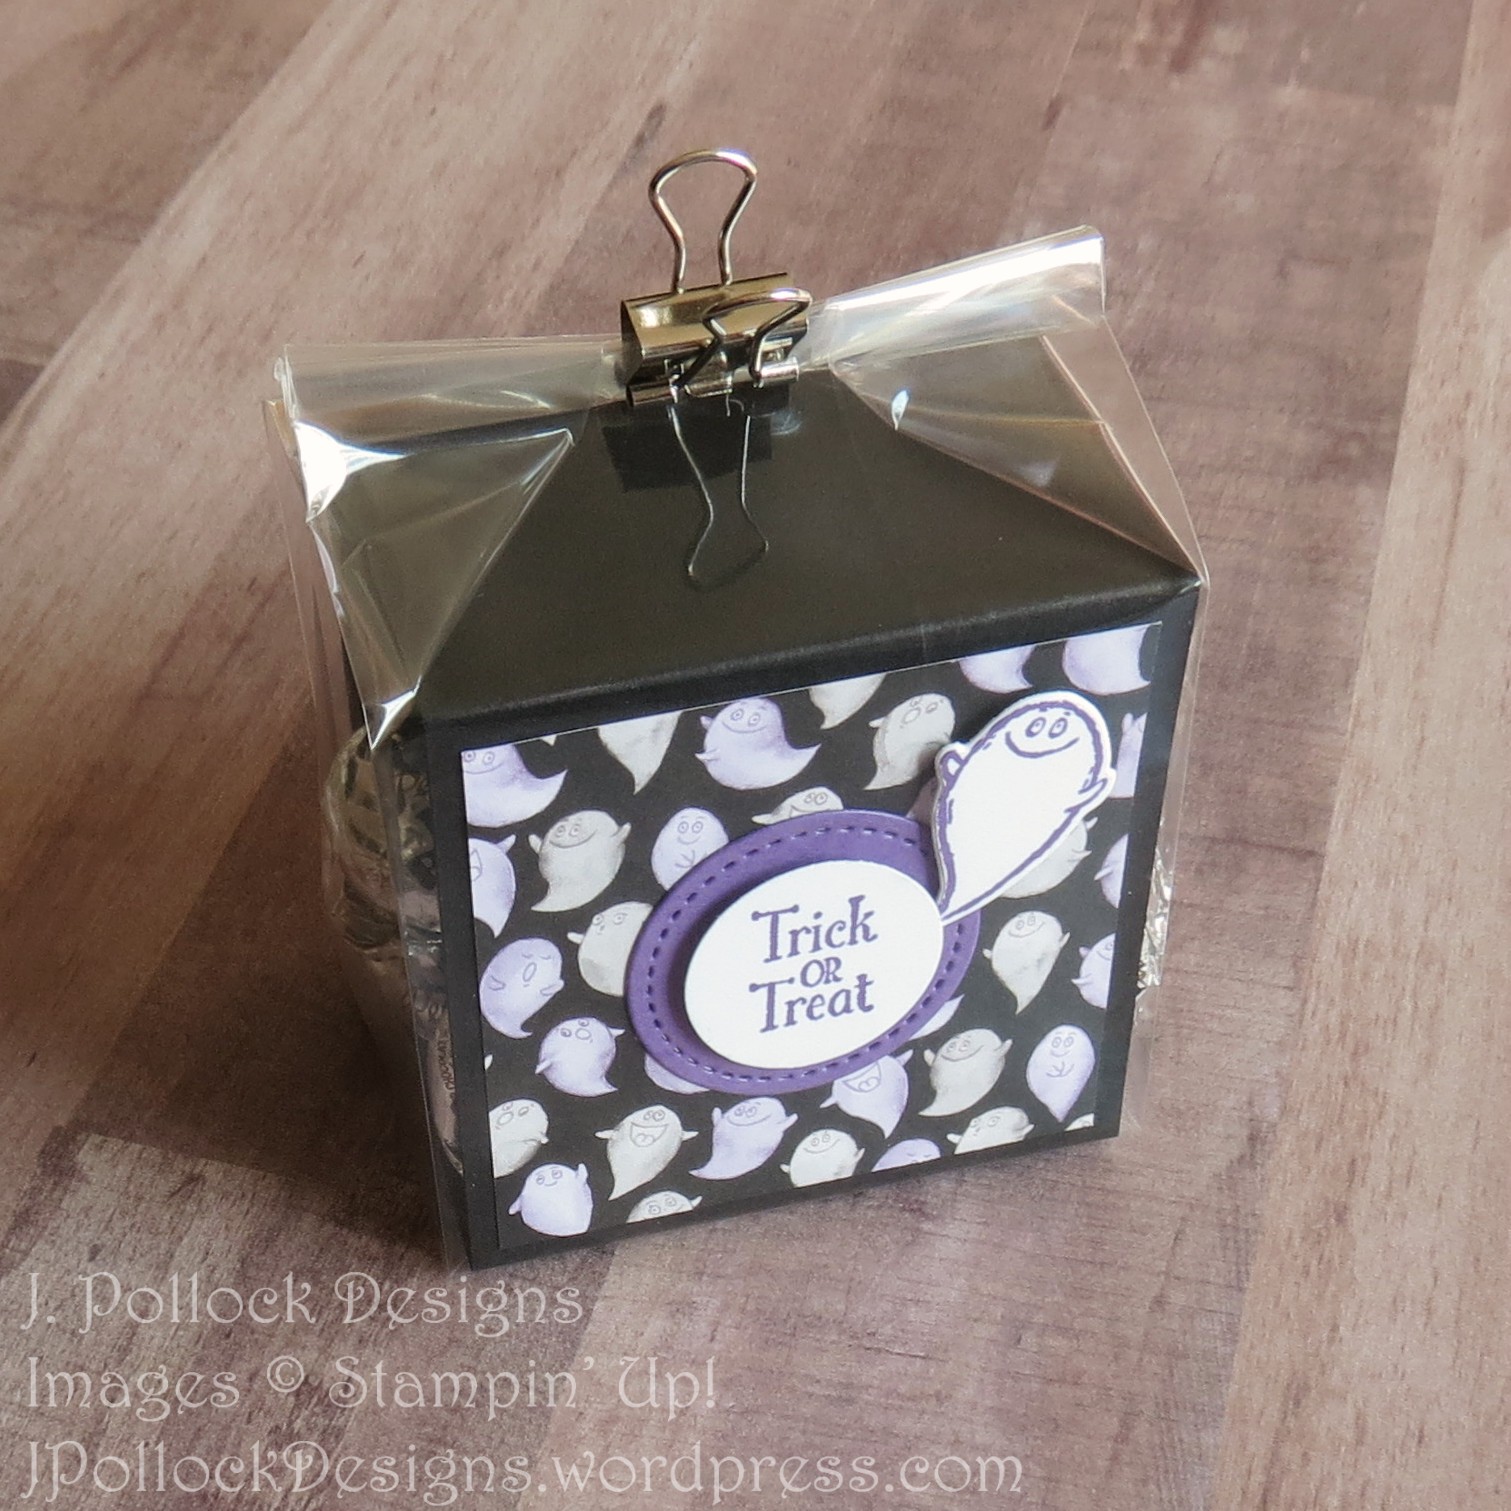
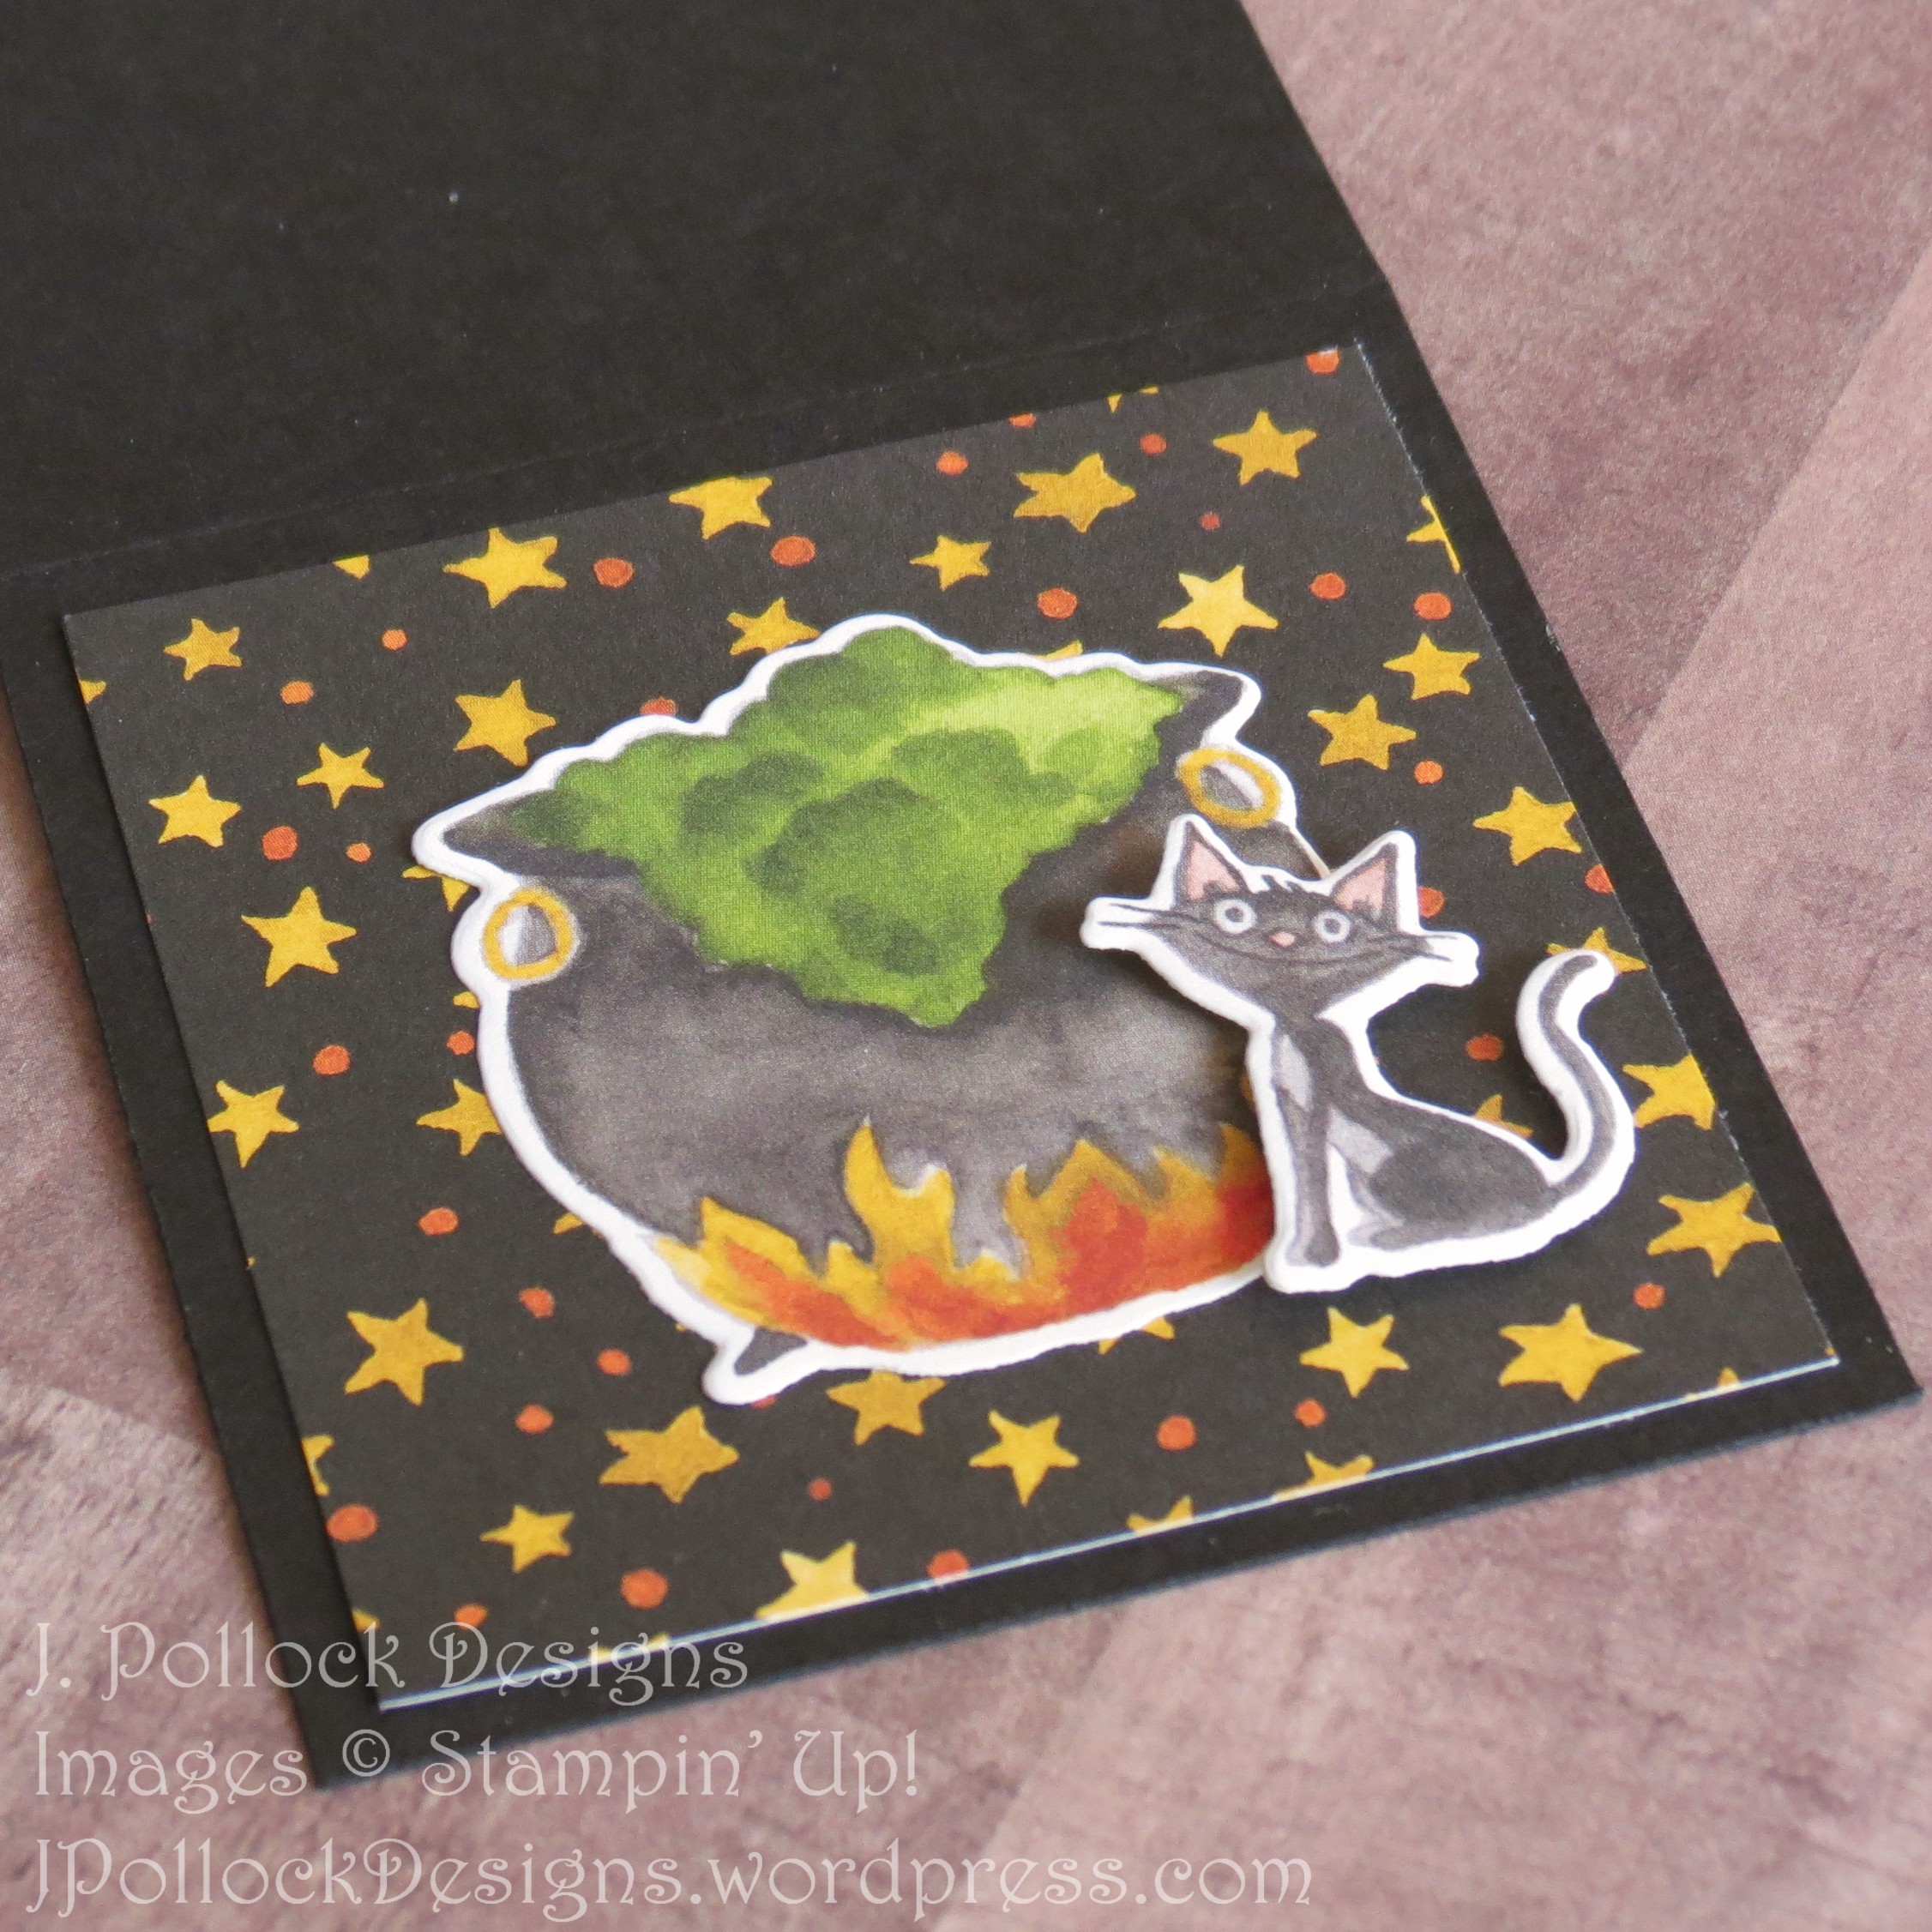
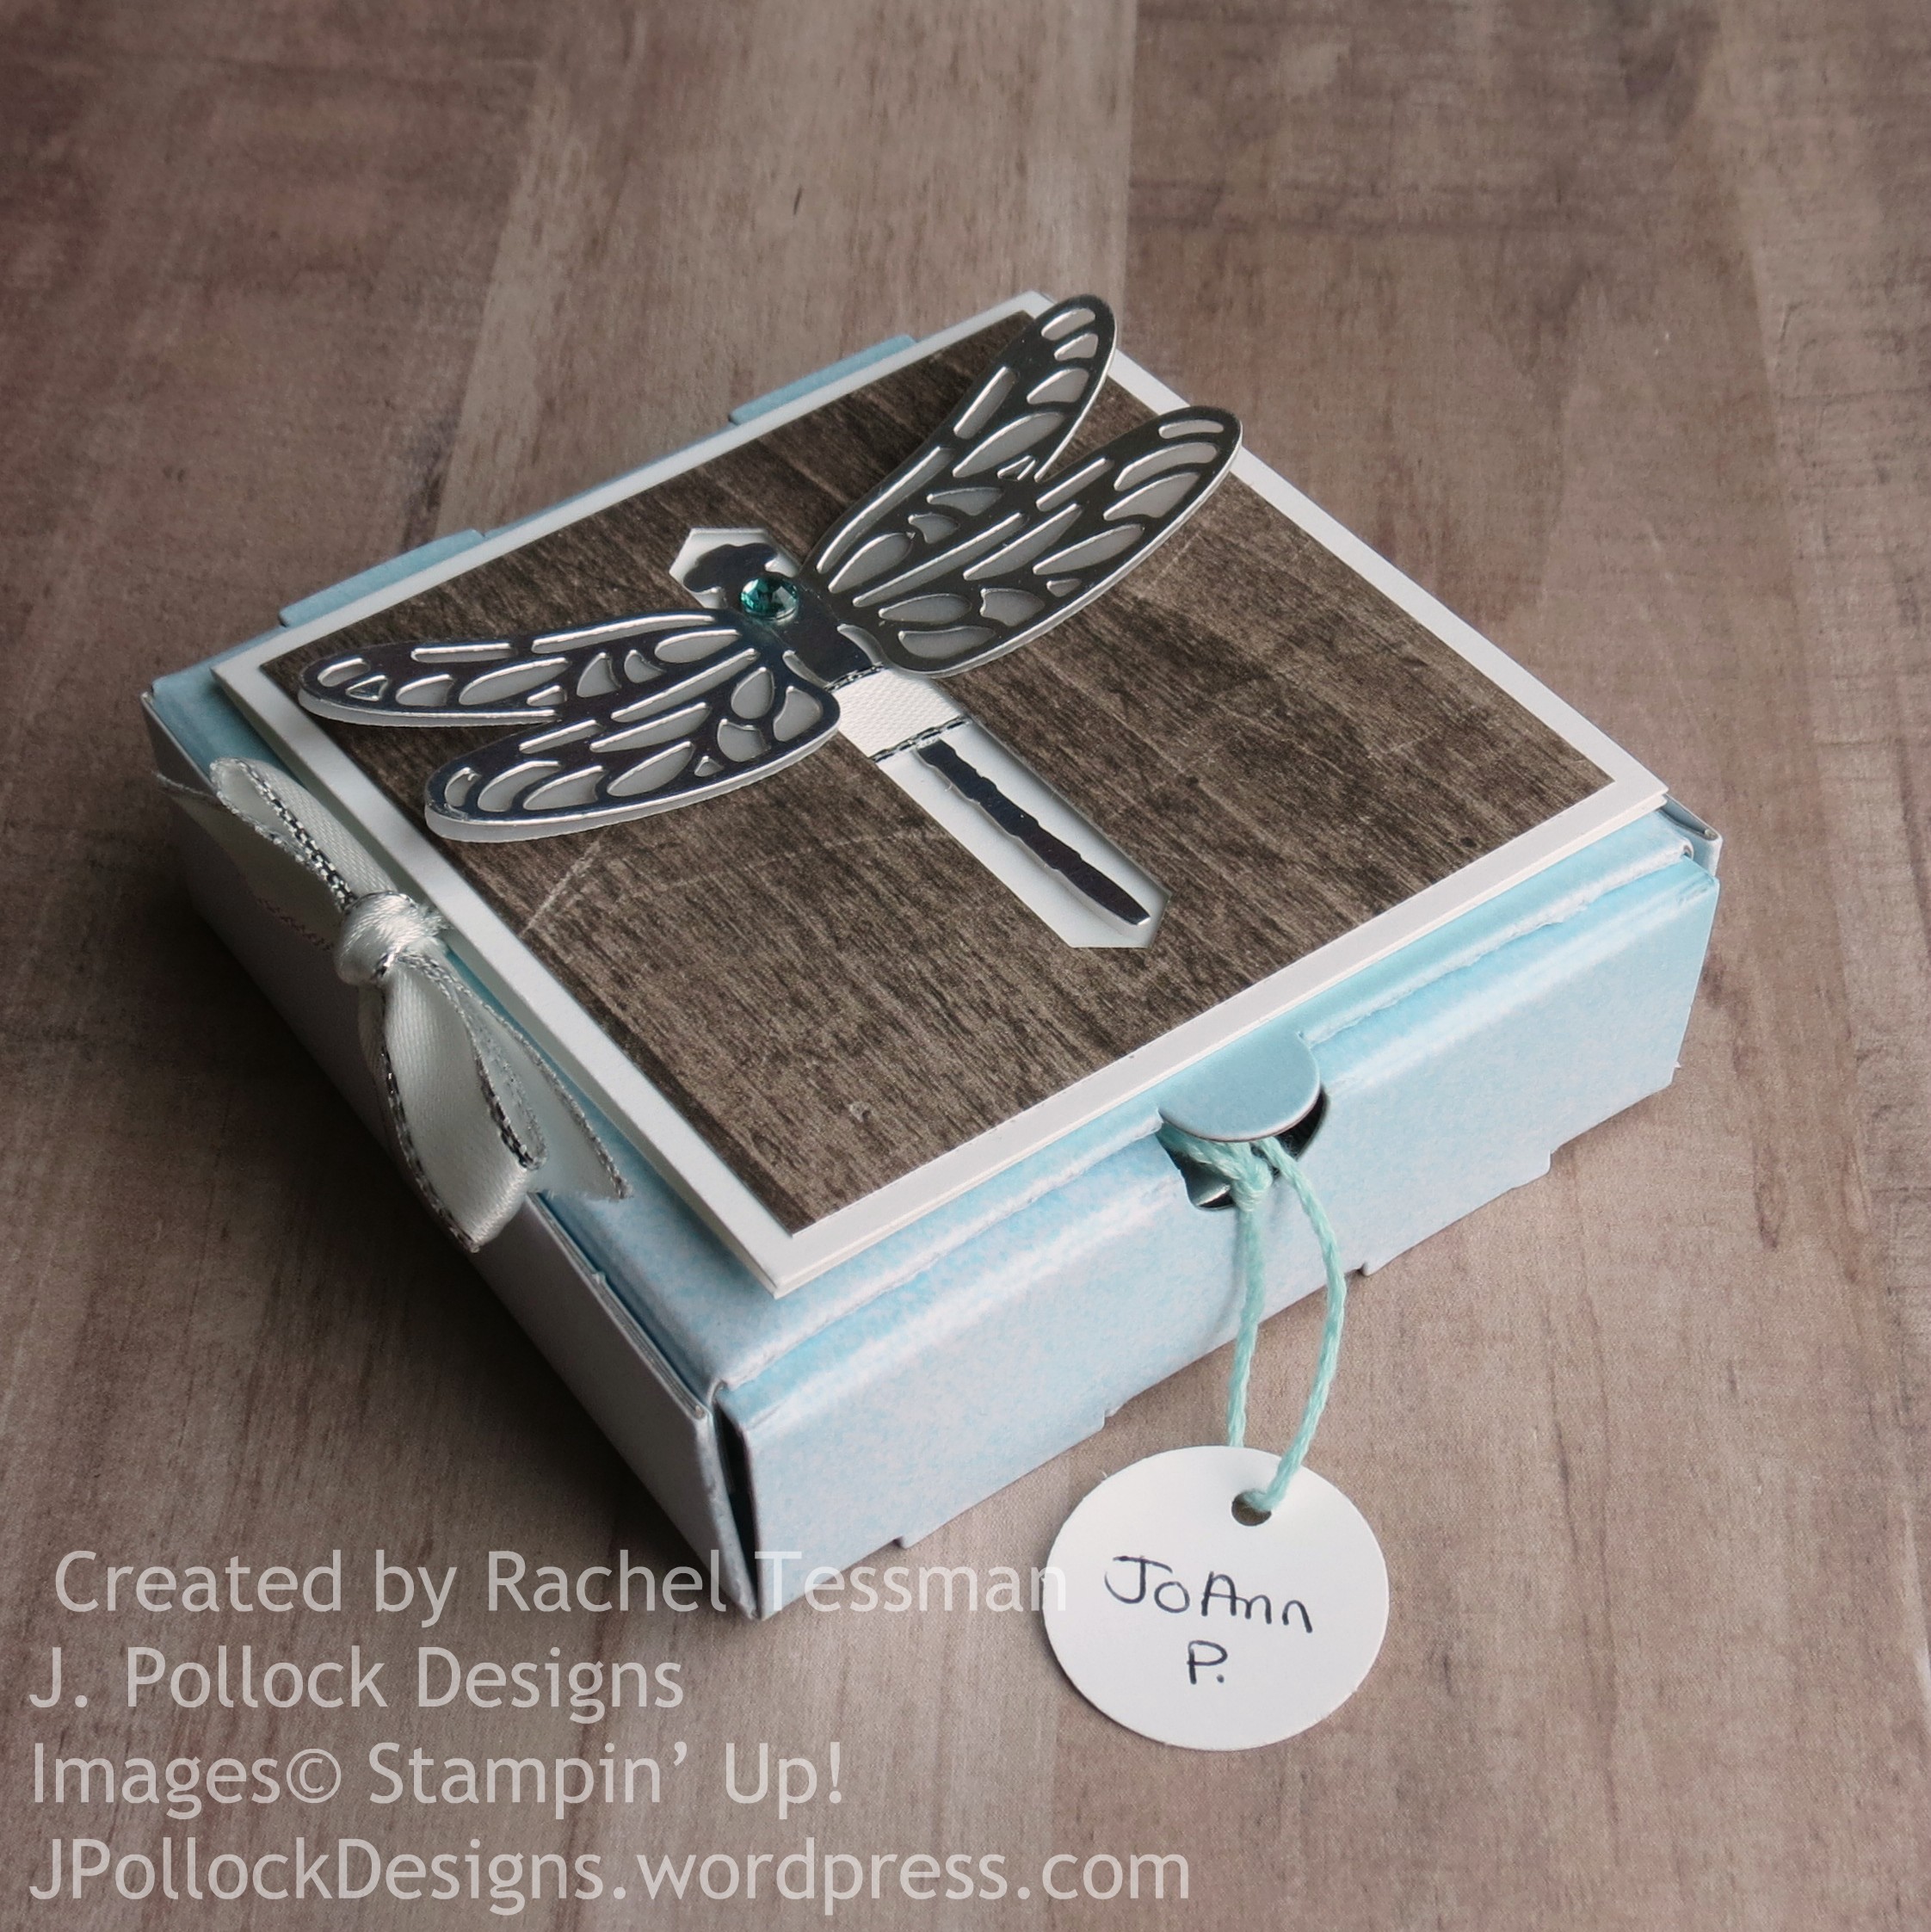
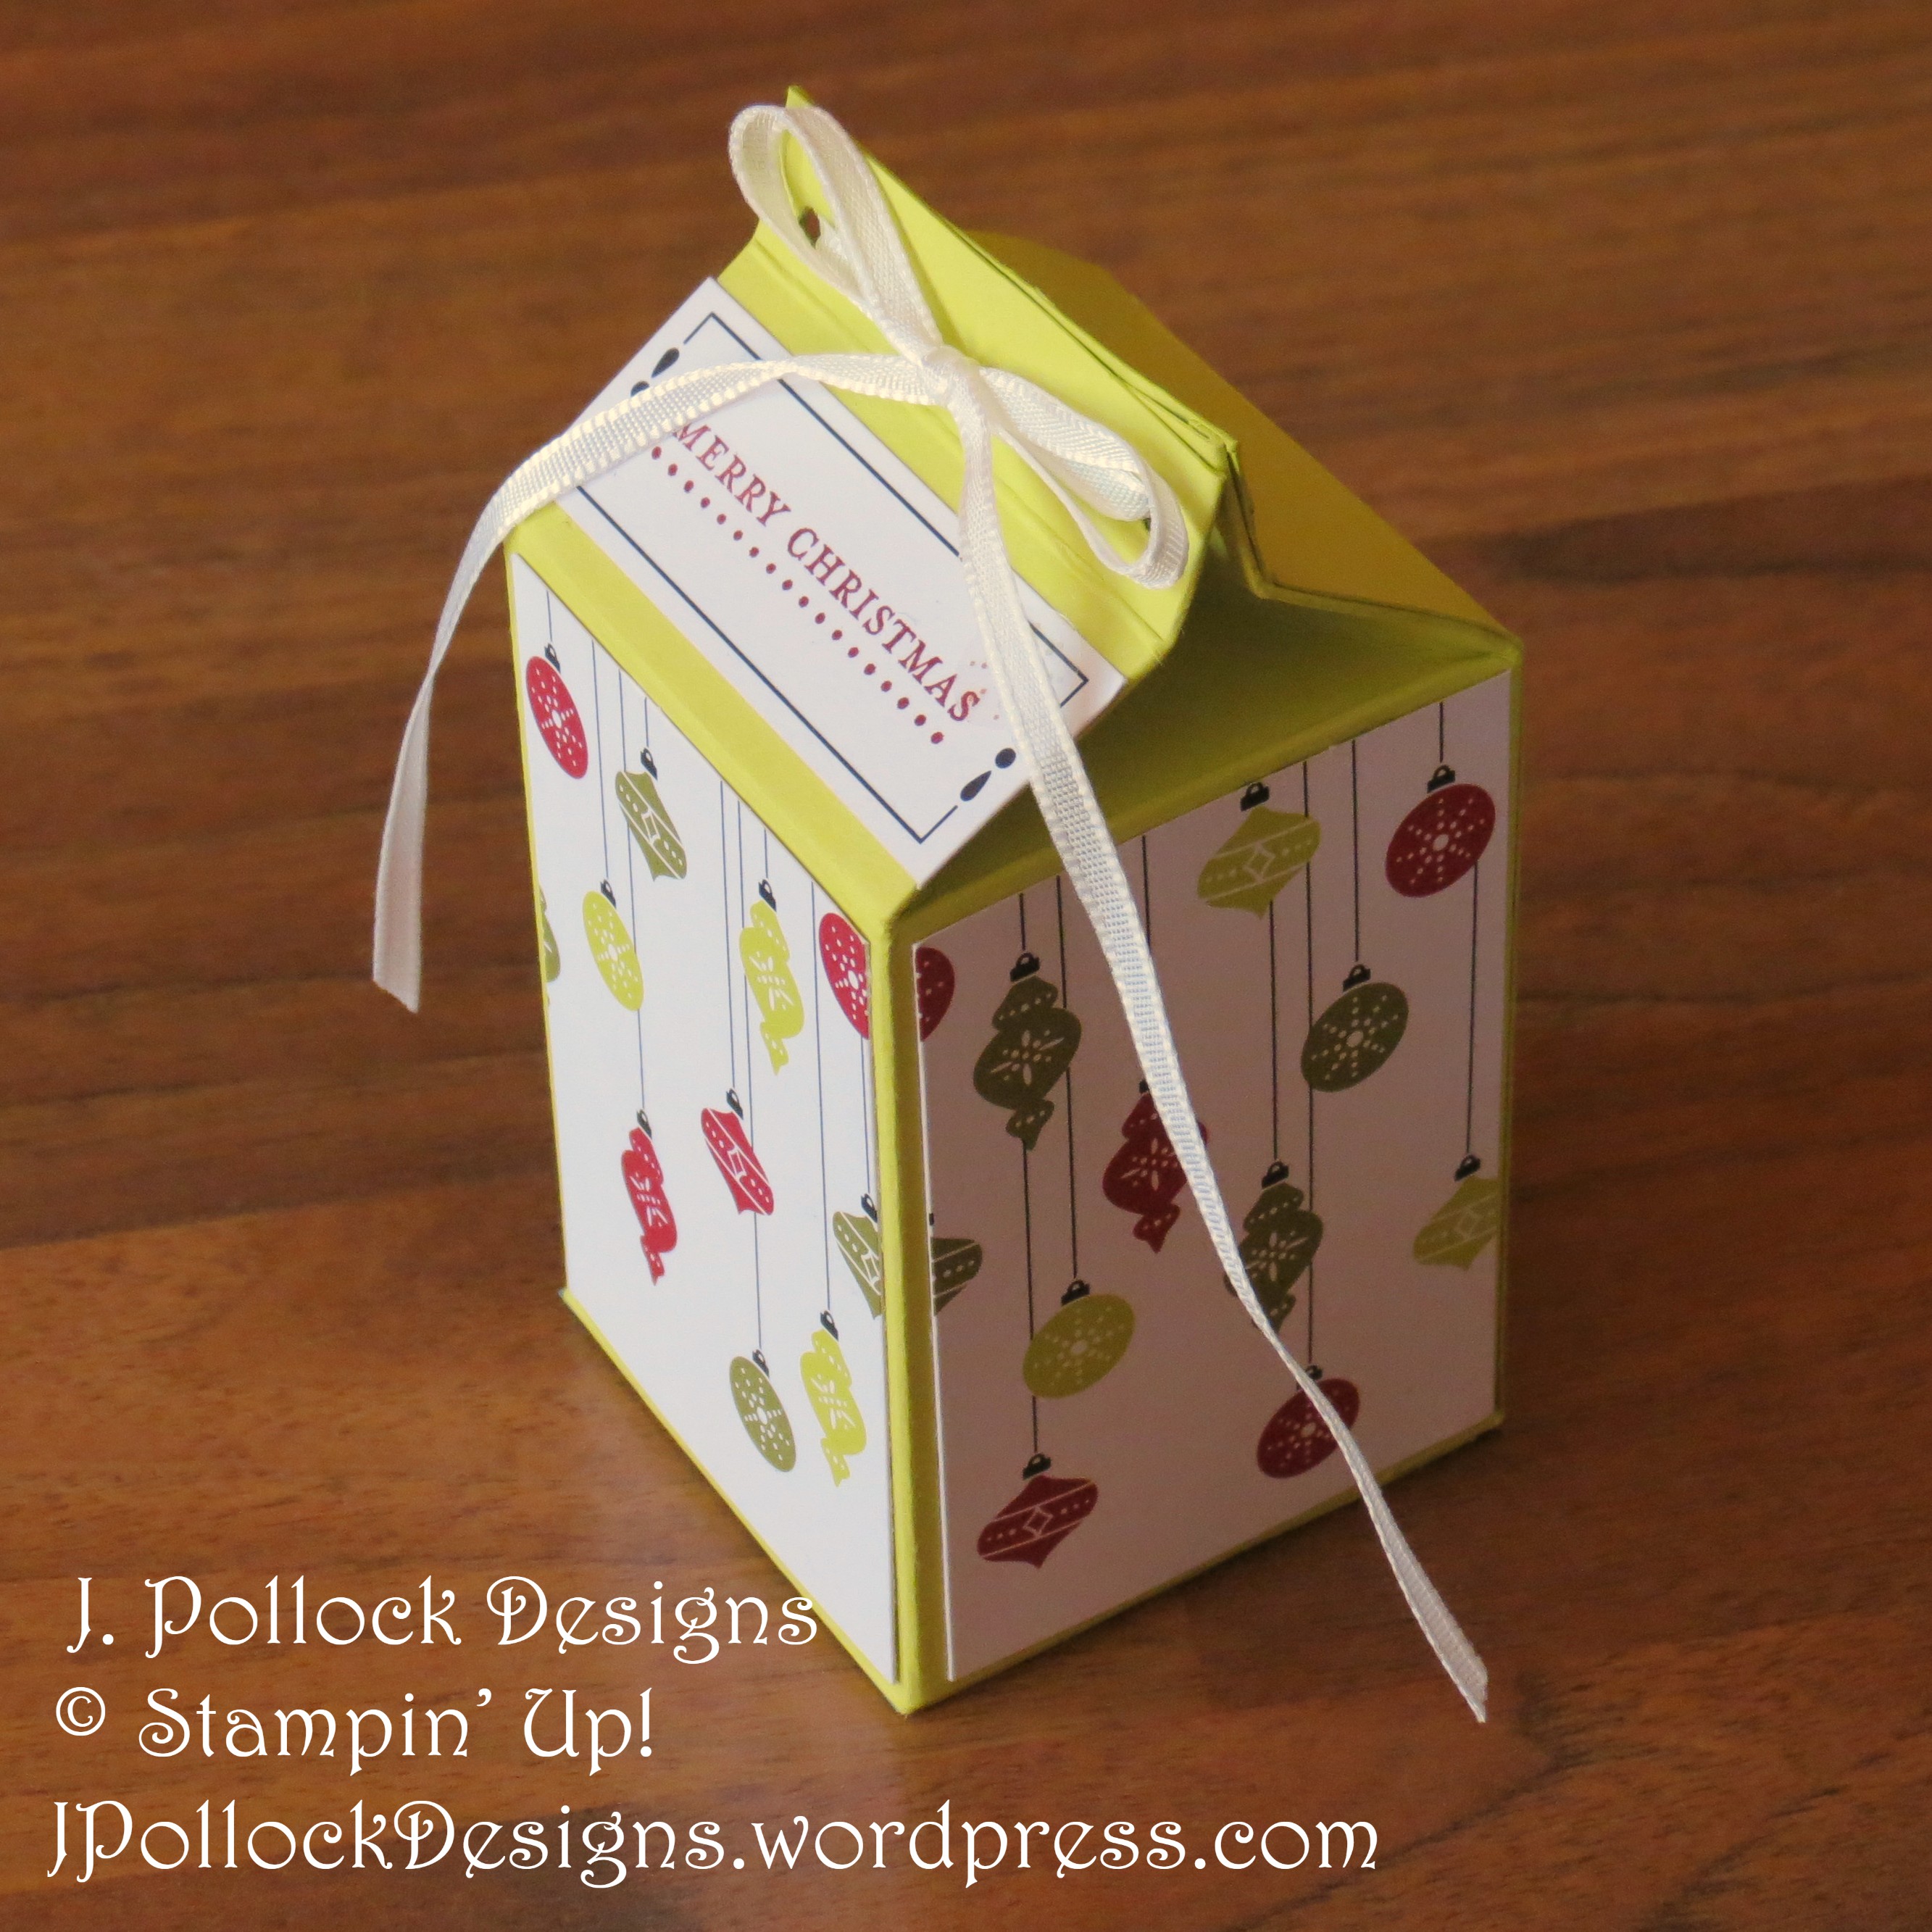
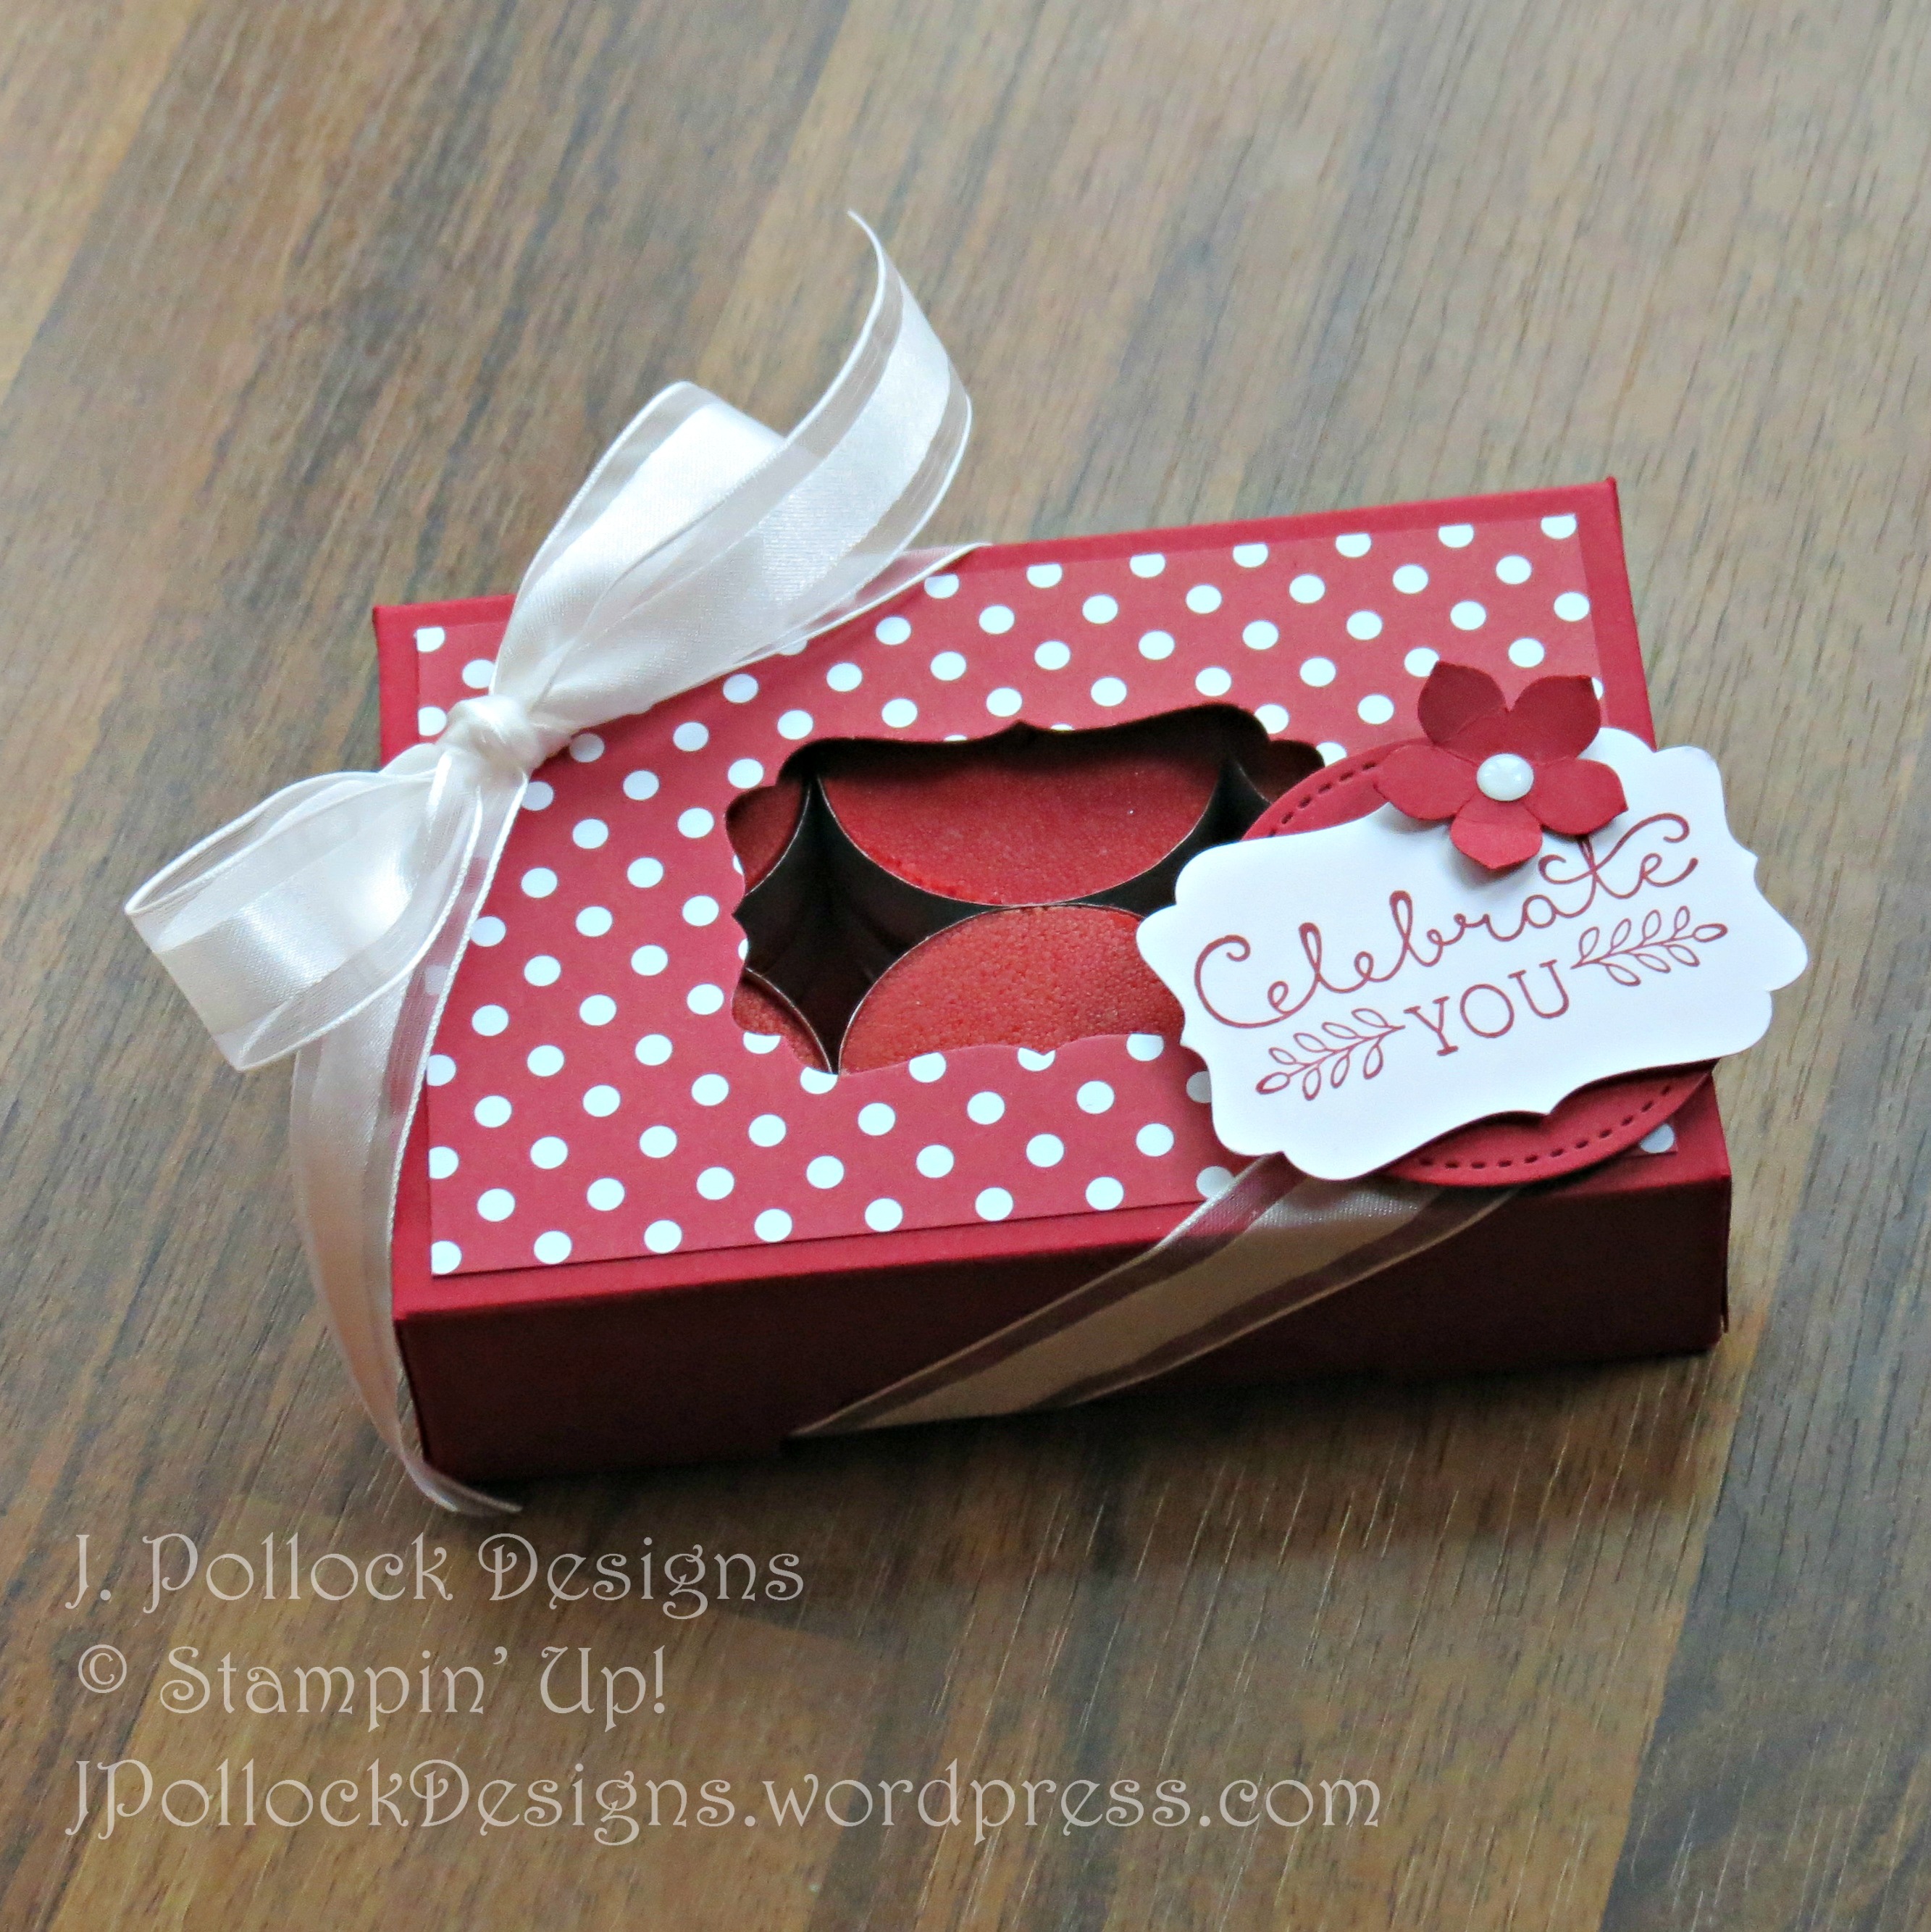
Rachel Tessman did a treat container for a make & take at a Facebook team event and I just loved it so I recreated it for my October class.
Supplies:
149931
Cauldron Bubble Clear-Mount Bundle
149930
Cauldron Bubble Wood-Mount Bundle
121045
Cardstock 8-1/2″ X 11″ Basic Black
146987
Cardstock 8-1/2″ X 11″ Gorgeous Grape
140272
Cardstock 8-1/2″ X 11″ Whisper White Thick
147531
Toil & Trouble 12″ X 12″ Designer Series Paper
147099
Classic Stampin’ Pad Gorgeous Grape
145372
Stitched Shapes Big Shot Framelits
119868
1″ Circle Punch
141704
Bags Cellophane Gusseted 3″ X 6″
104430
Stampin’ Dimensionals
138995
Tear & Tape Adhesive
146276
Stamparatus
Measurements:
Basic Black
2 ¾” x 10”, scored at 2 ¾”, 4 ¾”, 7 ½”, 9 ½”
Gorgeous Grape
1 ½” x 1 ½”
Whisper White Thick
1 ¾” x 3”
Toil & Trouble Designer Series Paper (DSP)
(2) 2 ½” x 2 ½”, cauldron & cat
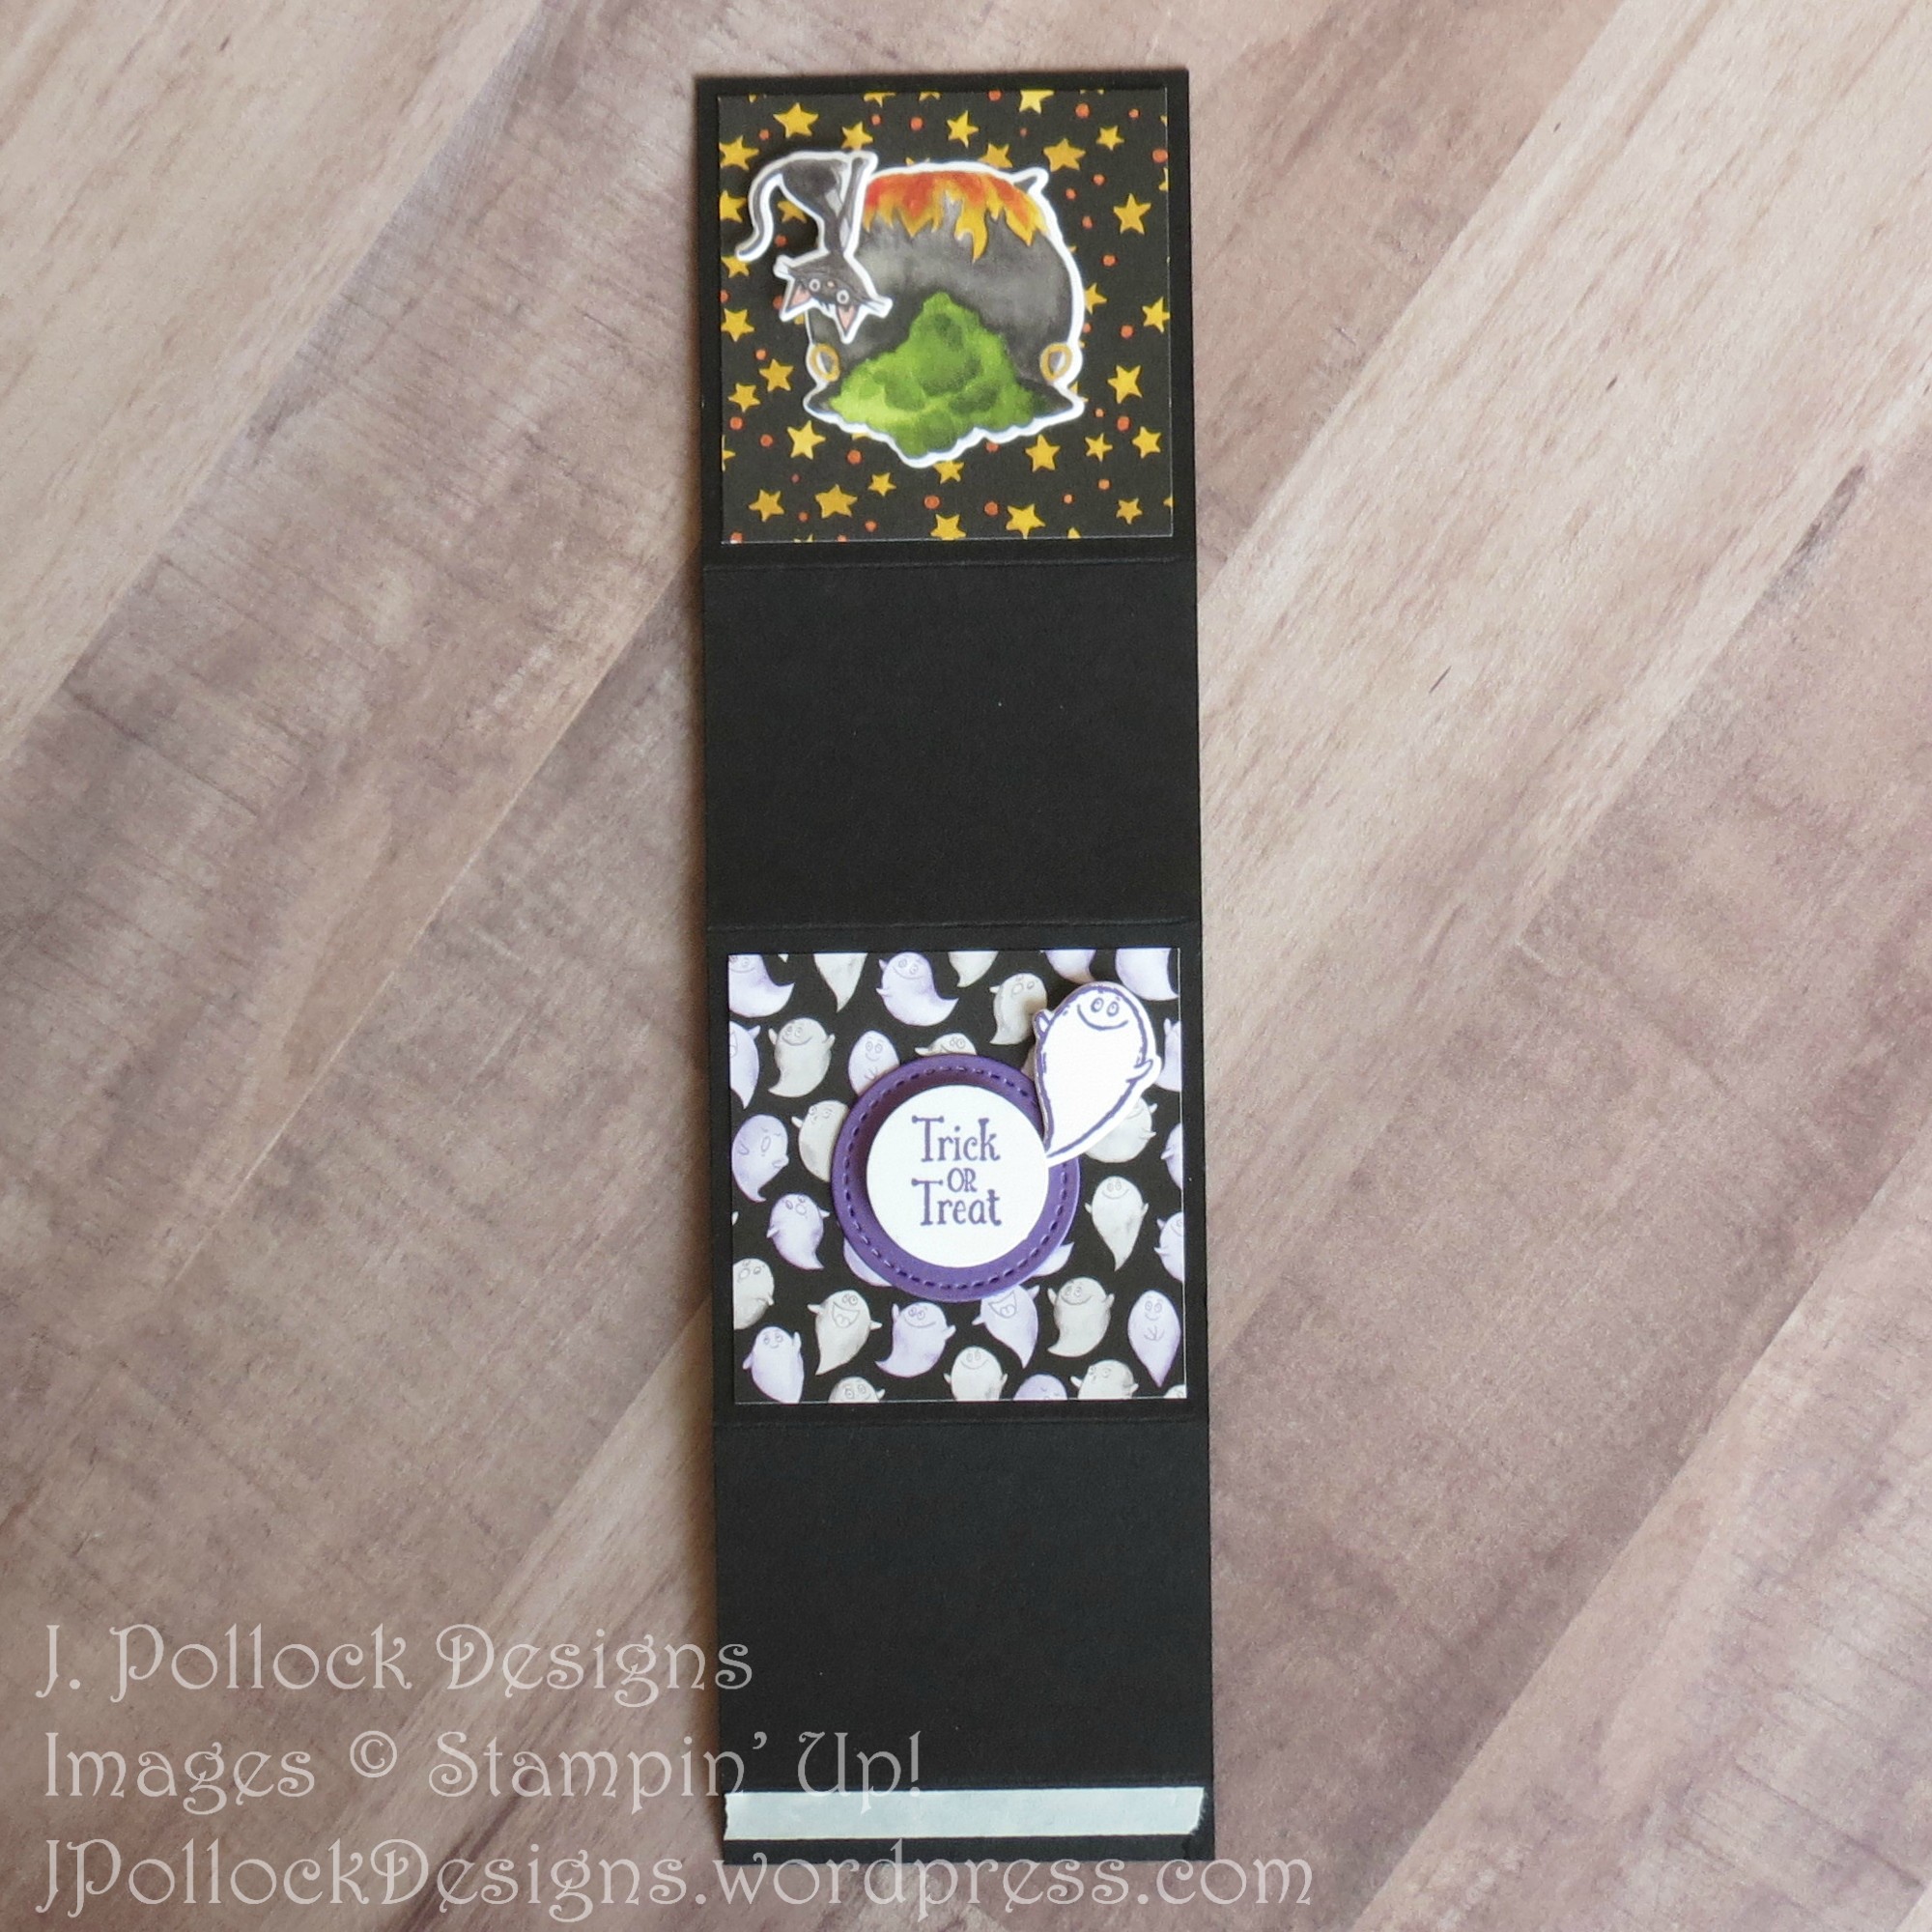
Instructions:
Score the Basic Black cardstock along the long edge, and adhere Tear & Tape on the ½” section.
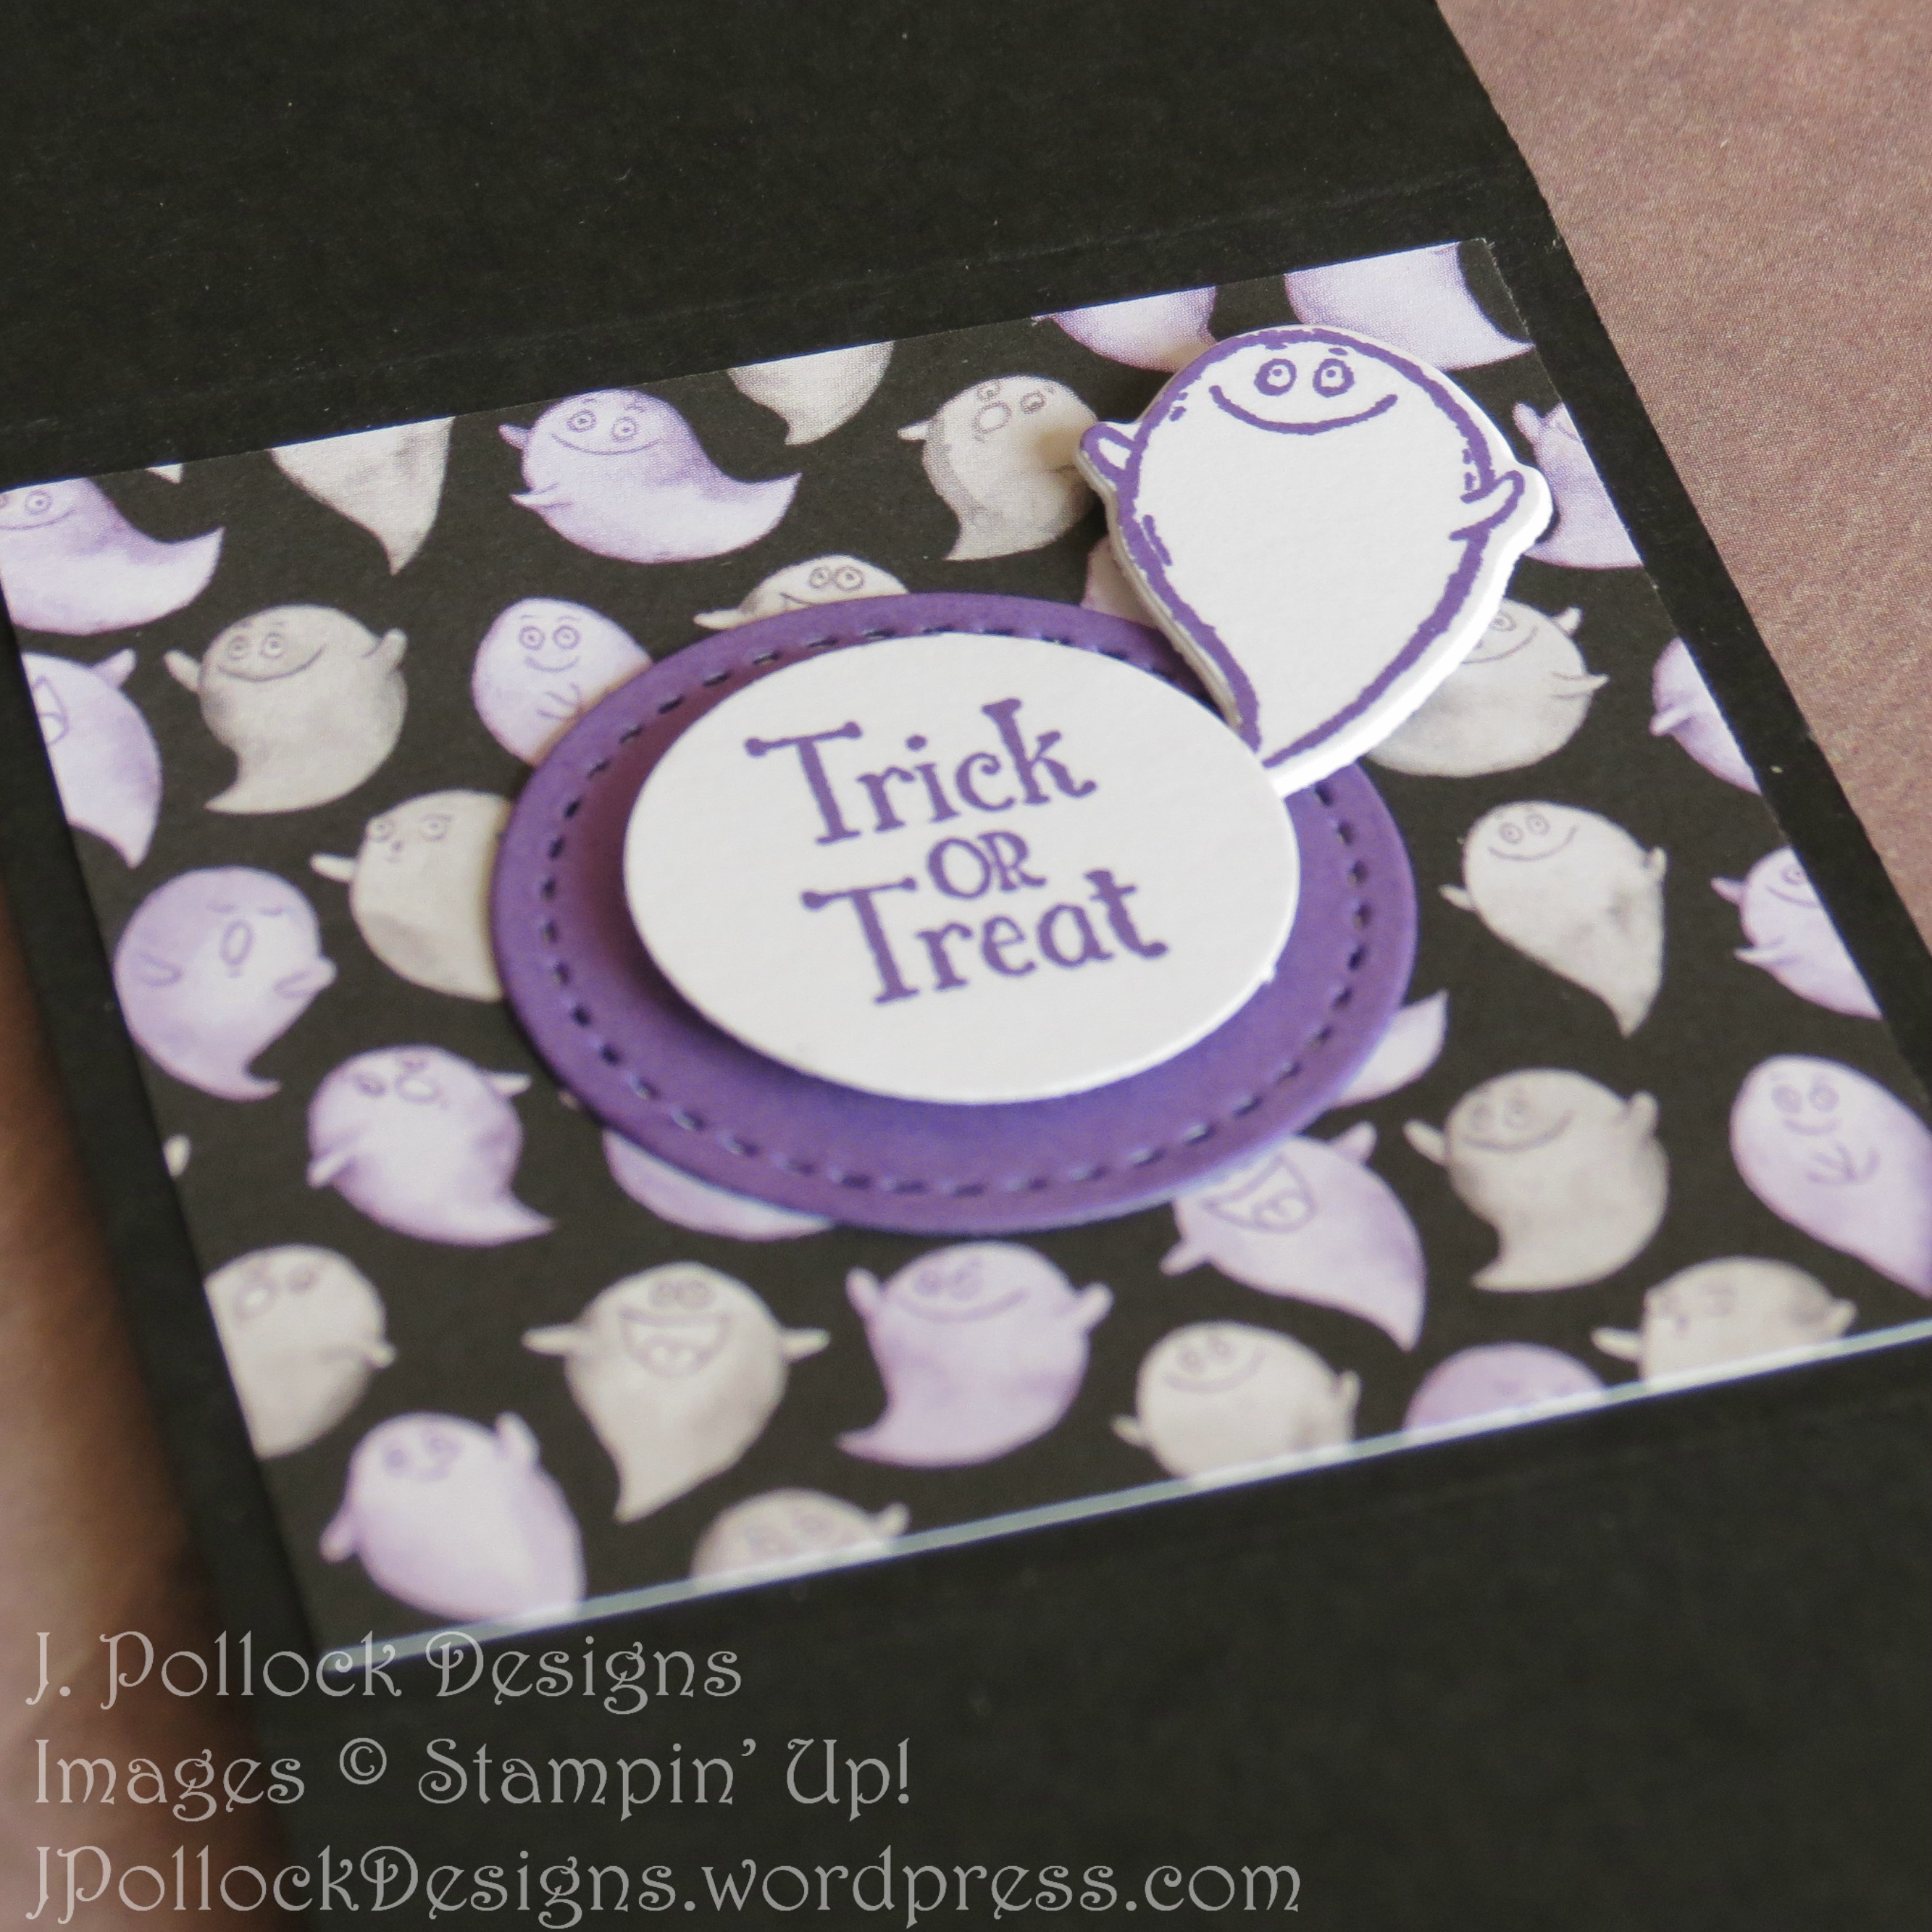
Using Gorgeous Grape, stamp Trick or Treat and the ghost on the piece of Whisper White. Punch out the sentiment and die-cut the ghost.
Die cut the Gorgeous Grape cardstock using the smallest Stitched Shapes circle.
Adhere the sentiment circle to the Gorgeous Grape circle using a Stampin’ Dimensional.
With the ½” section at the bottom, adhere to the piece of ghost DSP. Add the sentiment in the middle. Use a Stampin’ Dimensional to add the ghost.
Rotate the Basic Black so the ½” section is at the top. Attach the piece of stars DSP. Adhere to the cauldron in the middle. Using a mini Stampin’ Dimensional, attach the cat.
Fold along all the score lines, pull off the release backing from the Tear & Tape, fold the Basic Black, and attach it with the Tear & Tape to create the box.
Slip into the gusseted bag, roll down the top, and close with a binder clip.
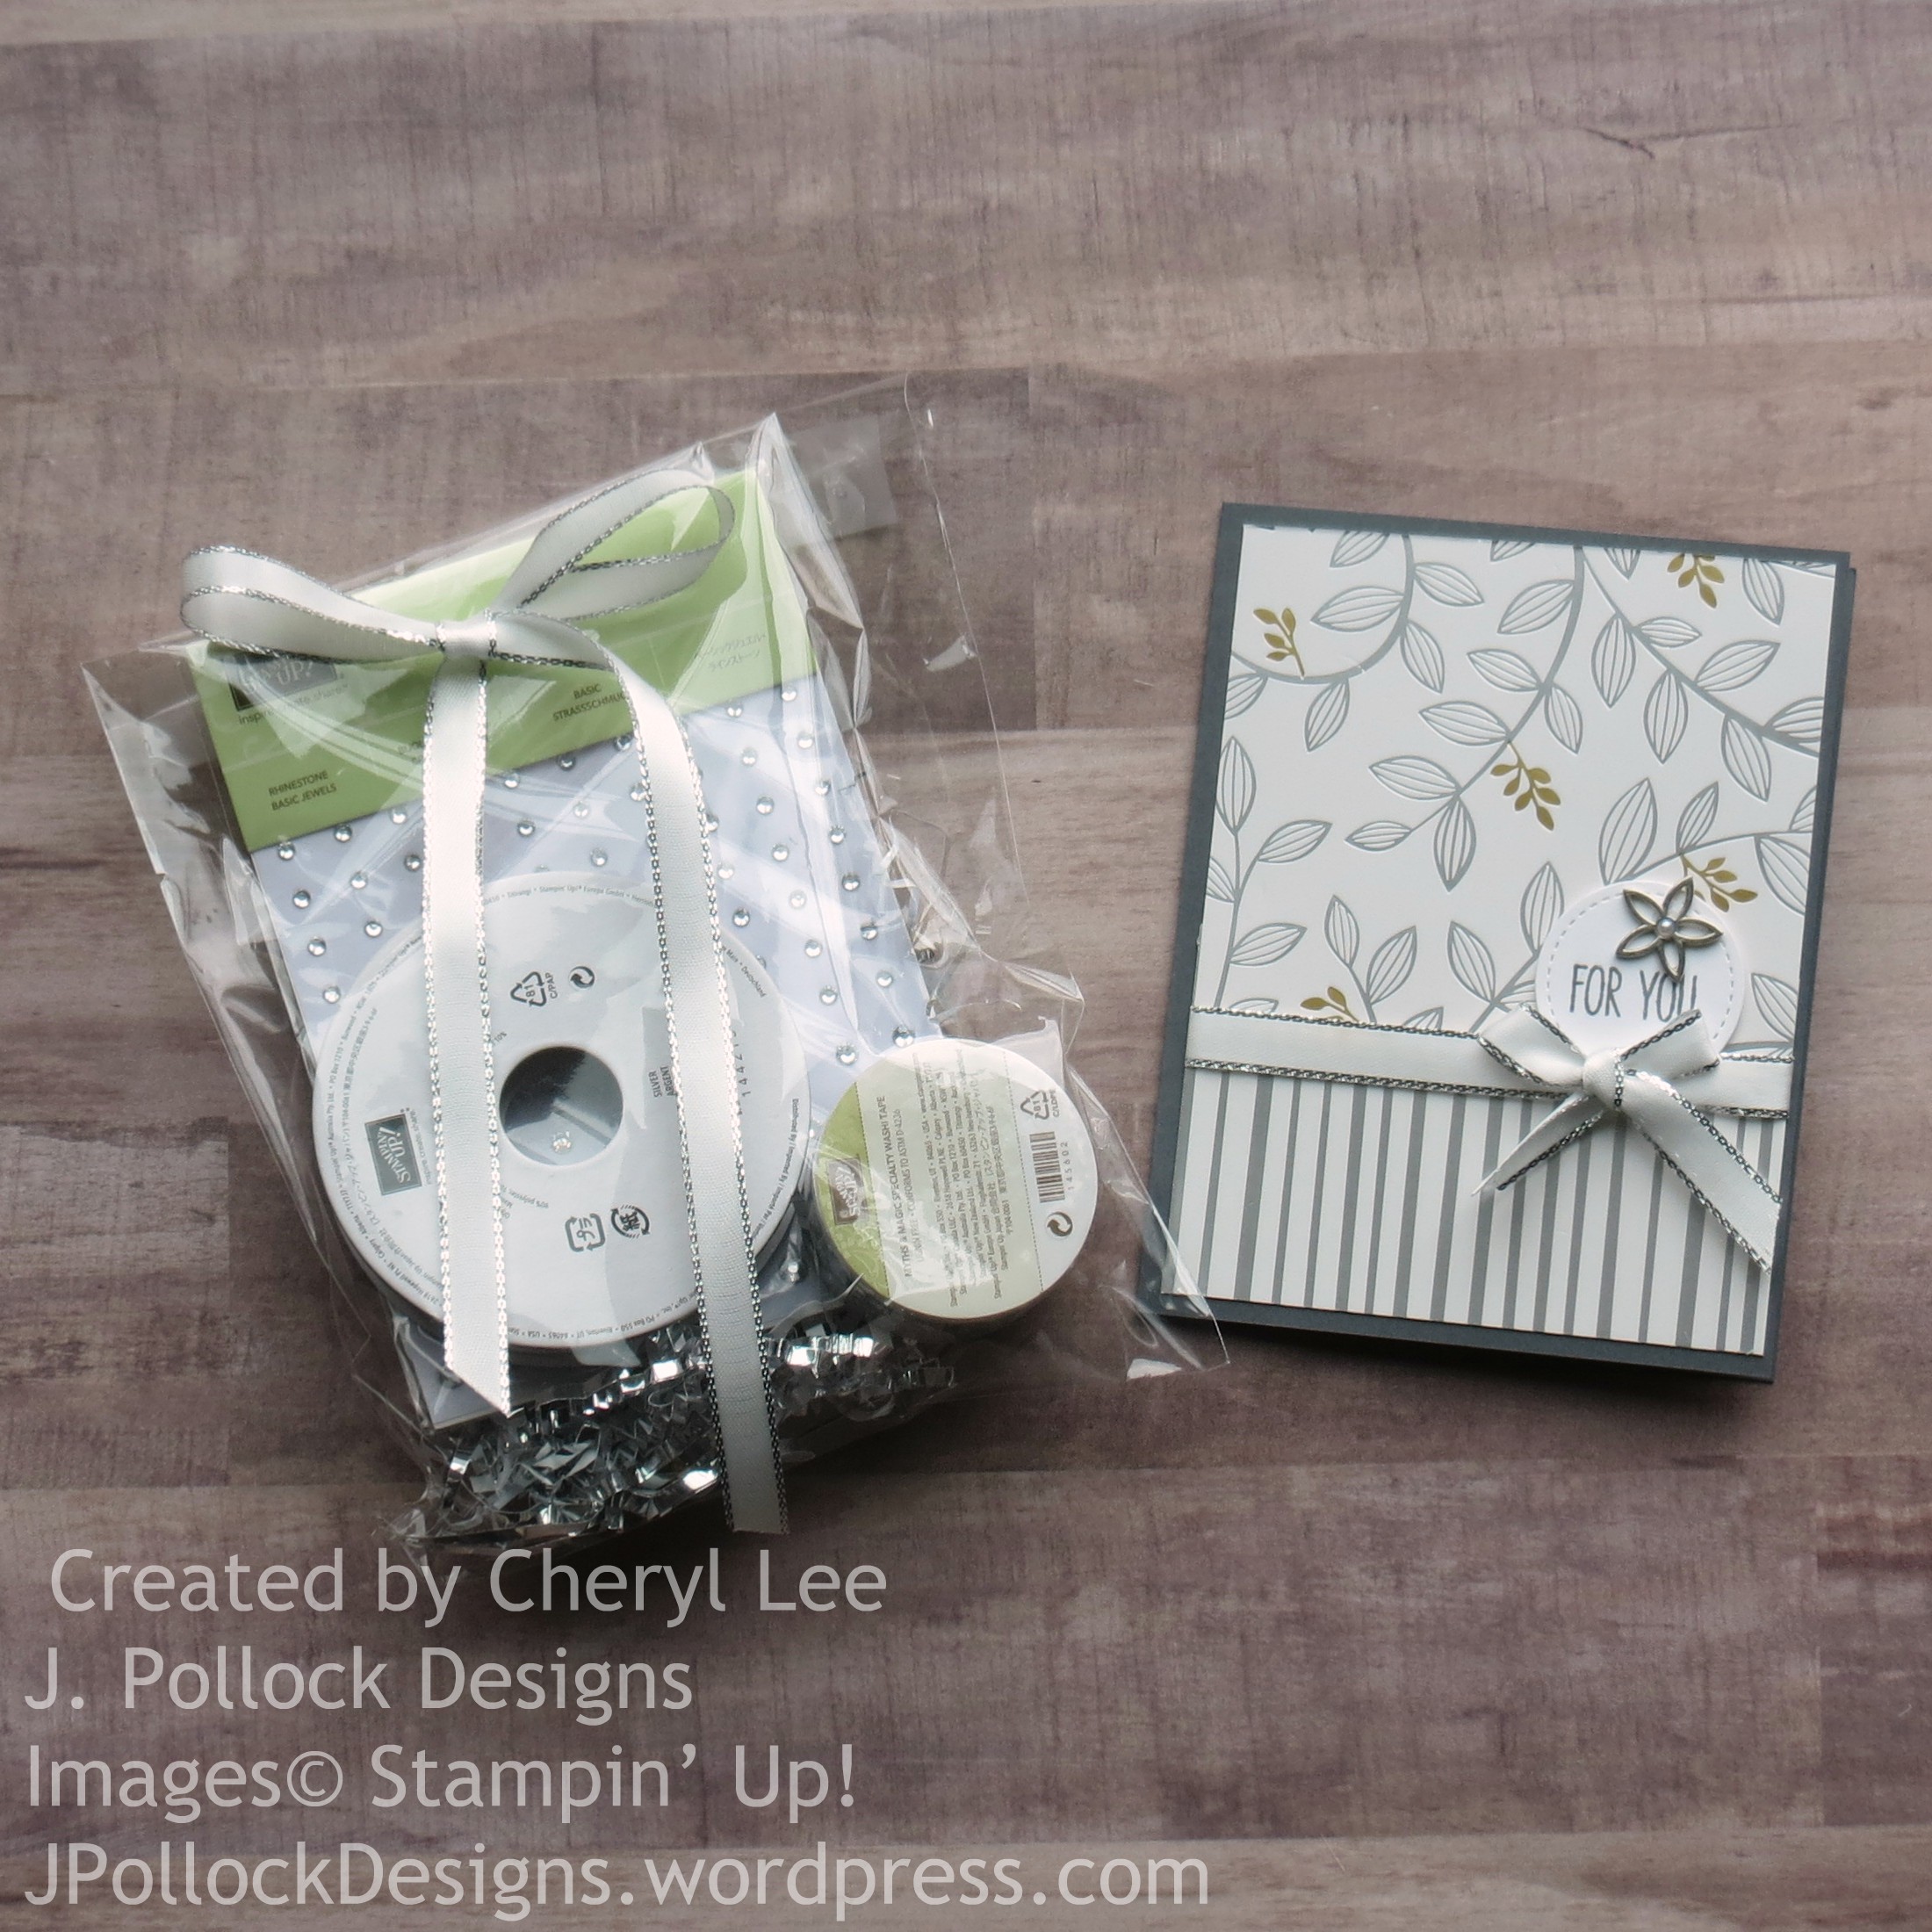
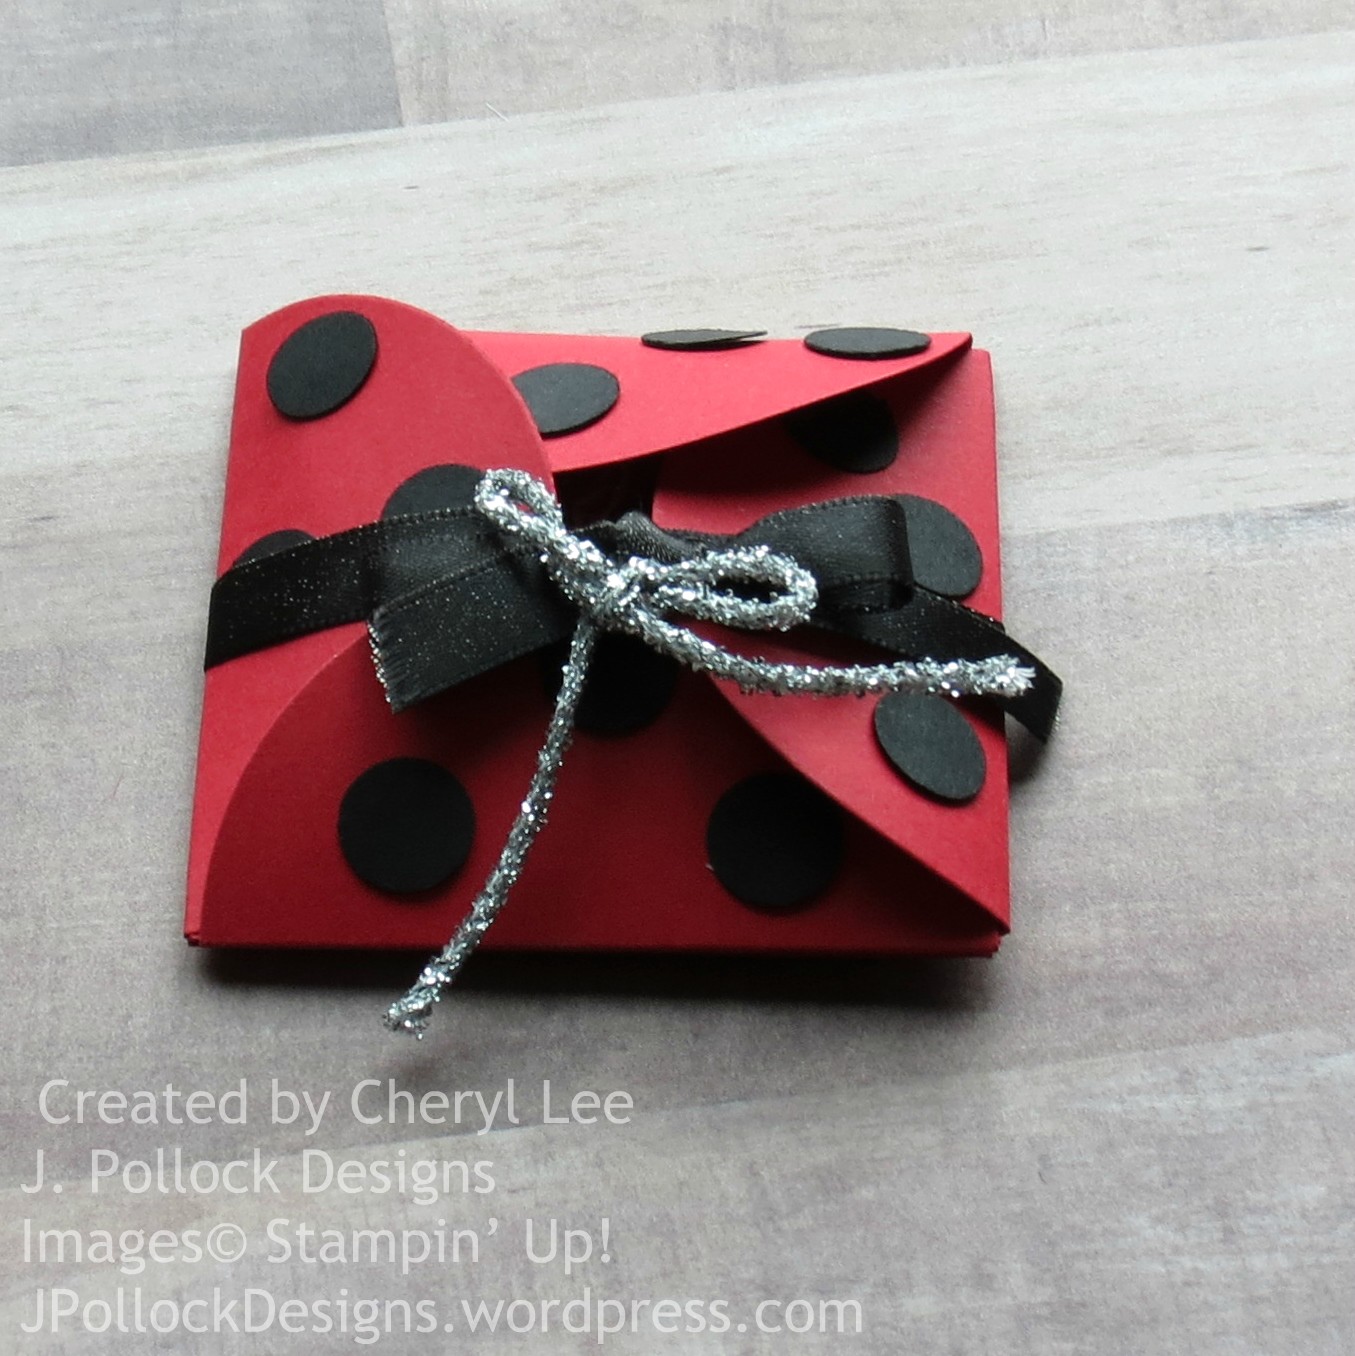
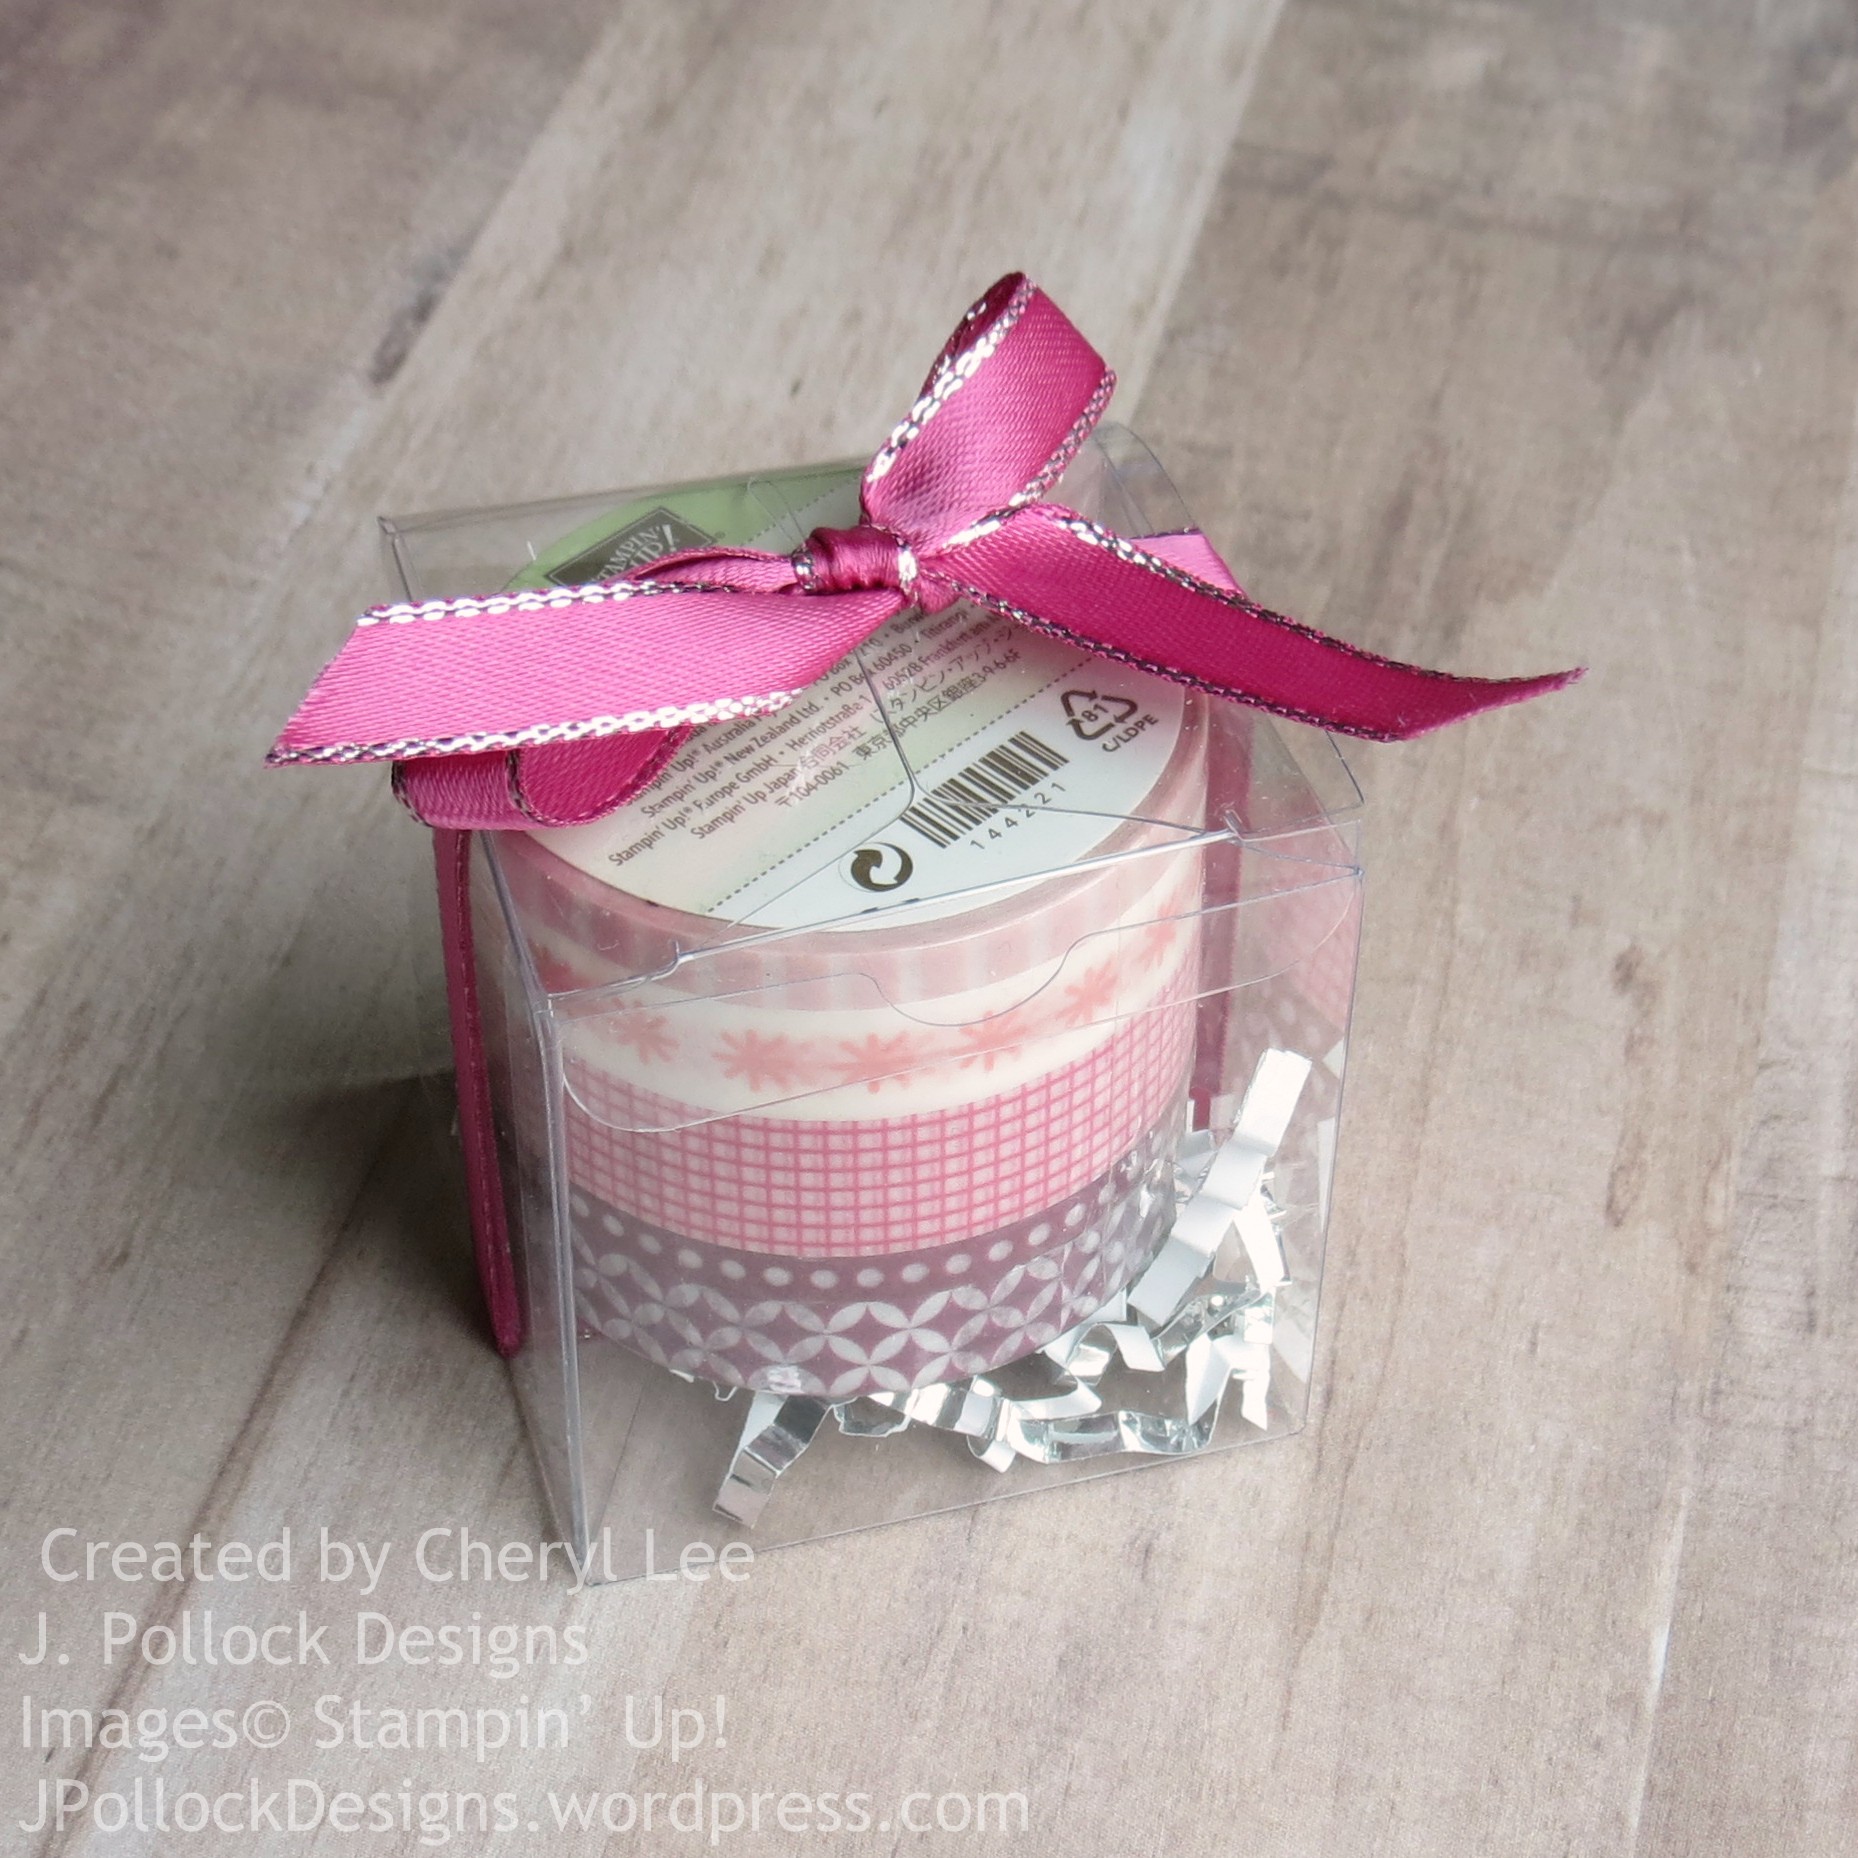
My fellow demonstrators are just such generous people. I received the following gifts in Milwaukee (#OnStage2018) and I wanted to share them with you. Tomorrow I plan to show you the swaps I received. My fingers are crossed because the shelf that holds my dies above my Big Shot fell down and I need to get that fixed. 😦
This first one is from Cheryl Lee (my direct upline) for my promotion to Silver.
Cheryl also gave me these gifts.
This was from Rachel Tessman (Cheryl’s upline). There are chocolates inside. Yum!
On Tuesday night I got to go to Rachel Tessman’s house for a Stampers With ARt gift exchange. I always have such a fun time with this group of stampers.
Here is what I made for the gift exchange, on Tuesday I’ll post what I got there.
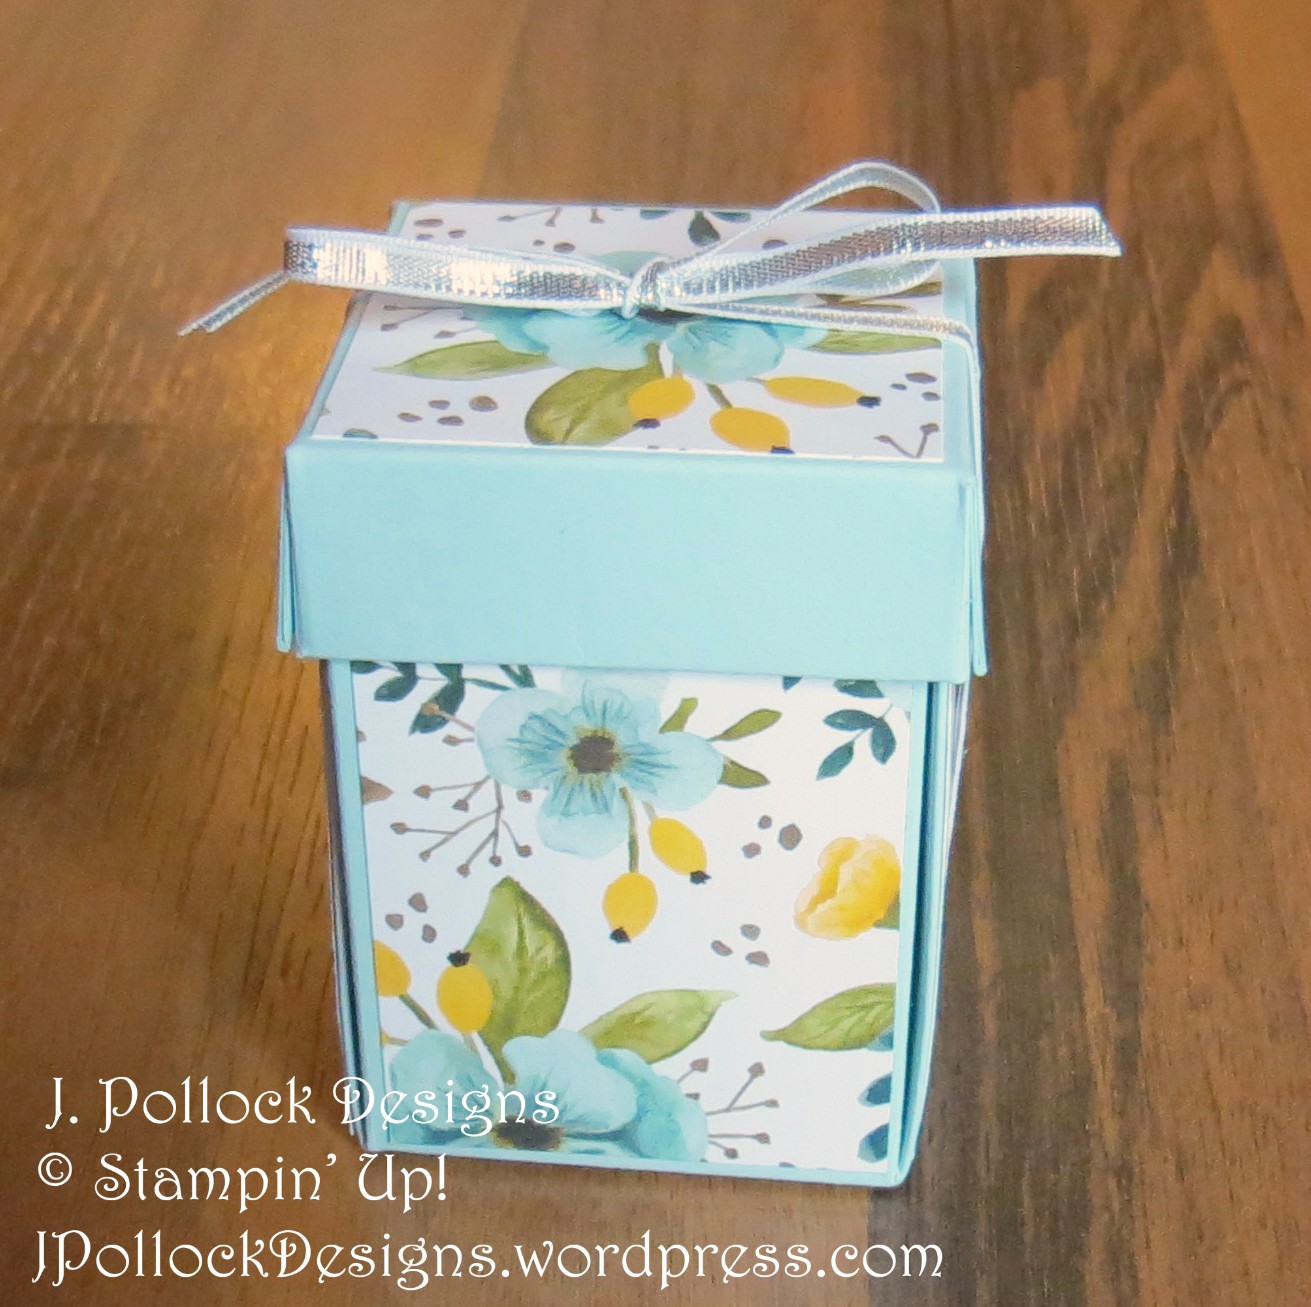
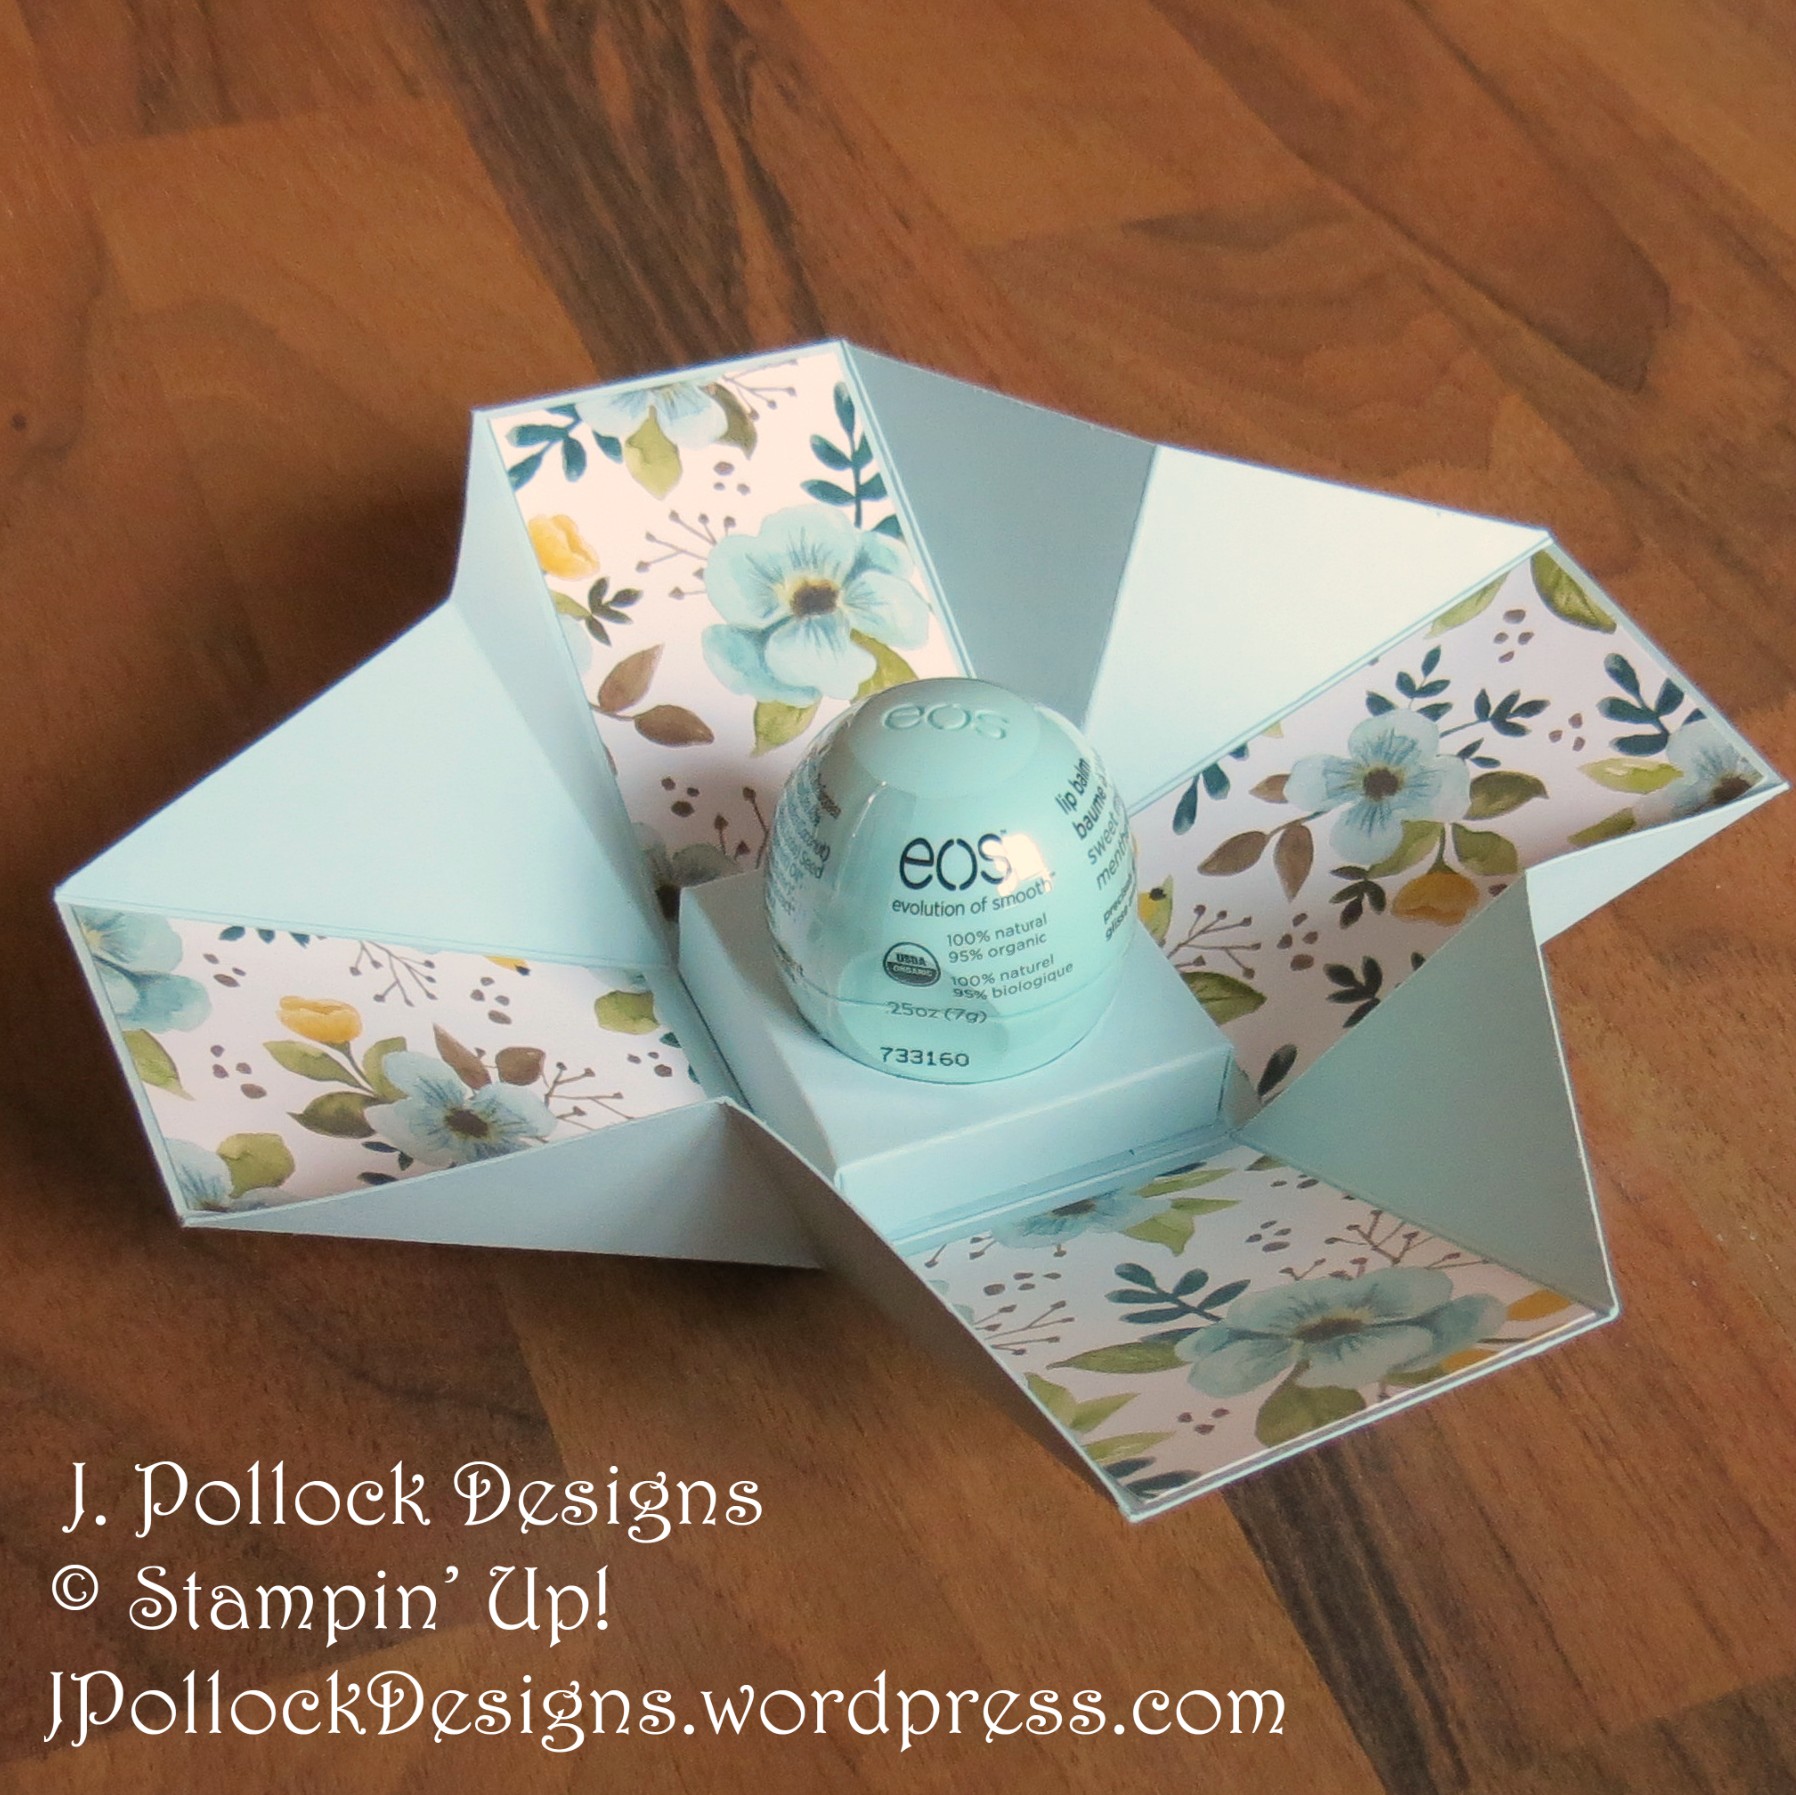
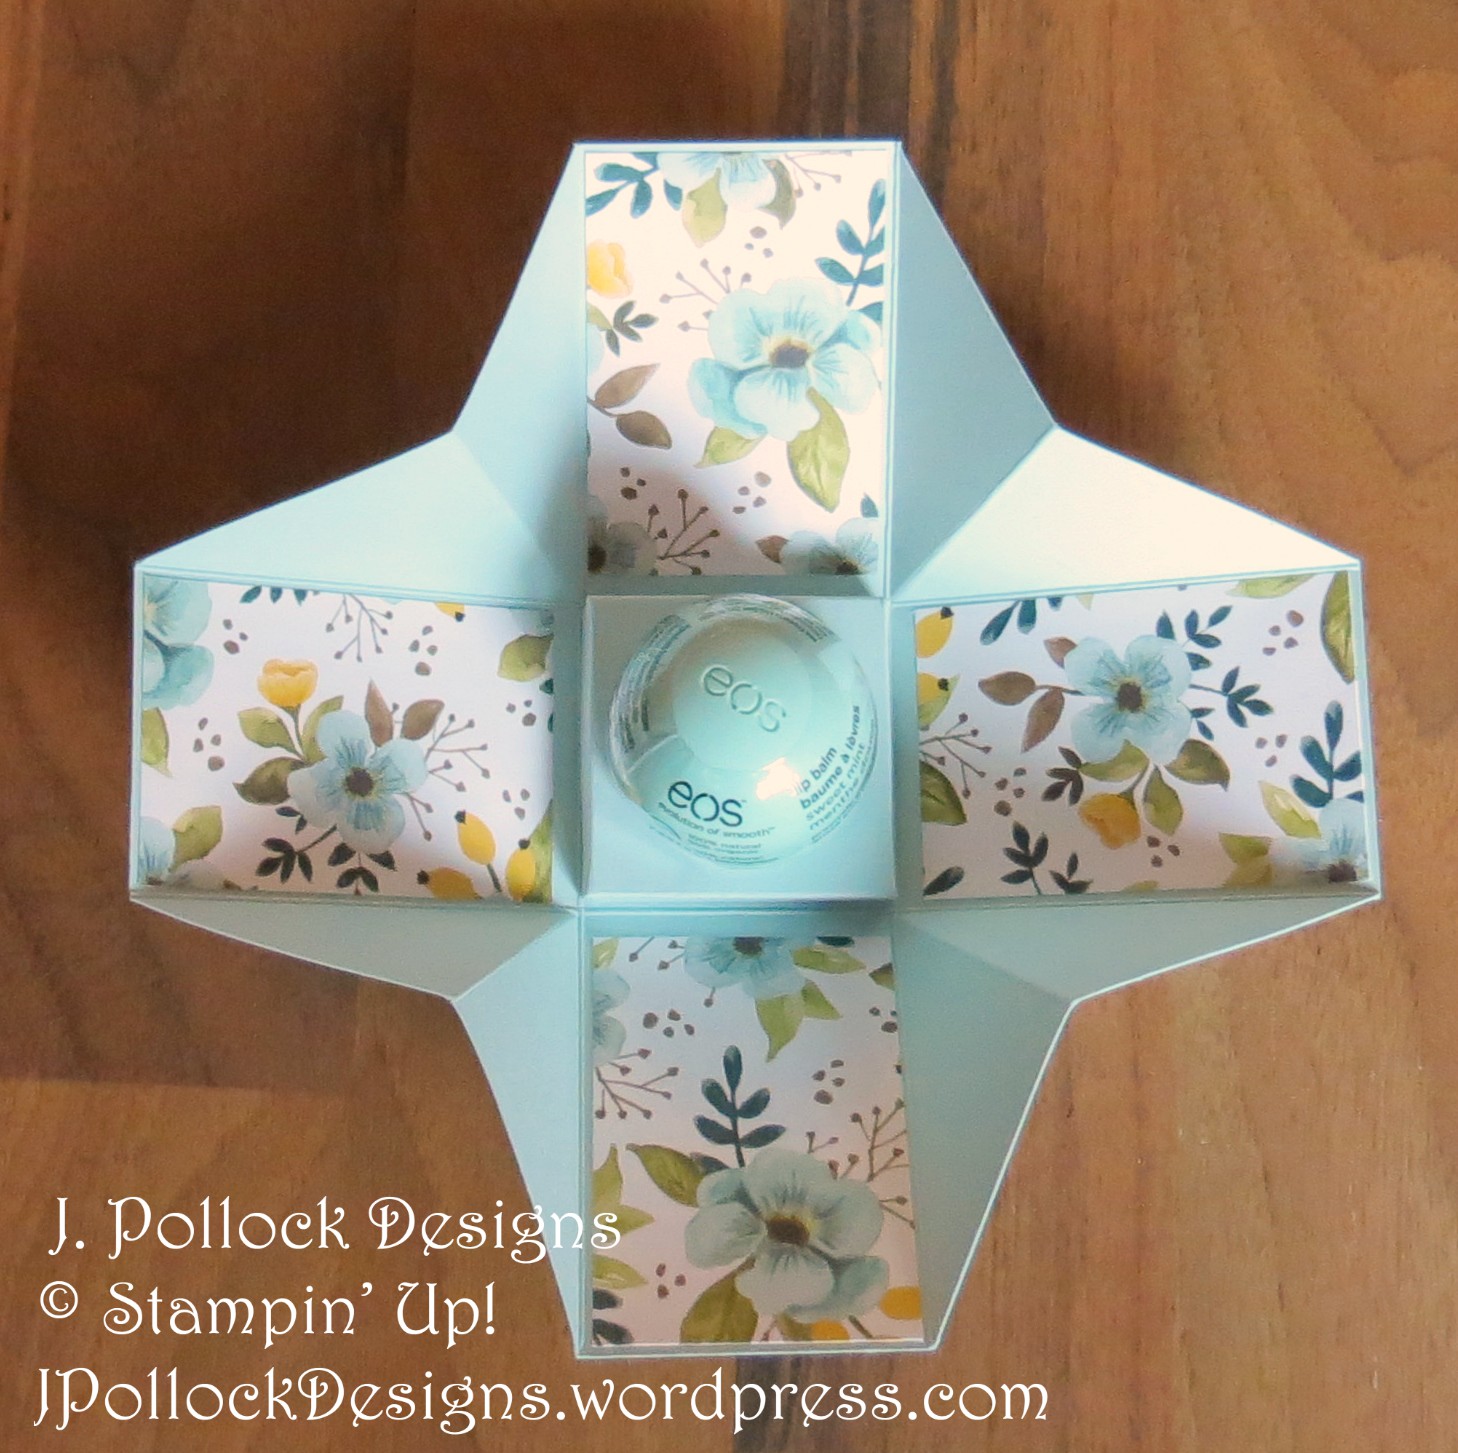
I followed the instructions for the explosion box from here.
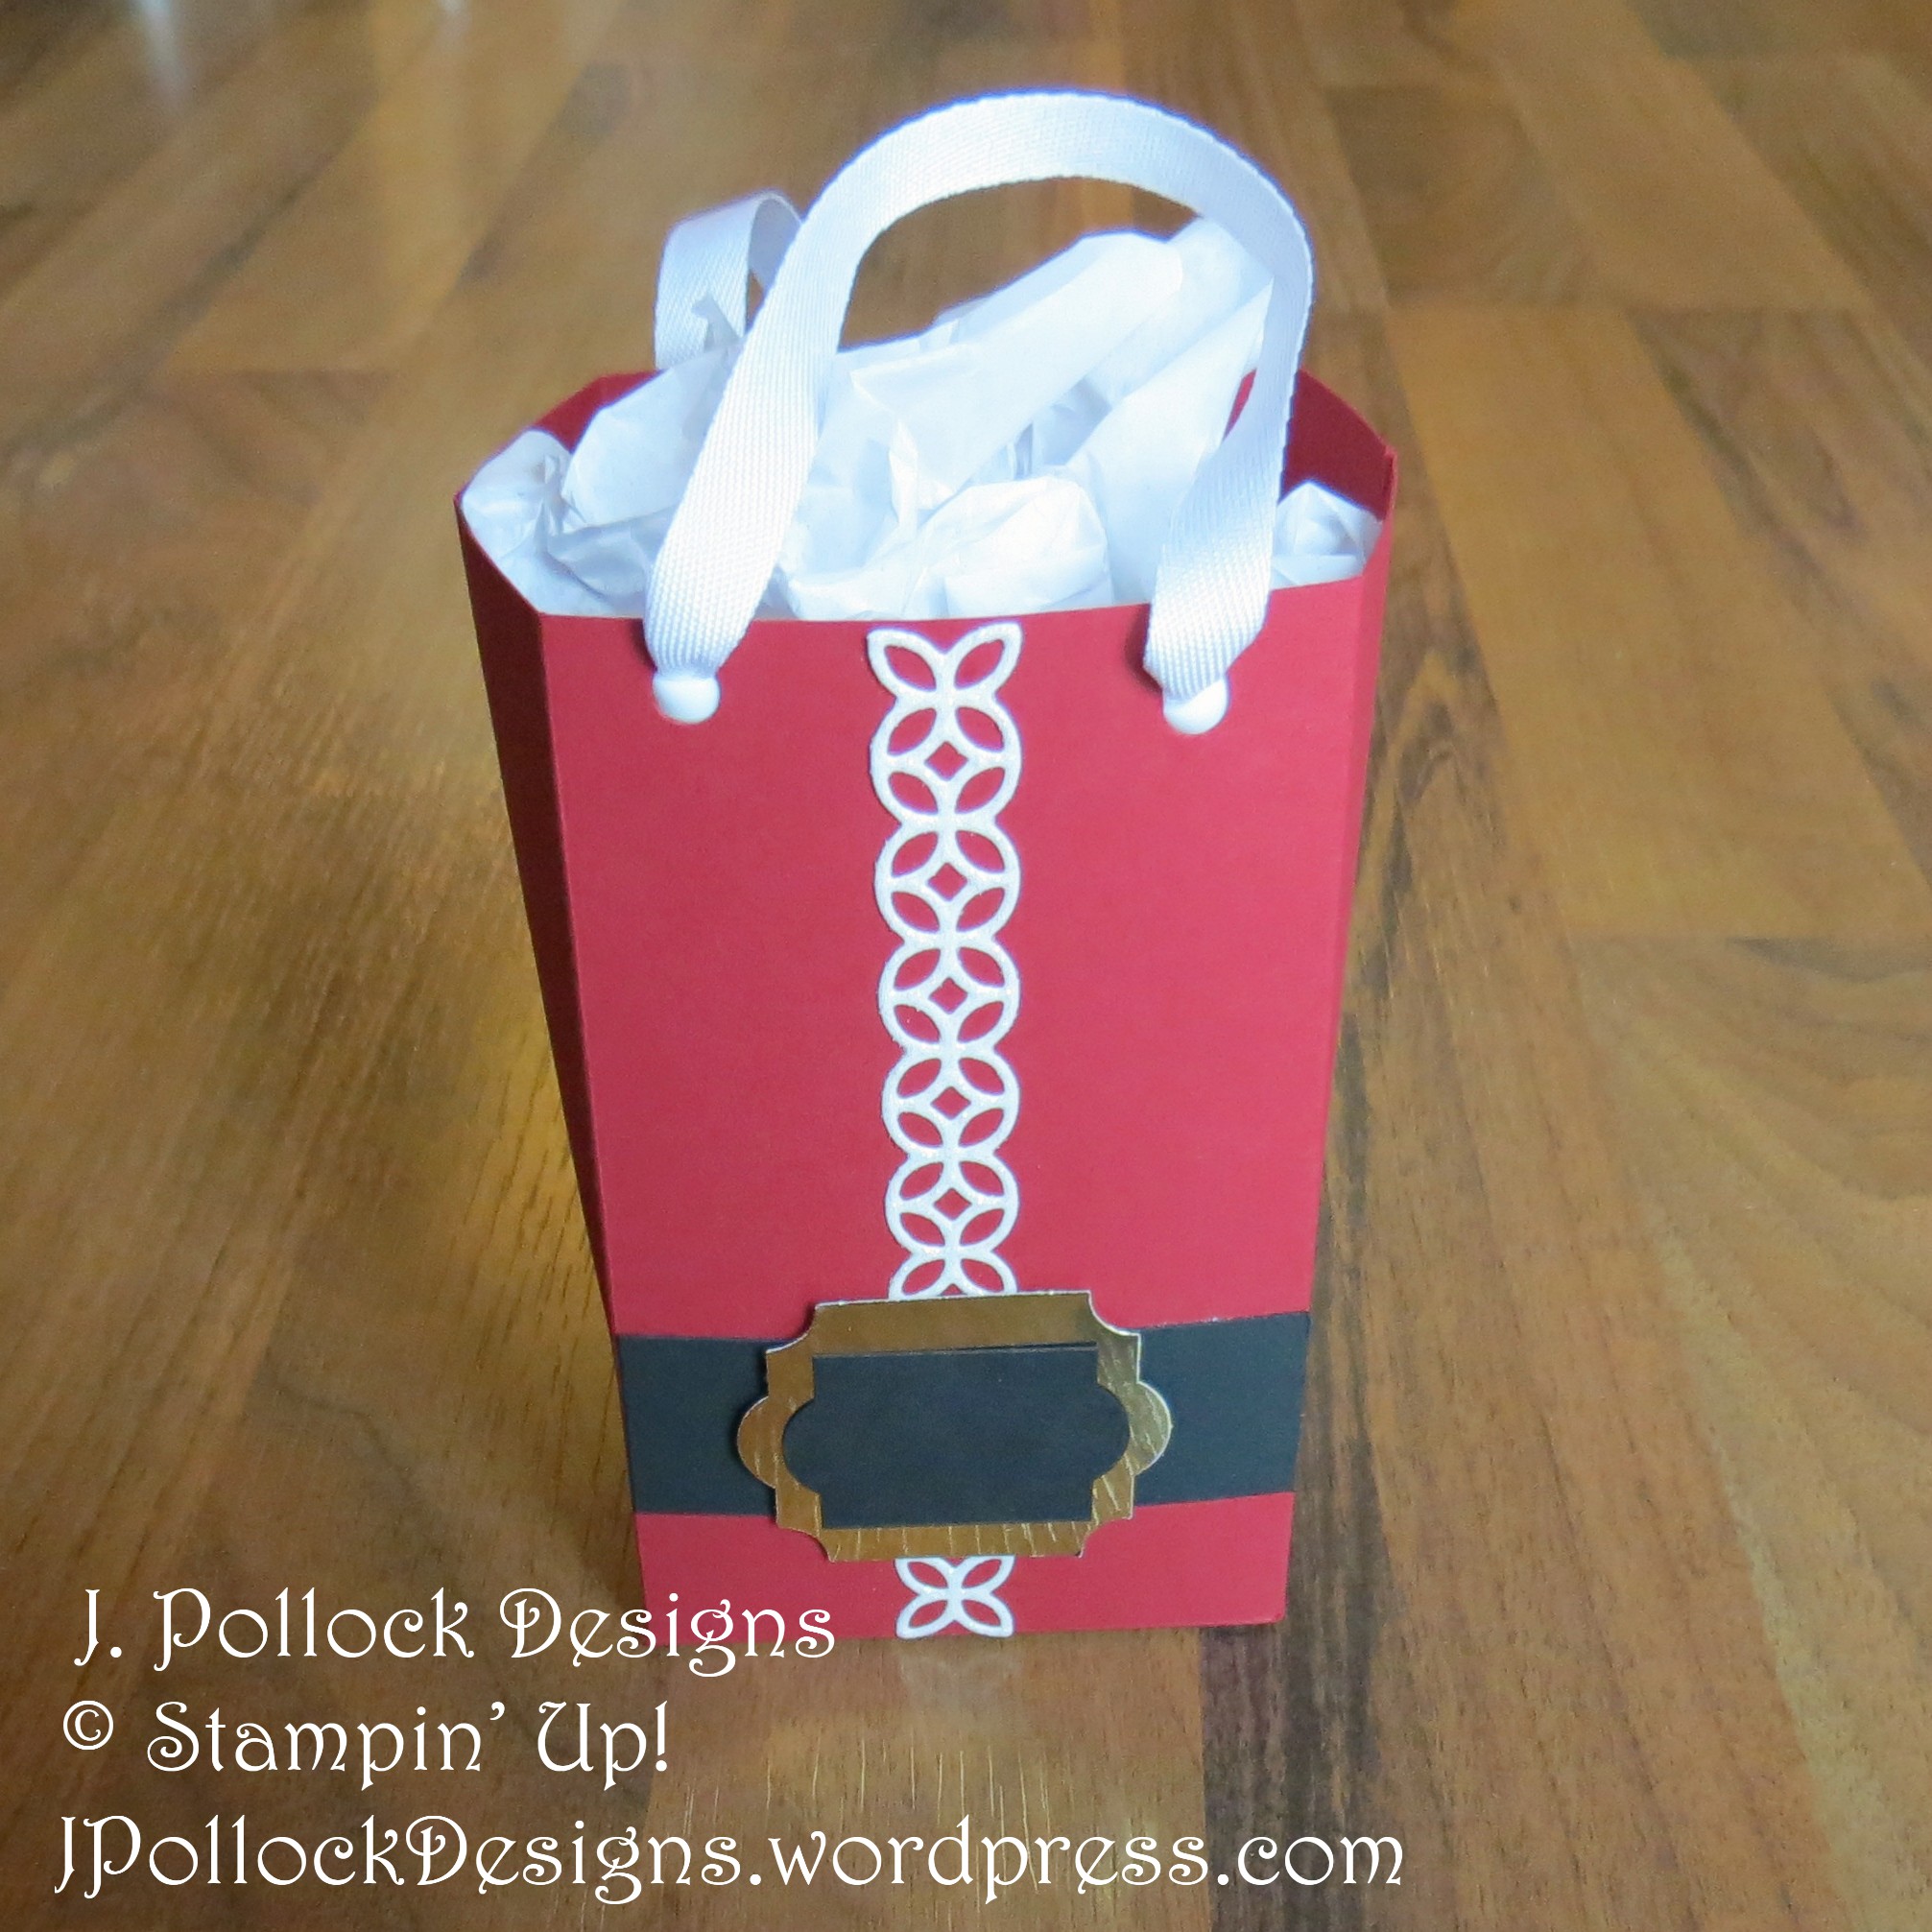
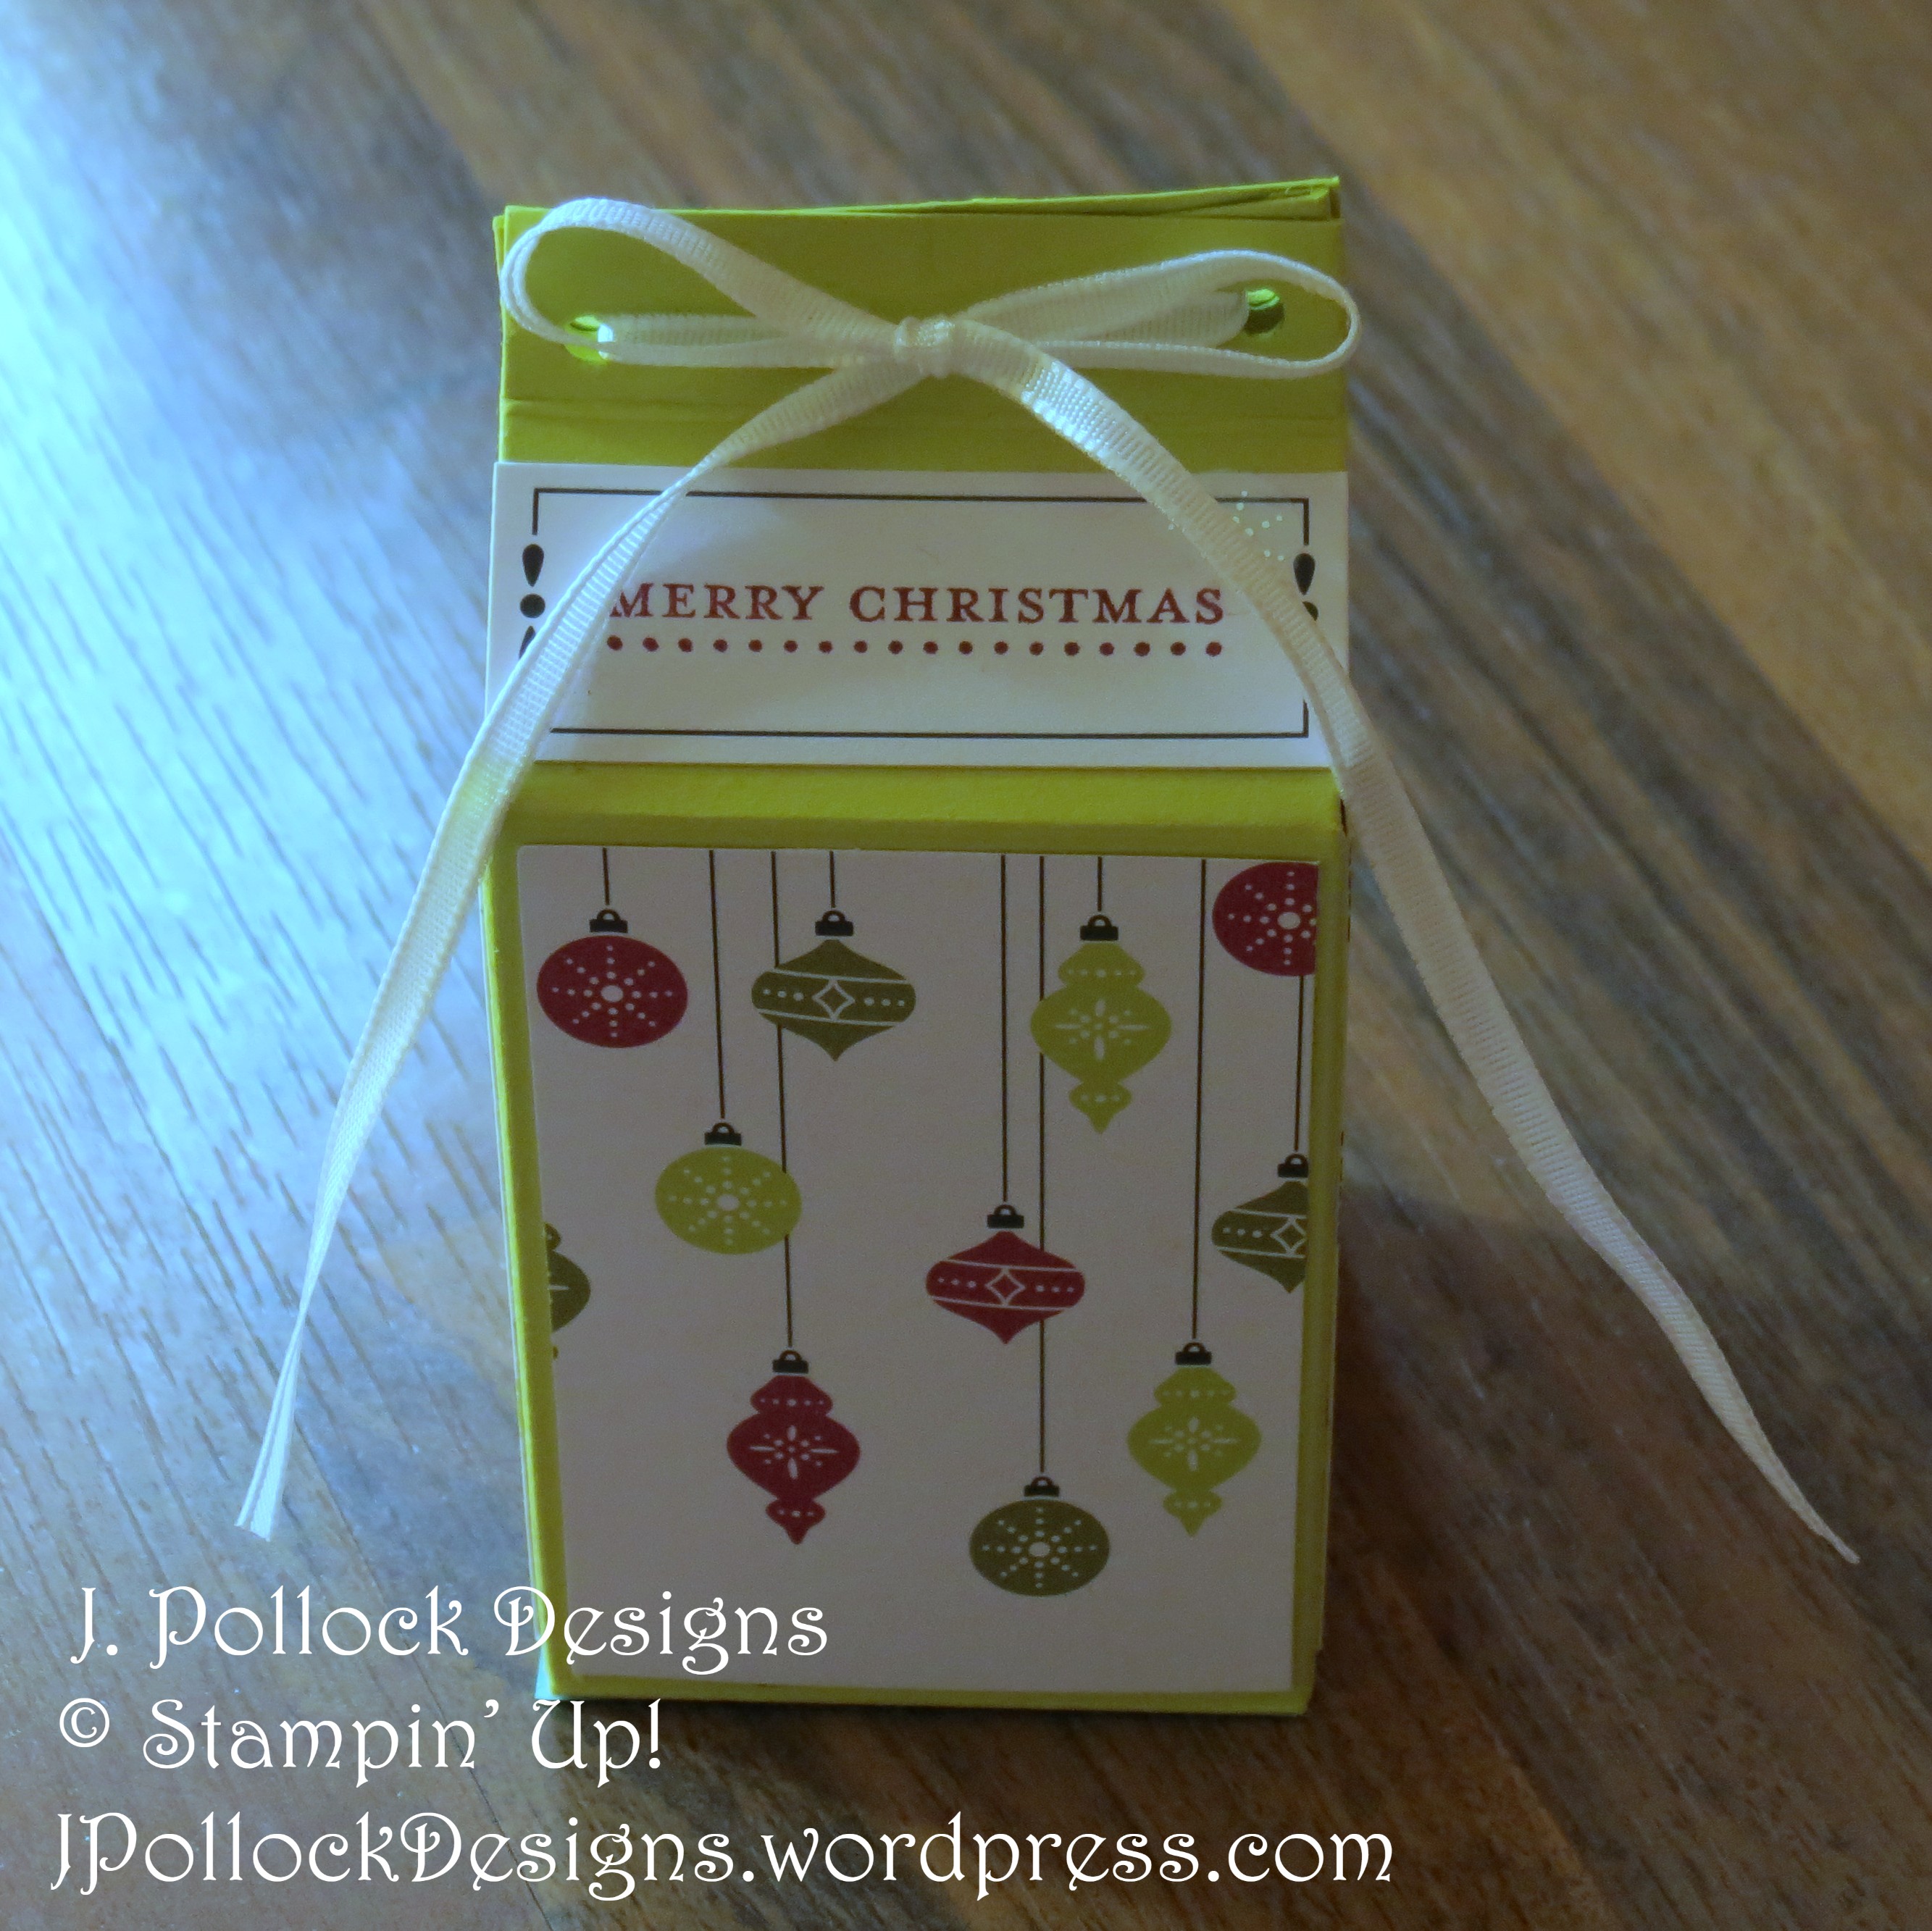
For the Santa bag:
Cut the Real Red Cardstock to 7 3/4″ x 12″. Score along the long edge at 3″, 5 3/4″, 8 3/4″, 11 1/2″. Score along the short side at 5″.
I created the belt buckle with the Everyday Label Punch. For the gold foil piece, I punched out a label and then stuck it back in to shorten it. For the basic black piece, I started with a 1″ wide piece of cardstock and lined it up with the interior points on the punch. The gold foil is again left over from the Watercolor Christmas kit but you can use gold foil sheets also.
I used the 1/8″ circle punch for the ribbon holes but the 1/16″ would be much better. I had to use some beads to keep the ribbon from coming out. I don’t remember which circle punch I used to hold the Eos but it was a little too small. Also, I added a 1/2″ to the Eos holder part so I could fold the cardstock under and adhere it to the box.
The Holiday Catalog goes live tomorrow but here are a few more previews to get you excited.
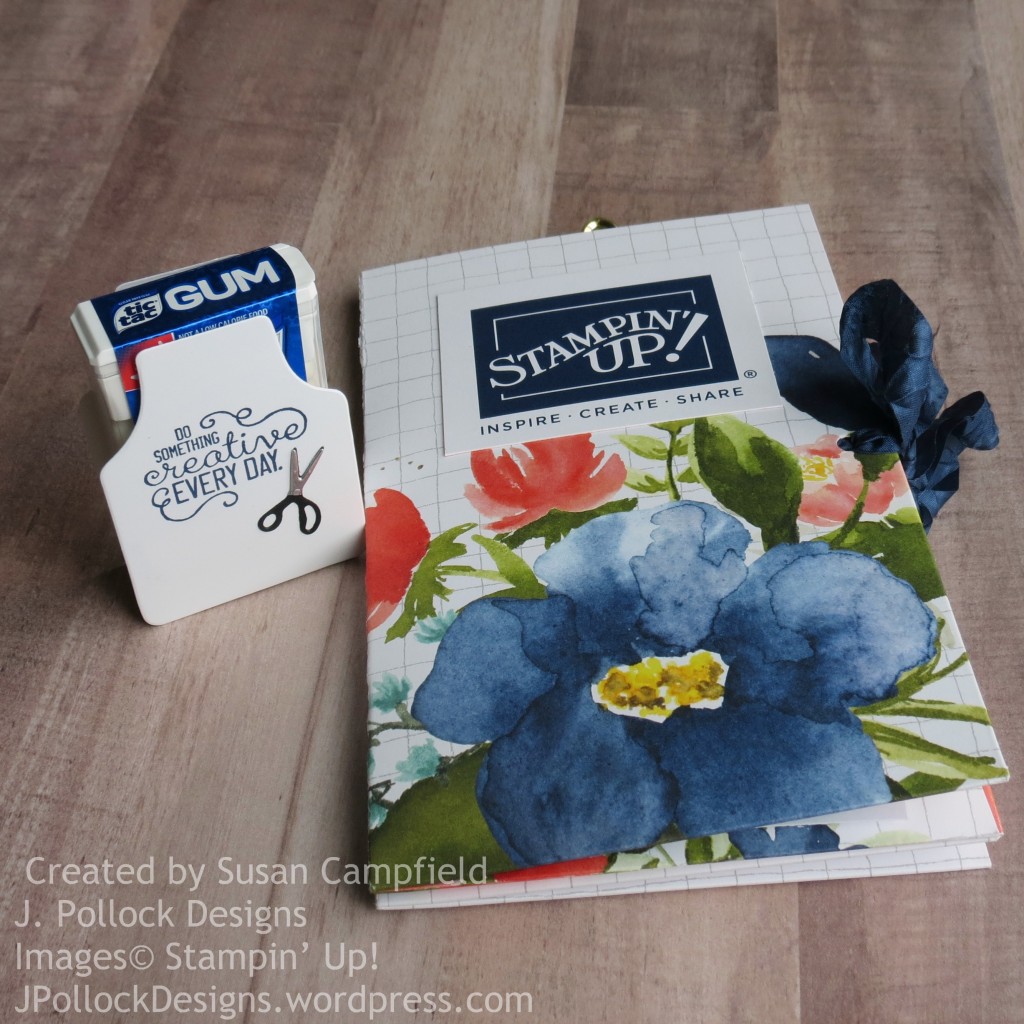
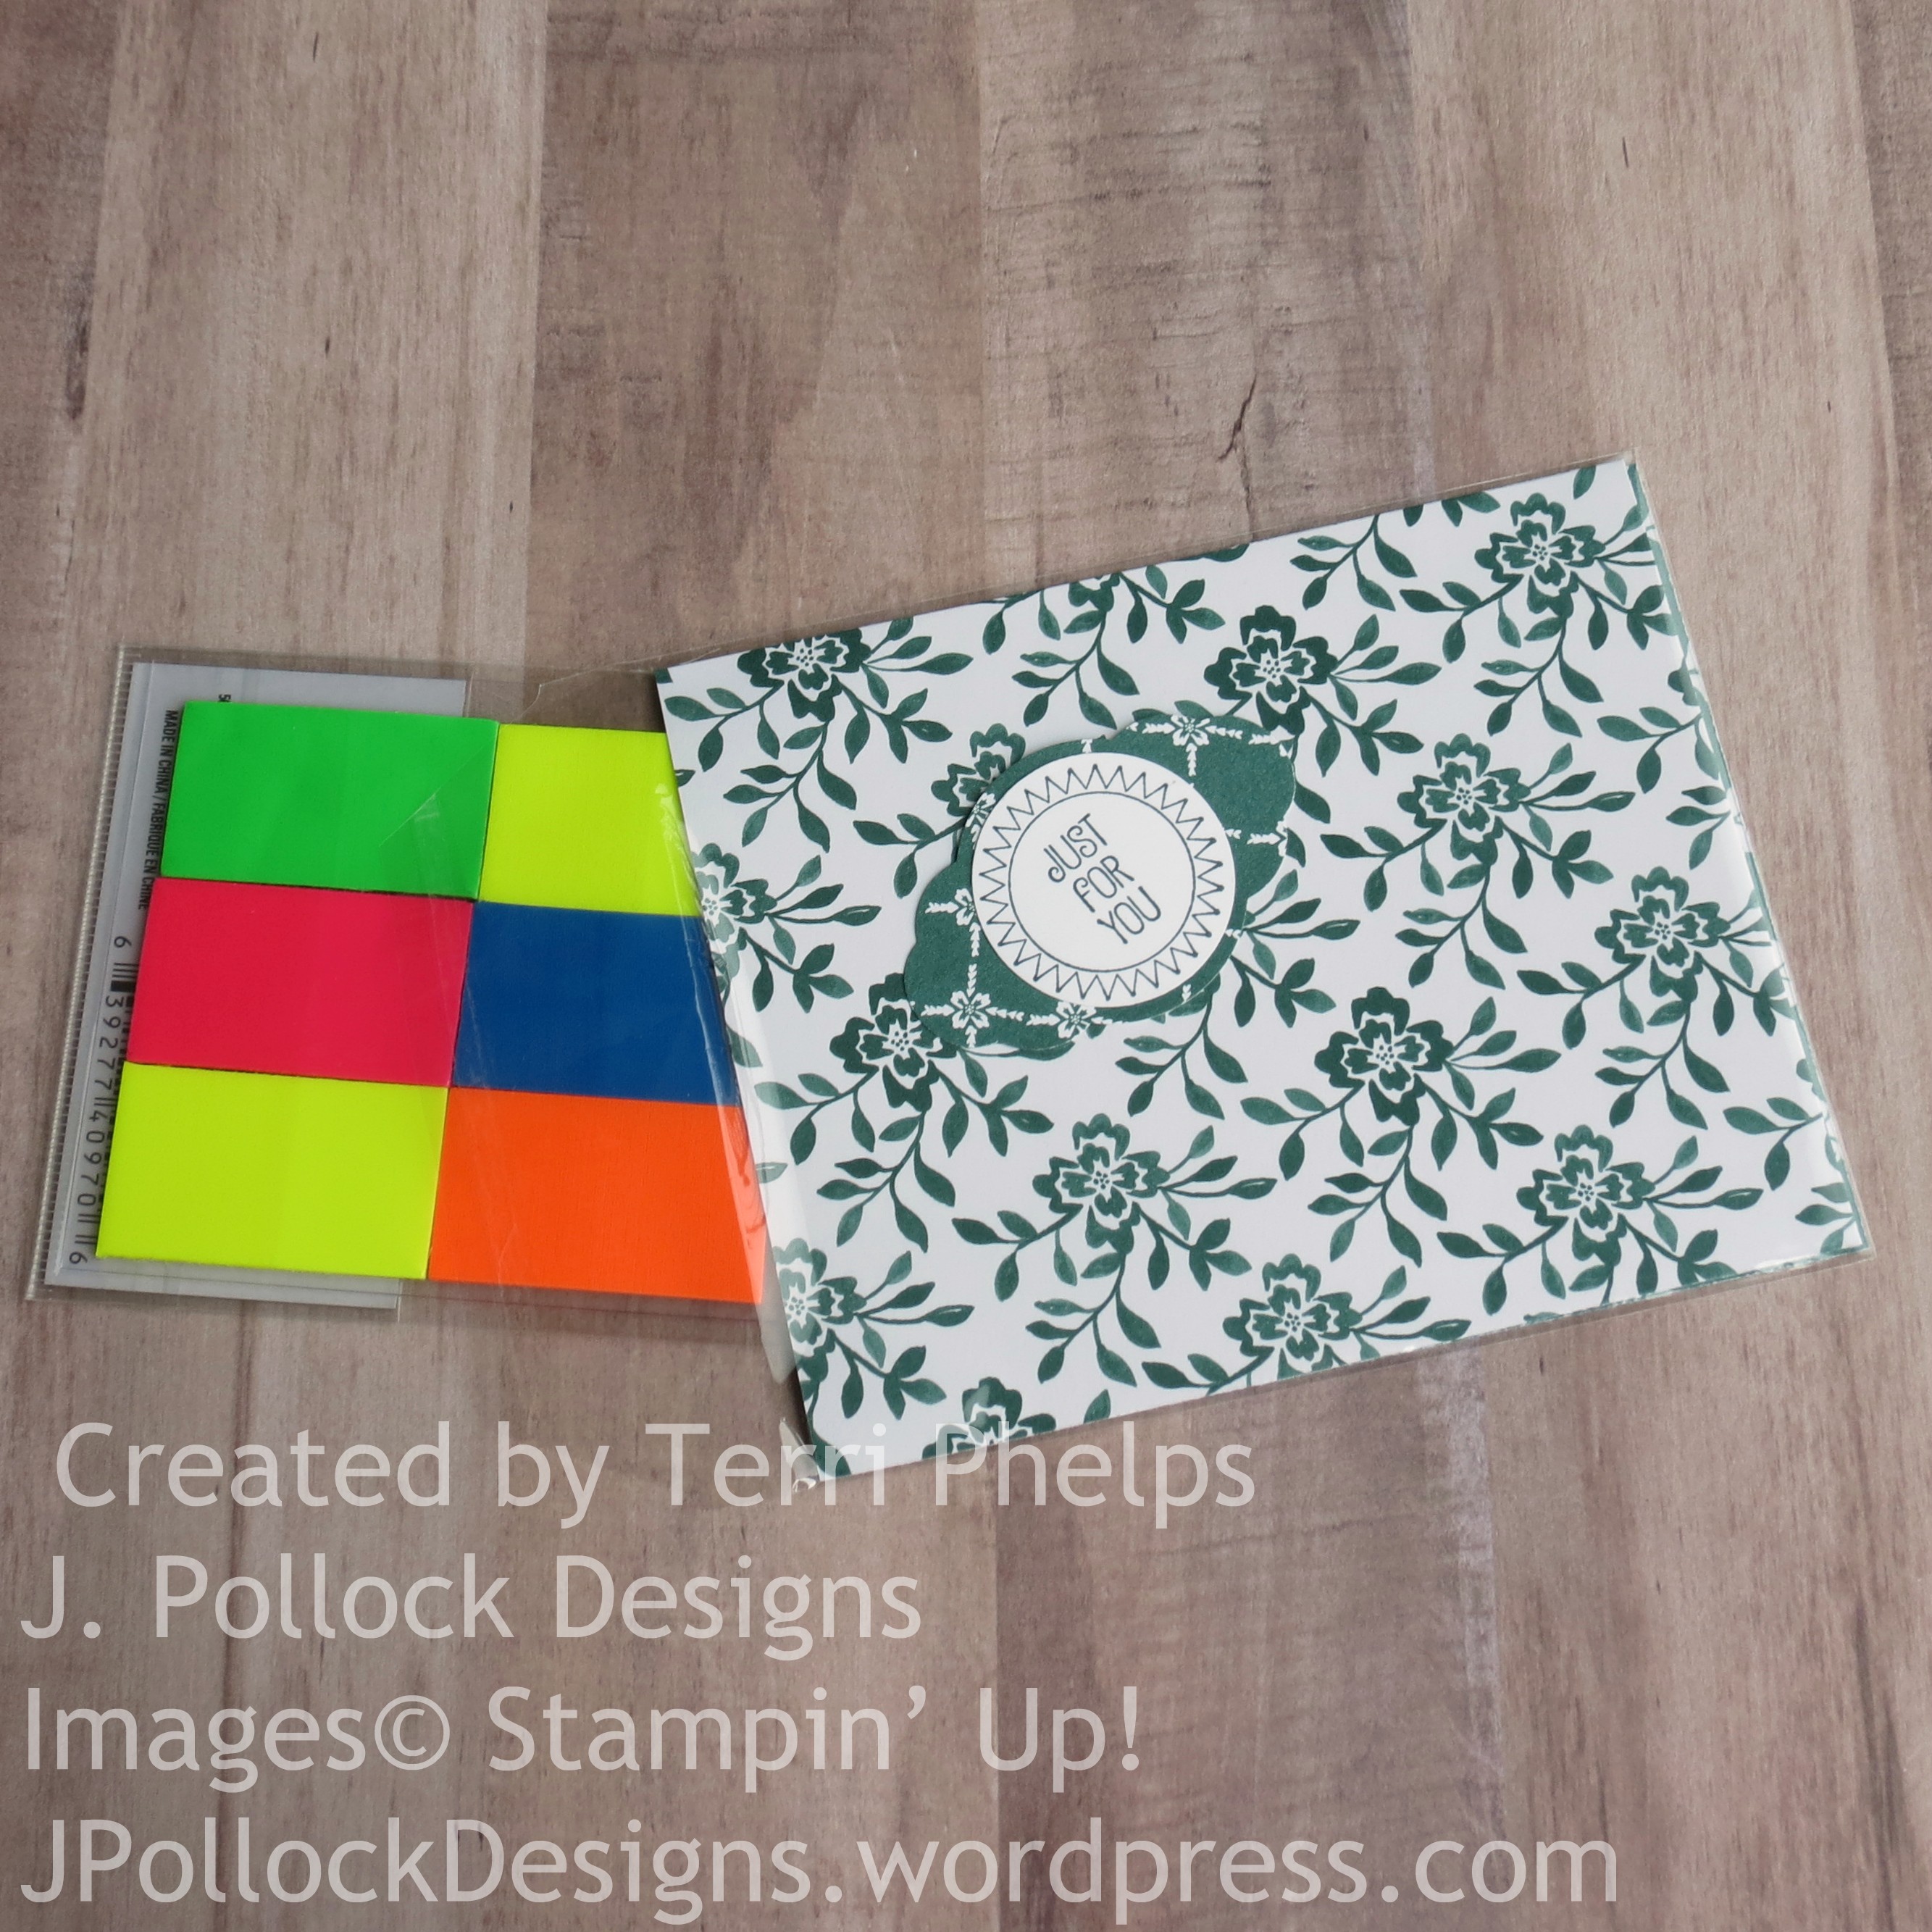
This past Saturday I was at a gathering of Stampin’ Up! demonstrators and we made these fun projects. Susan Campfield always has great gatherings for her demonstrators.
This first card uses the Two-Tiered Eclipse technique. Check out Susan’s post about the technique here.
These cute little guys come from a new stamp and framelit set in the Holiday Catalog. Check out Susan’s post here about them. Just a note on them, if you don’t stamp a clean image, this is one time you can’t just flip the paper over. Check out my snowman. 🙂
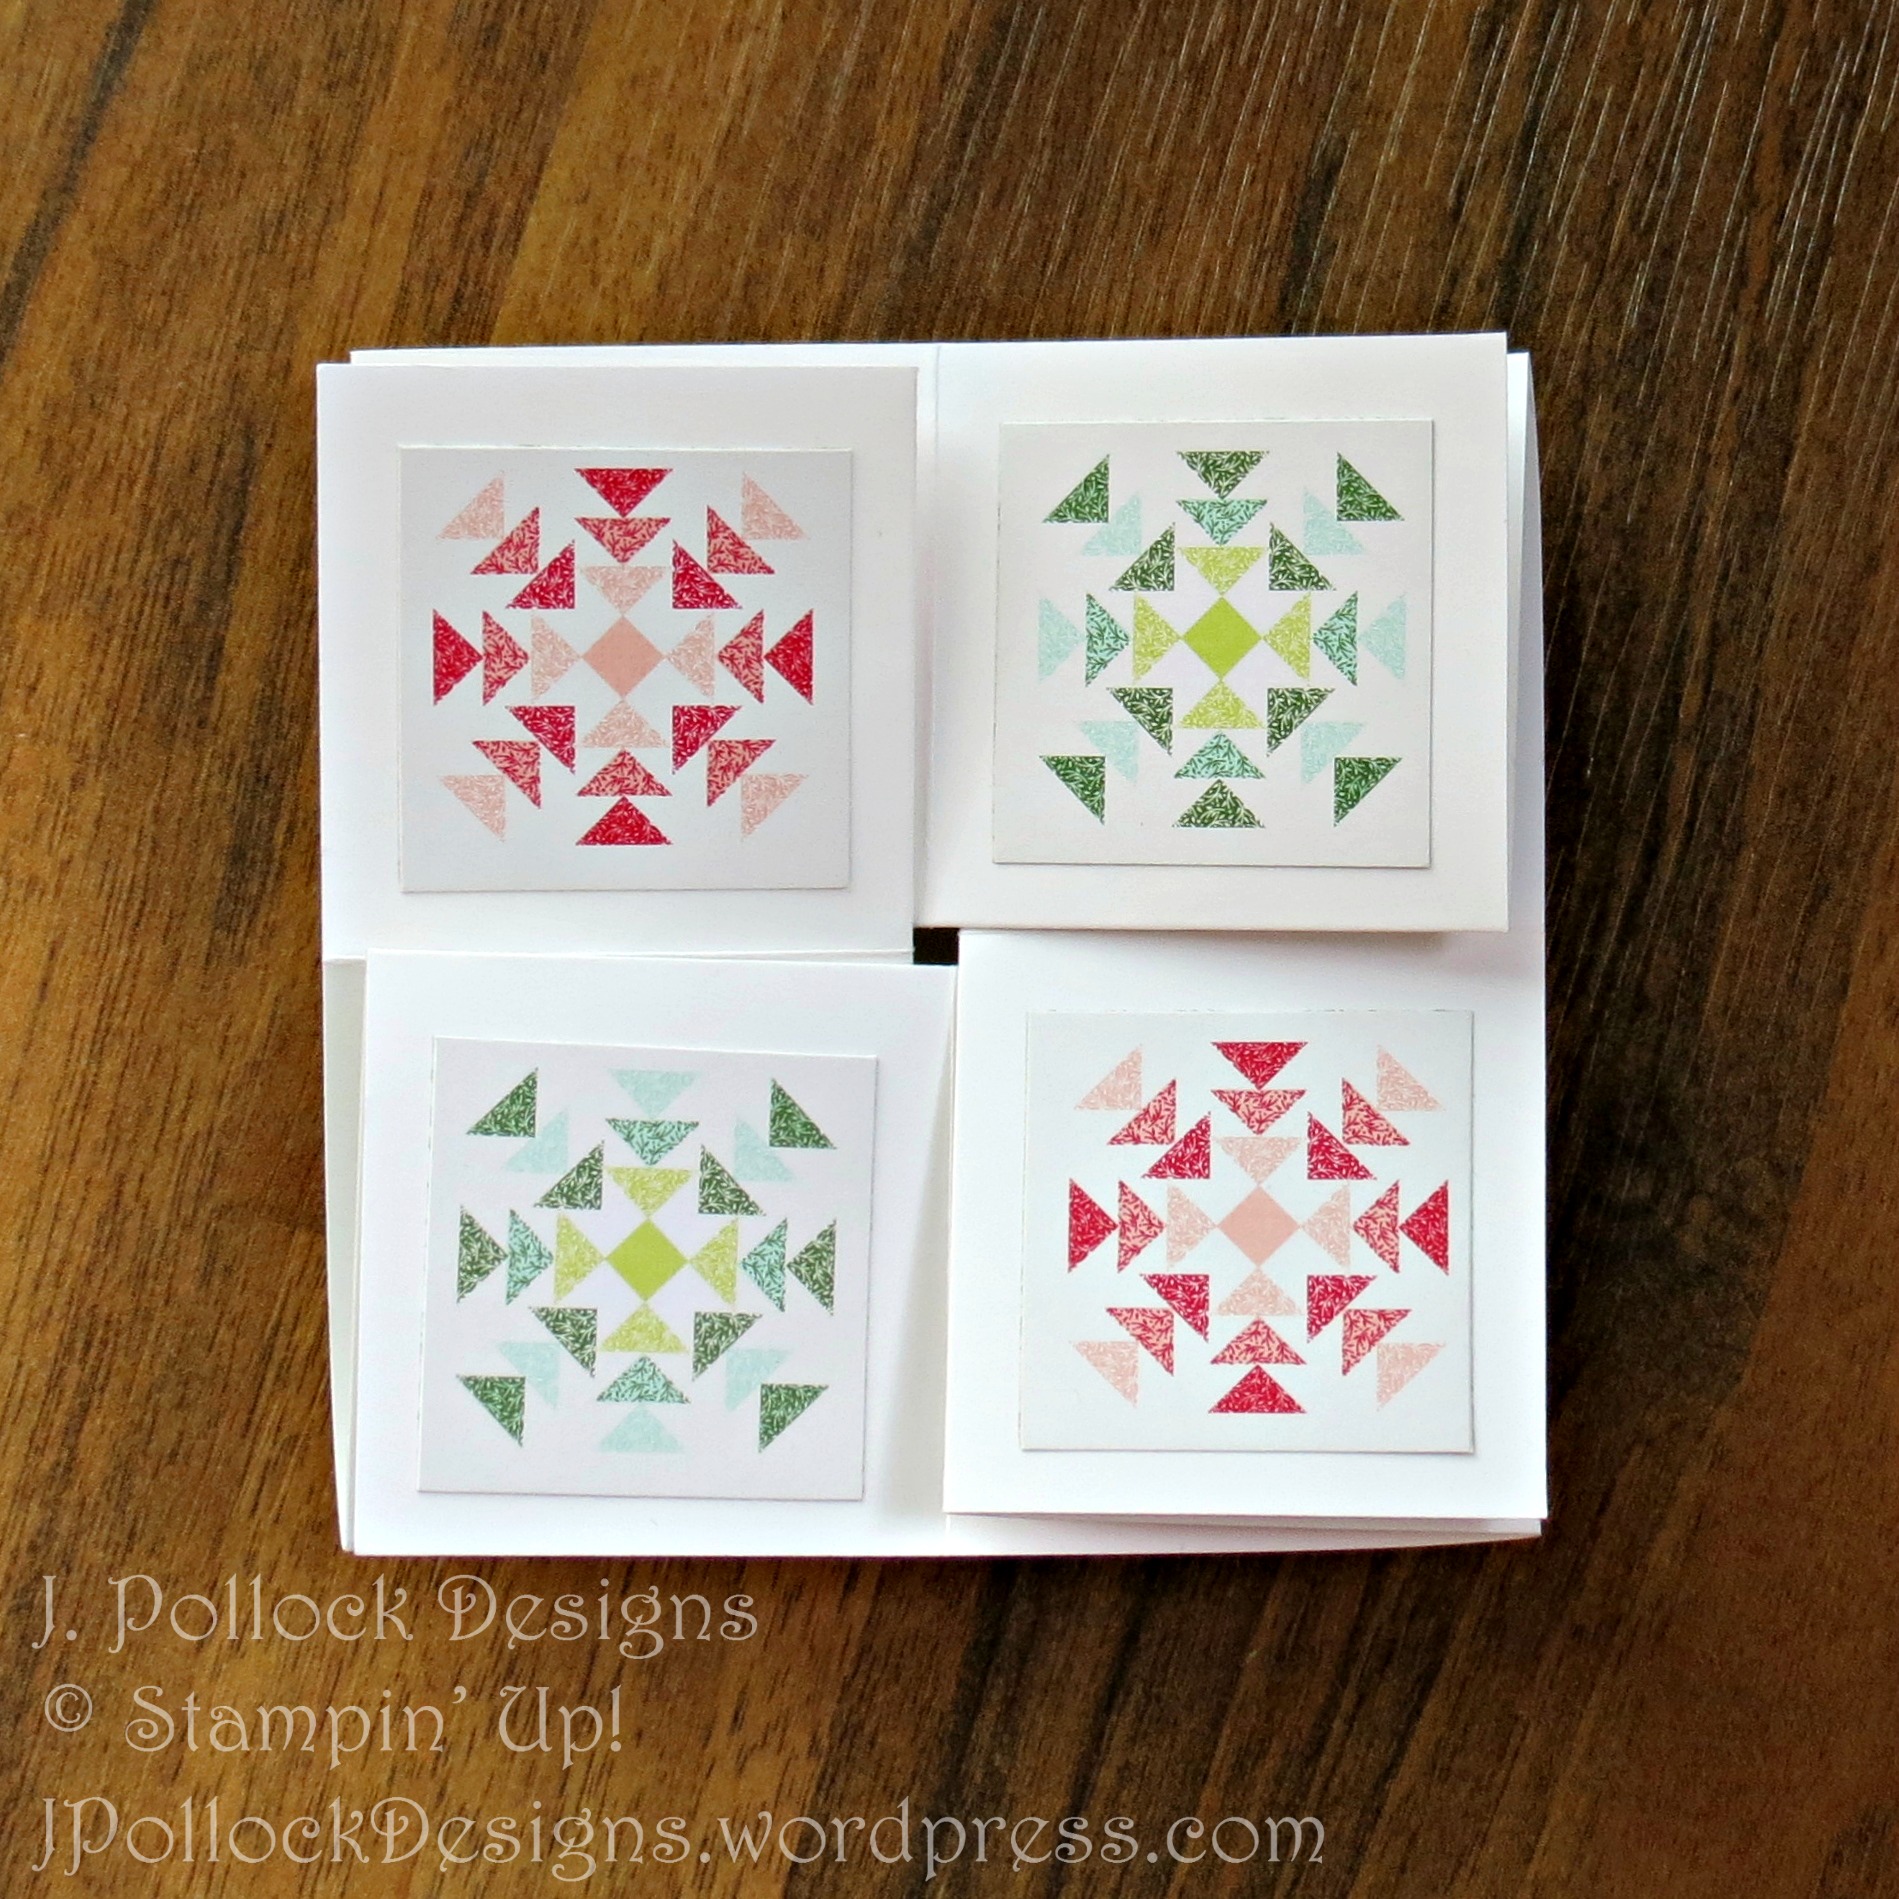
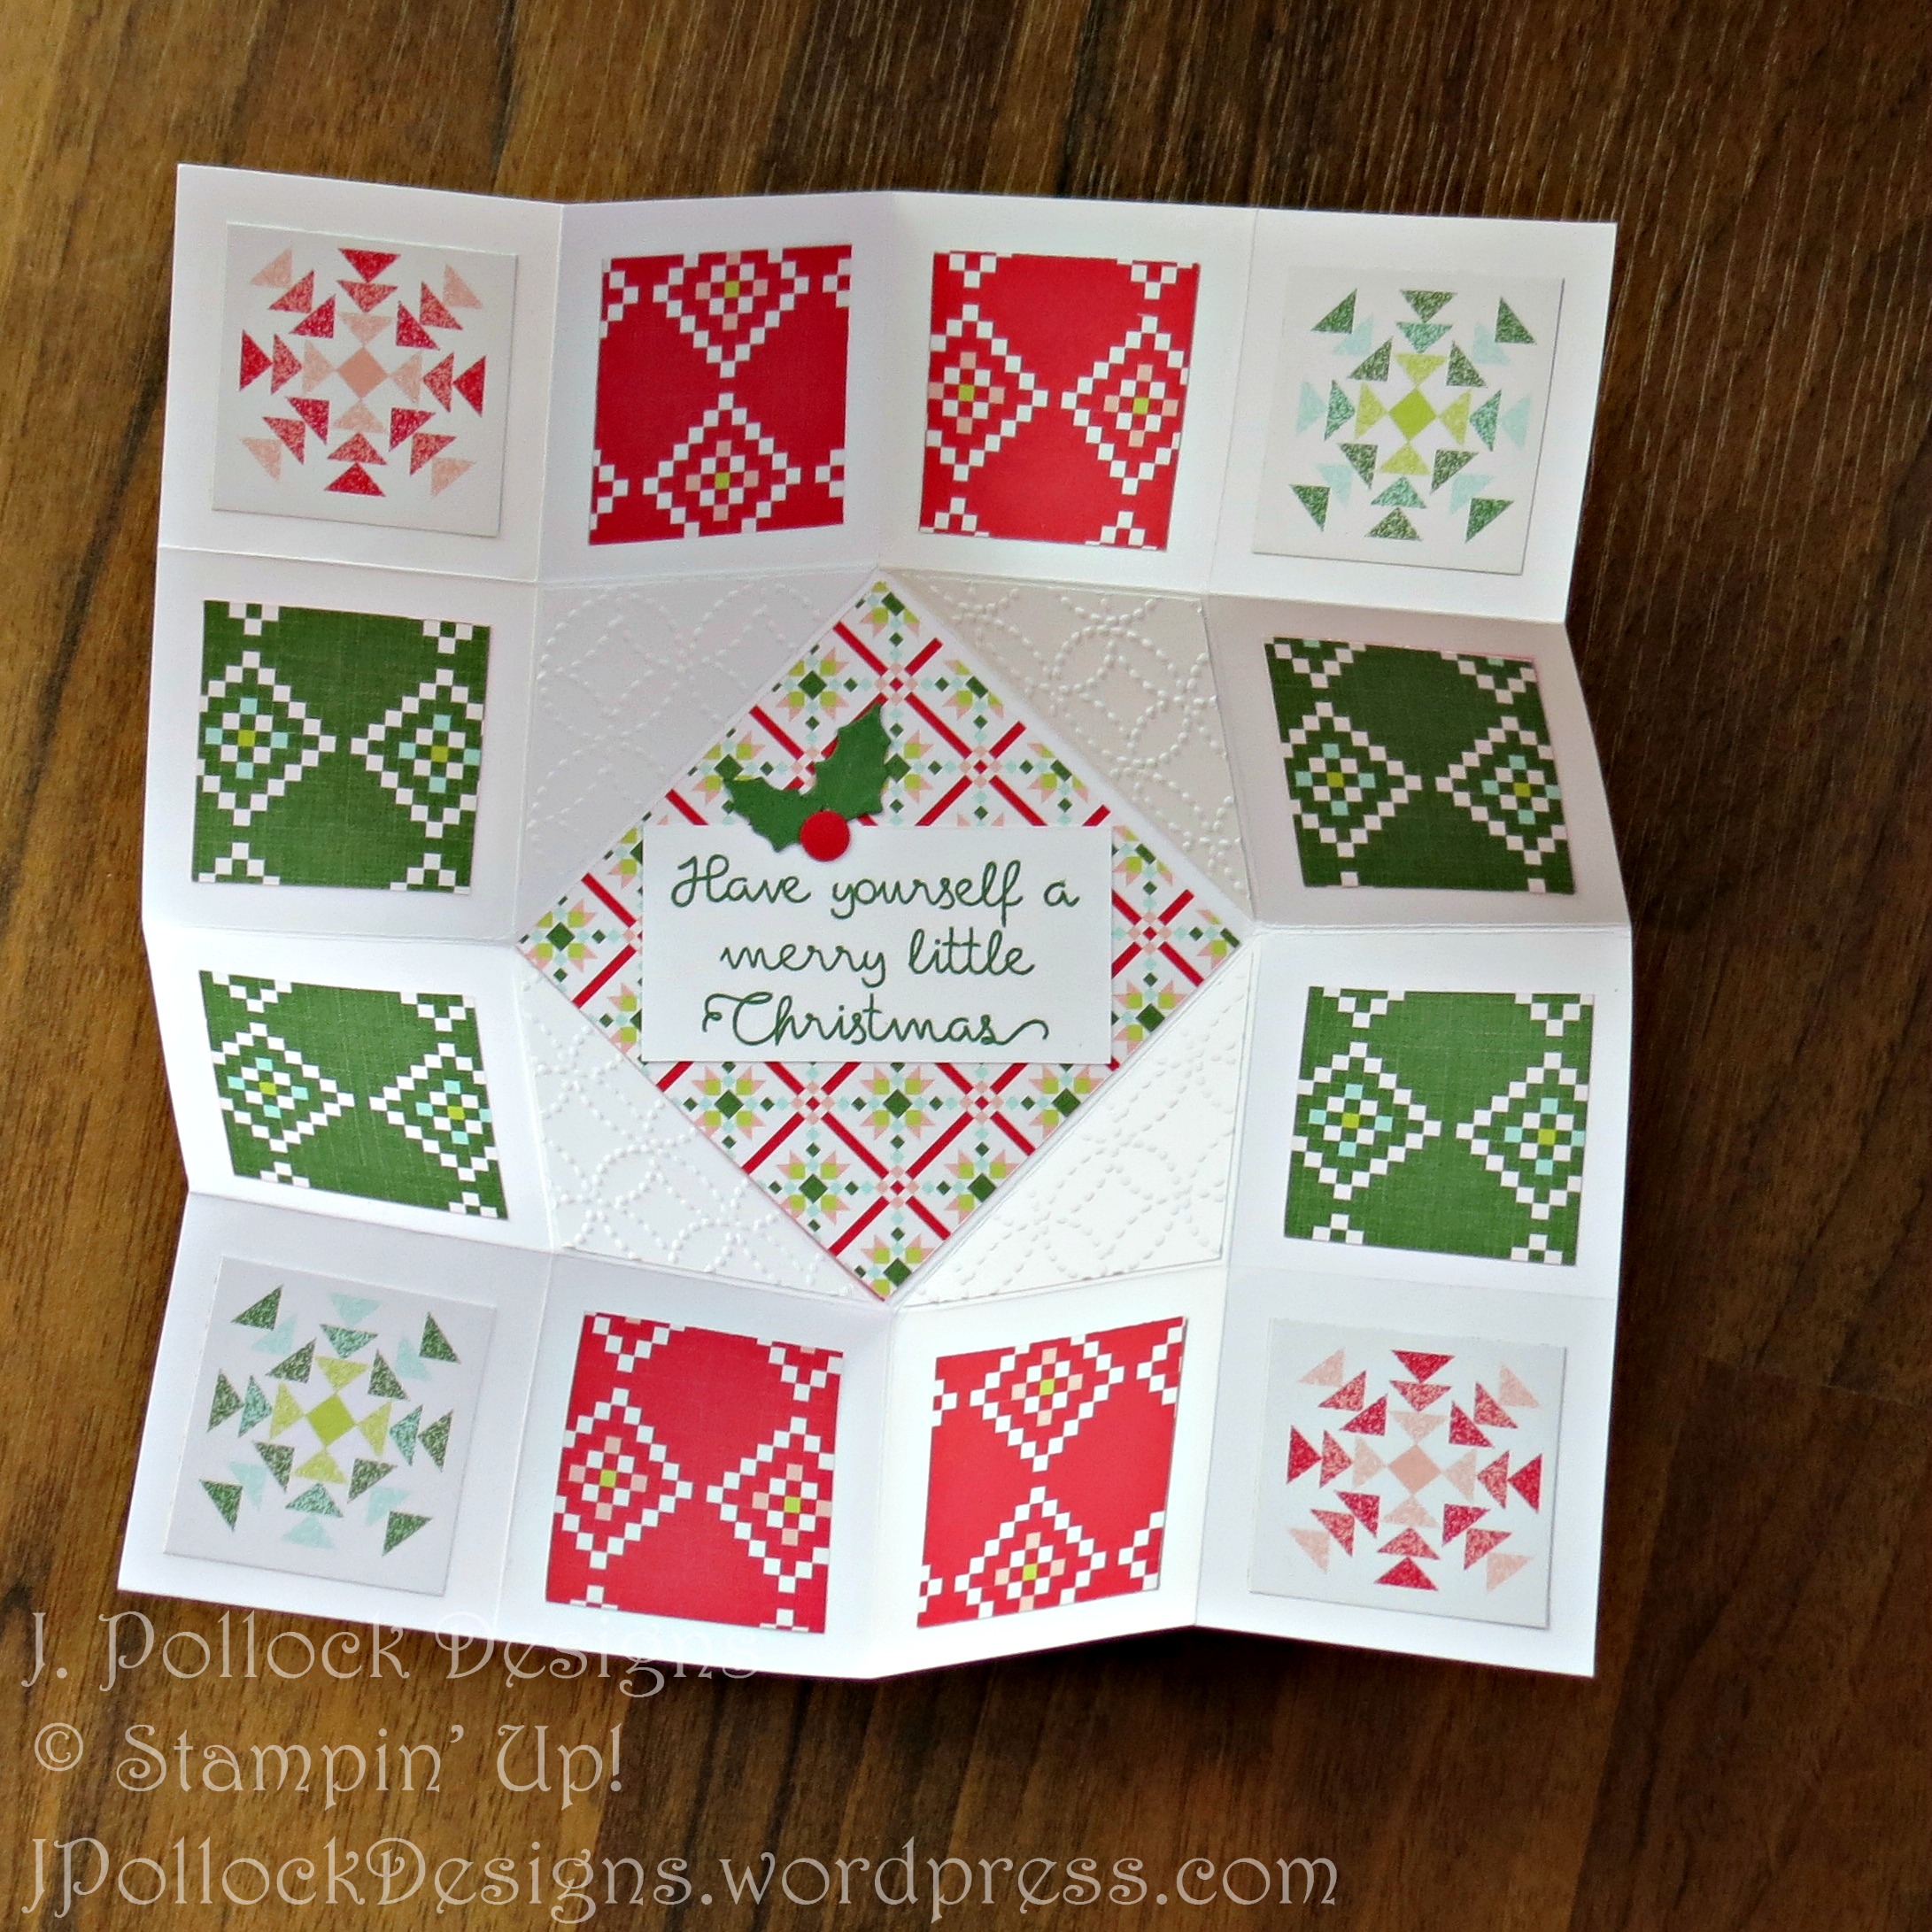
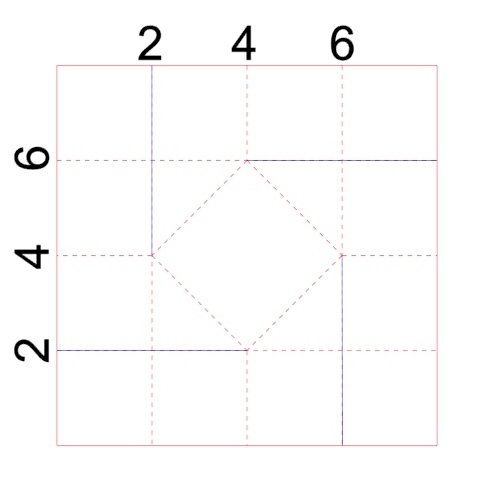
And for the last project, it’s using some of the new Quilted Christmas paper from the Holiday catalog and is a fun fold.
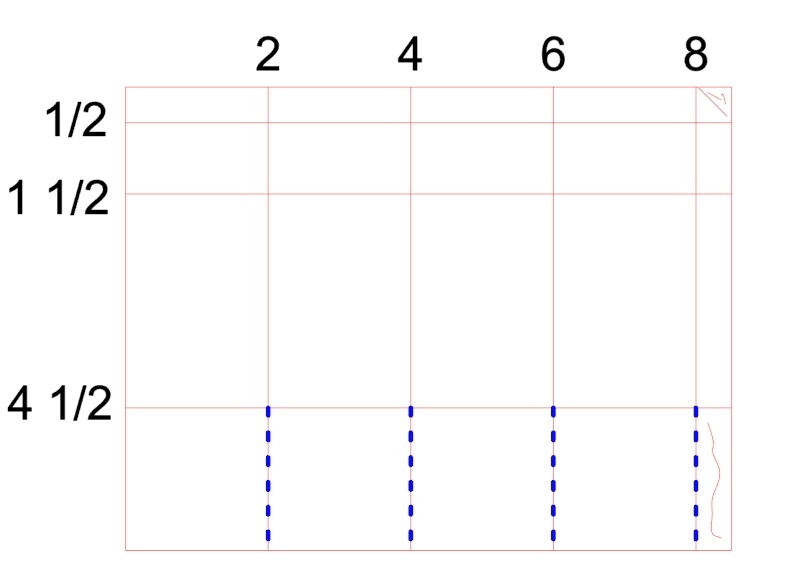
We used an 8″ x 8″ piece of Whisper White cardstock to make this. See below for scoring info. The diagonals are made using a ruler between the score lines at 4″. The blue lines fold mountain style and the others are all valley folds.
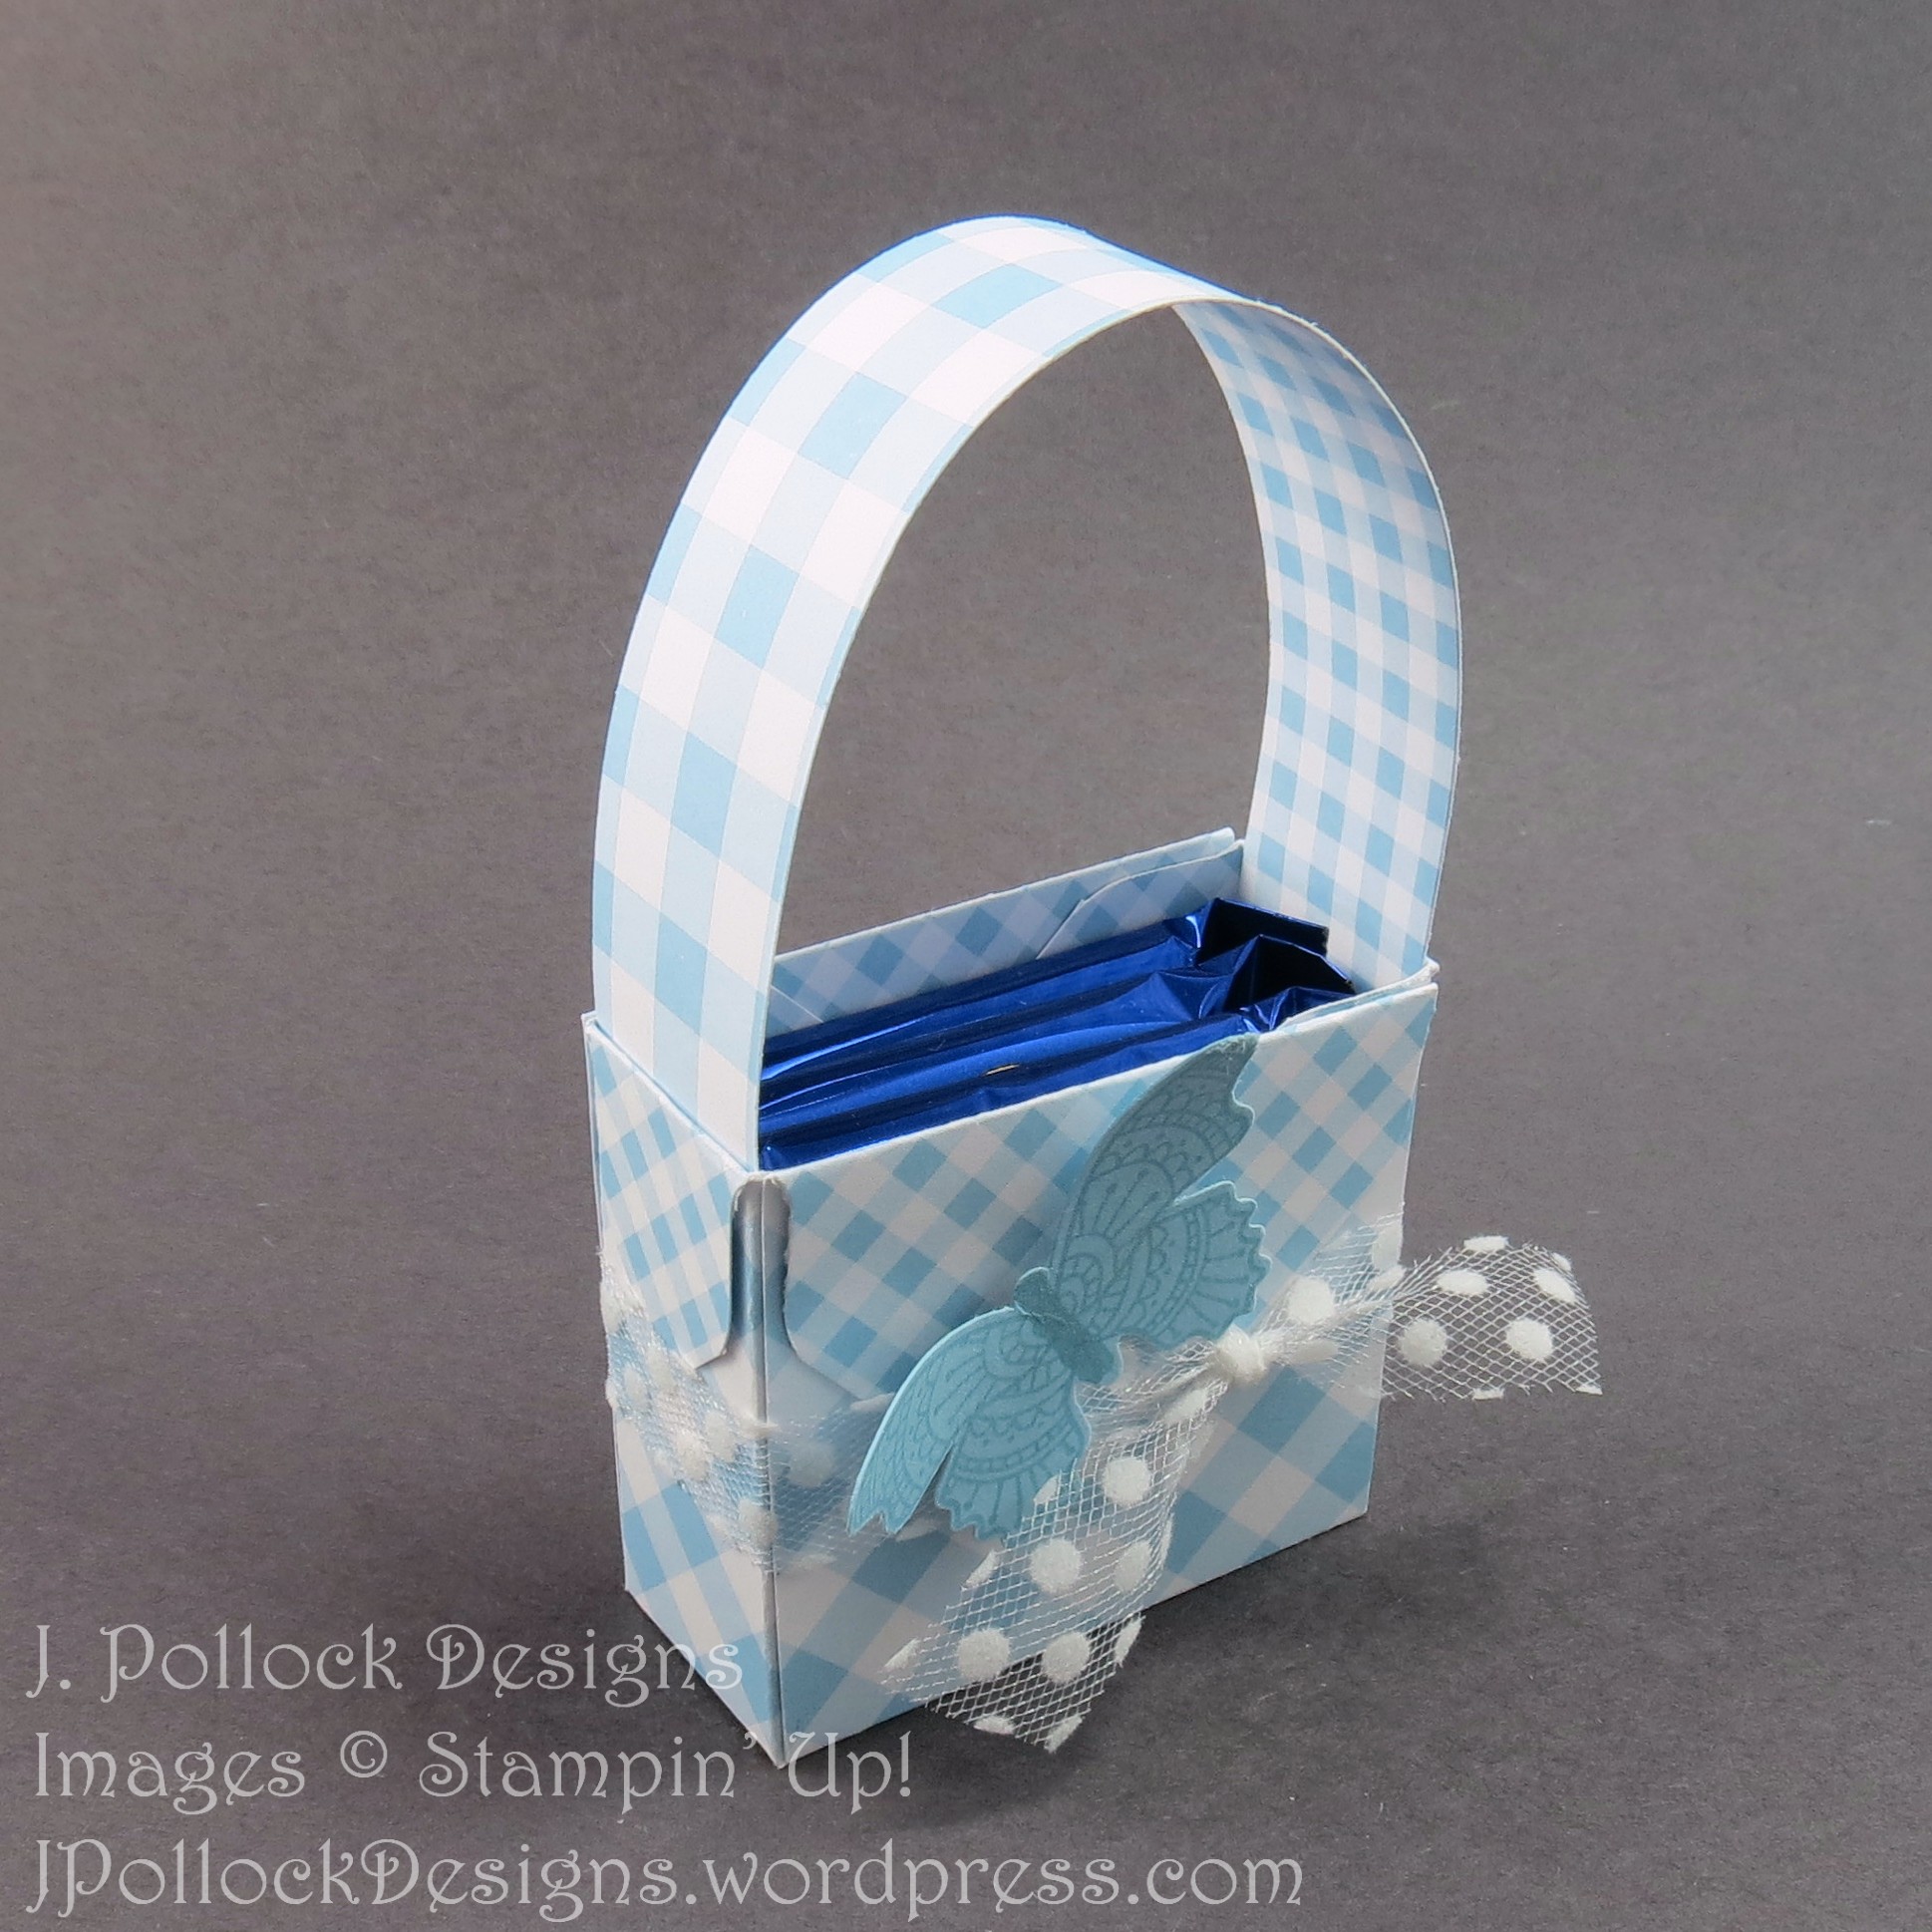
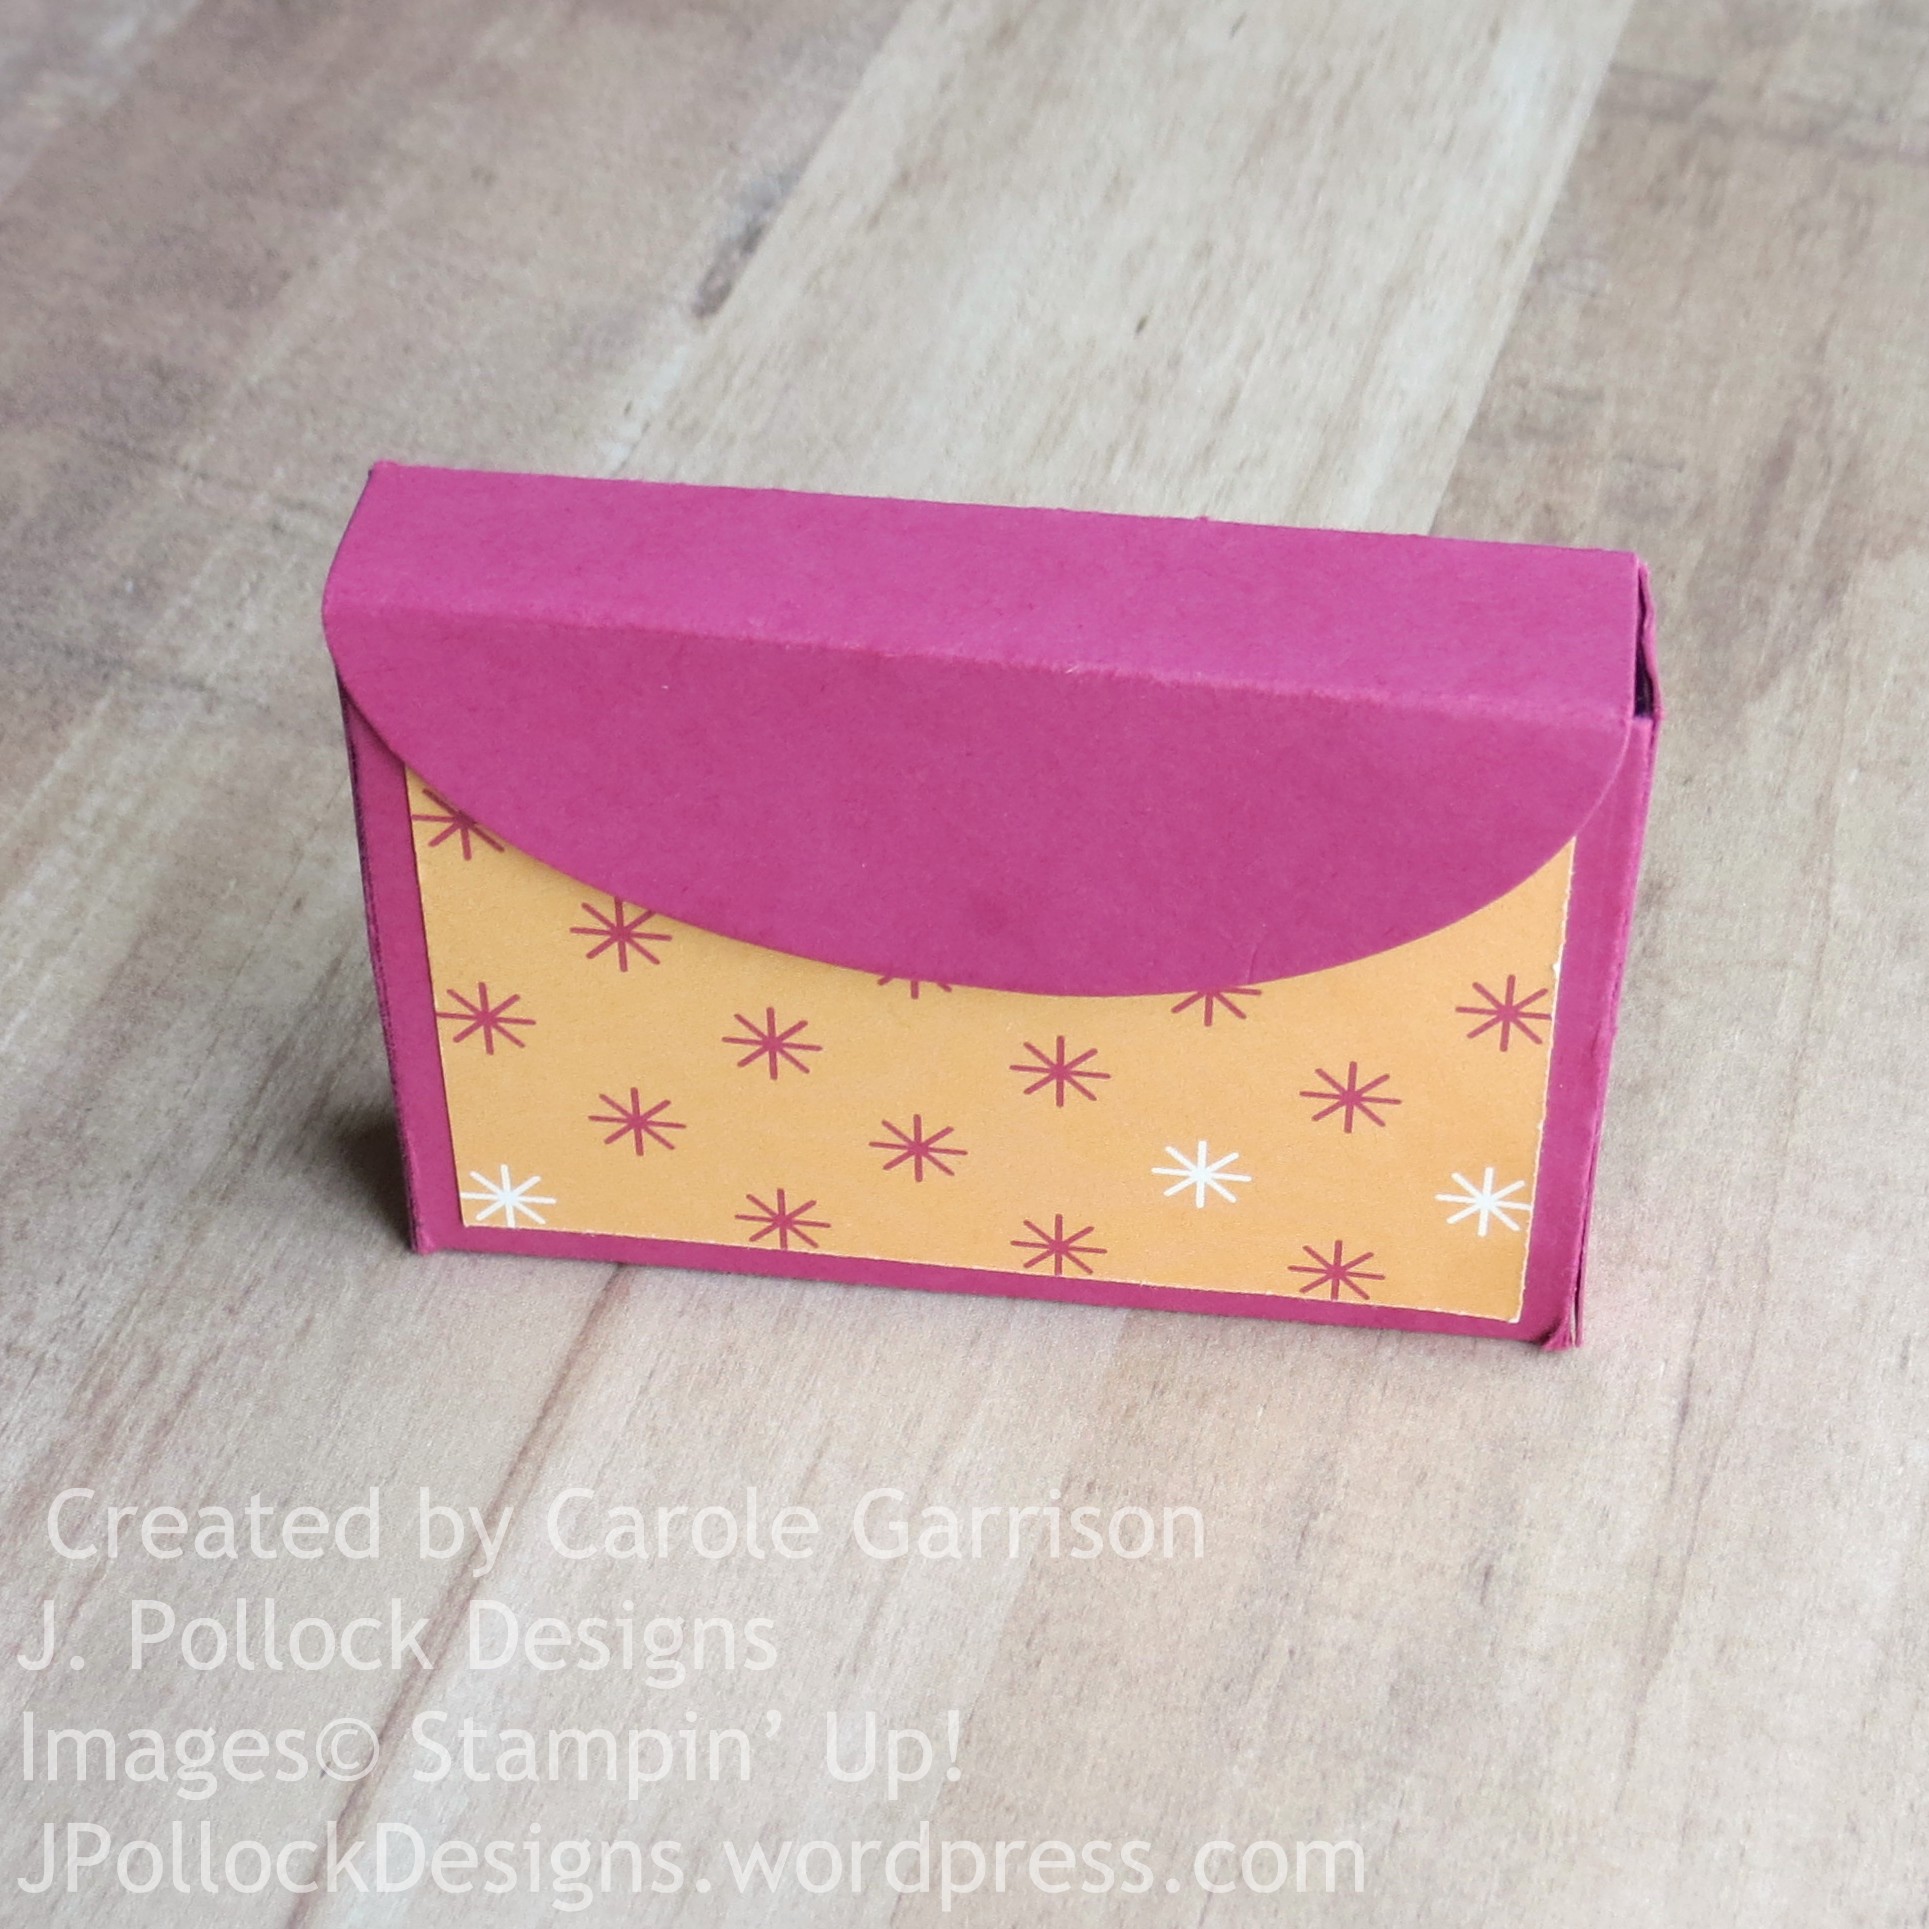
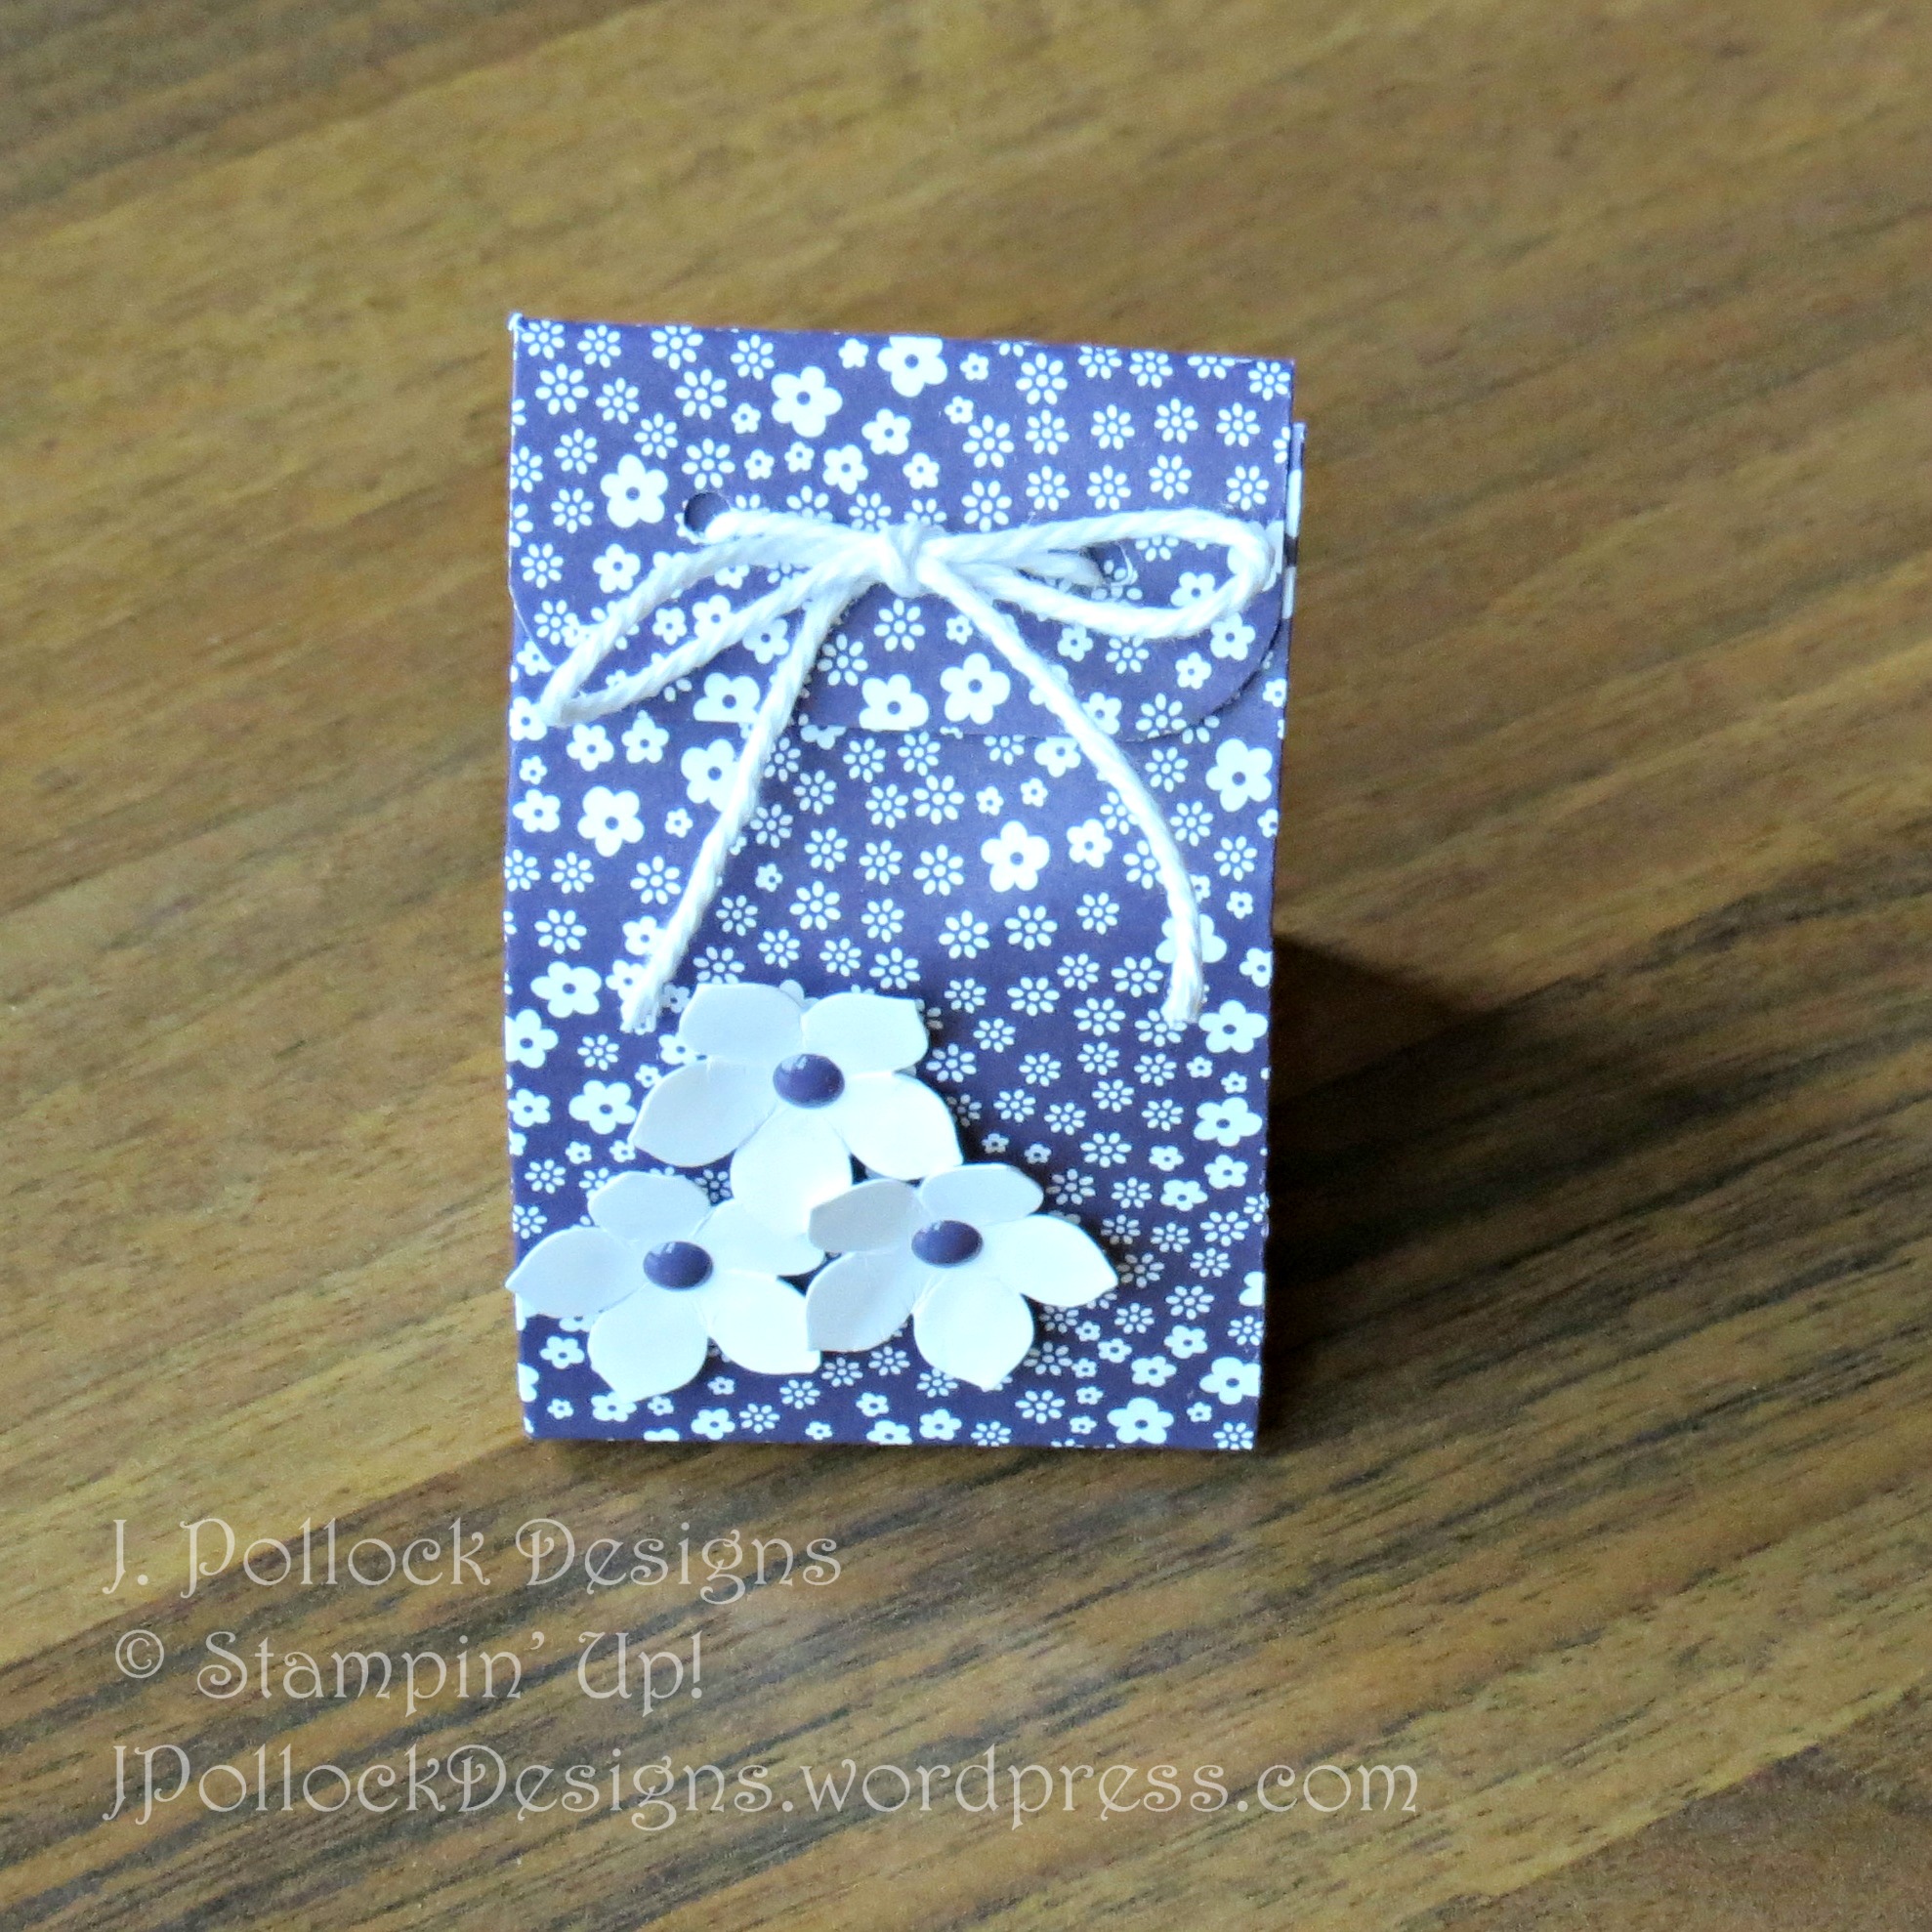
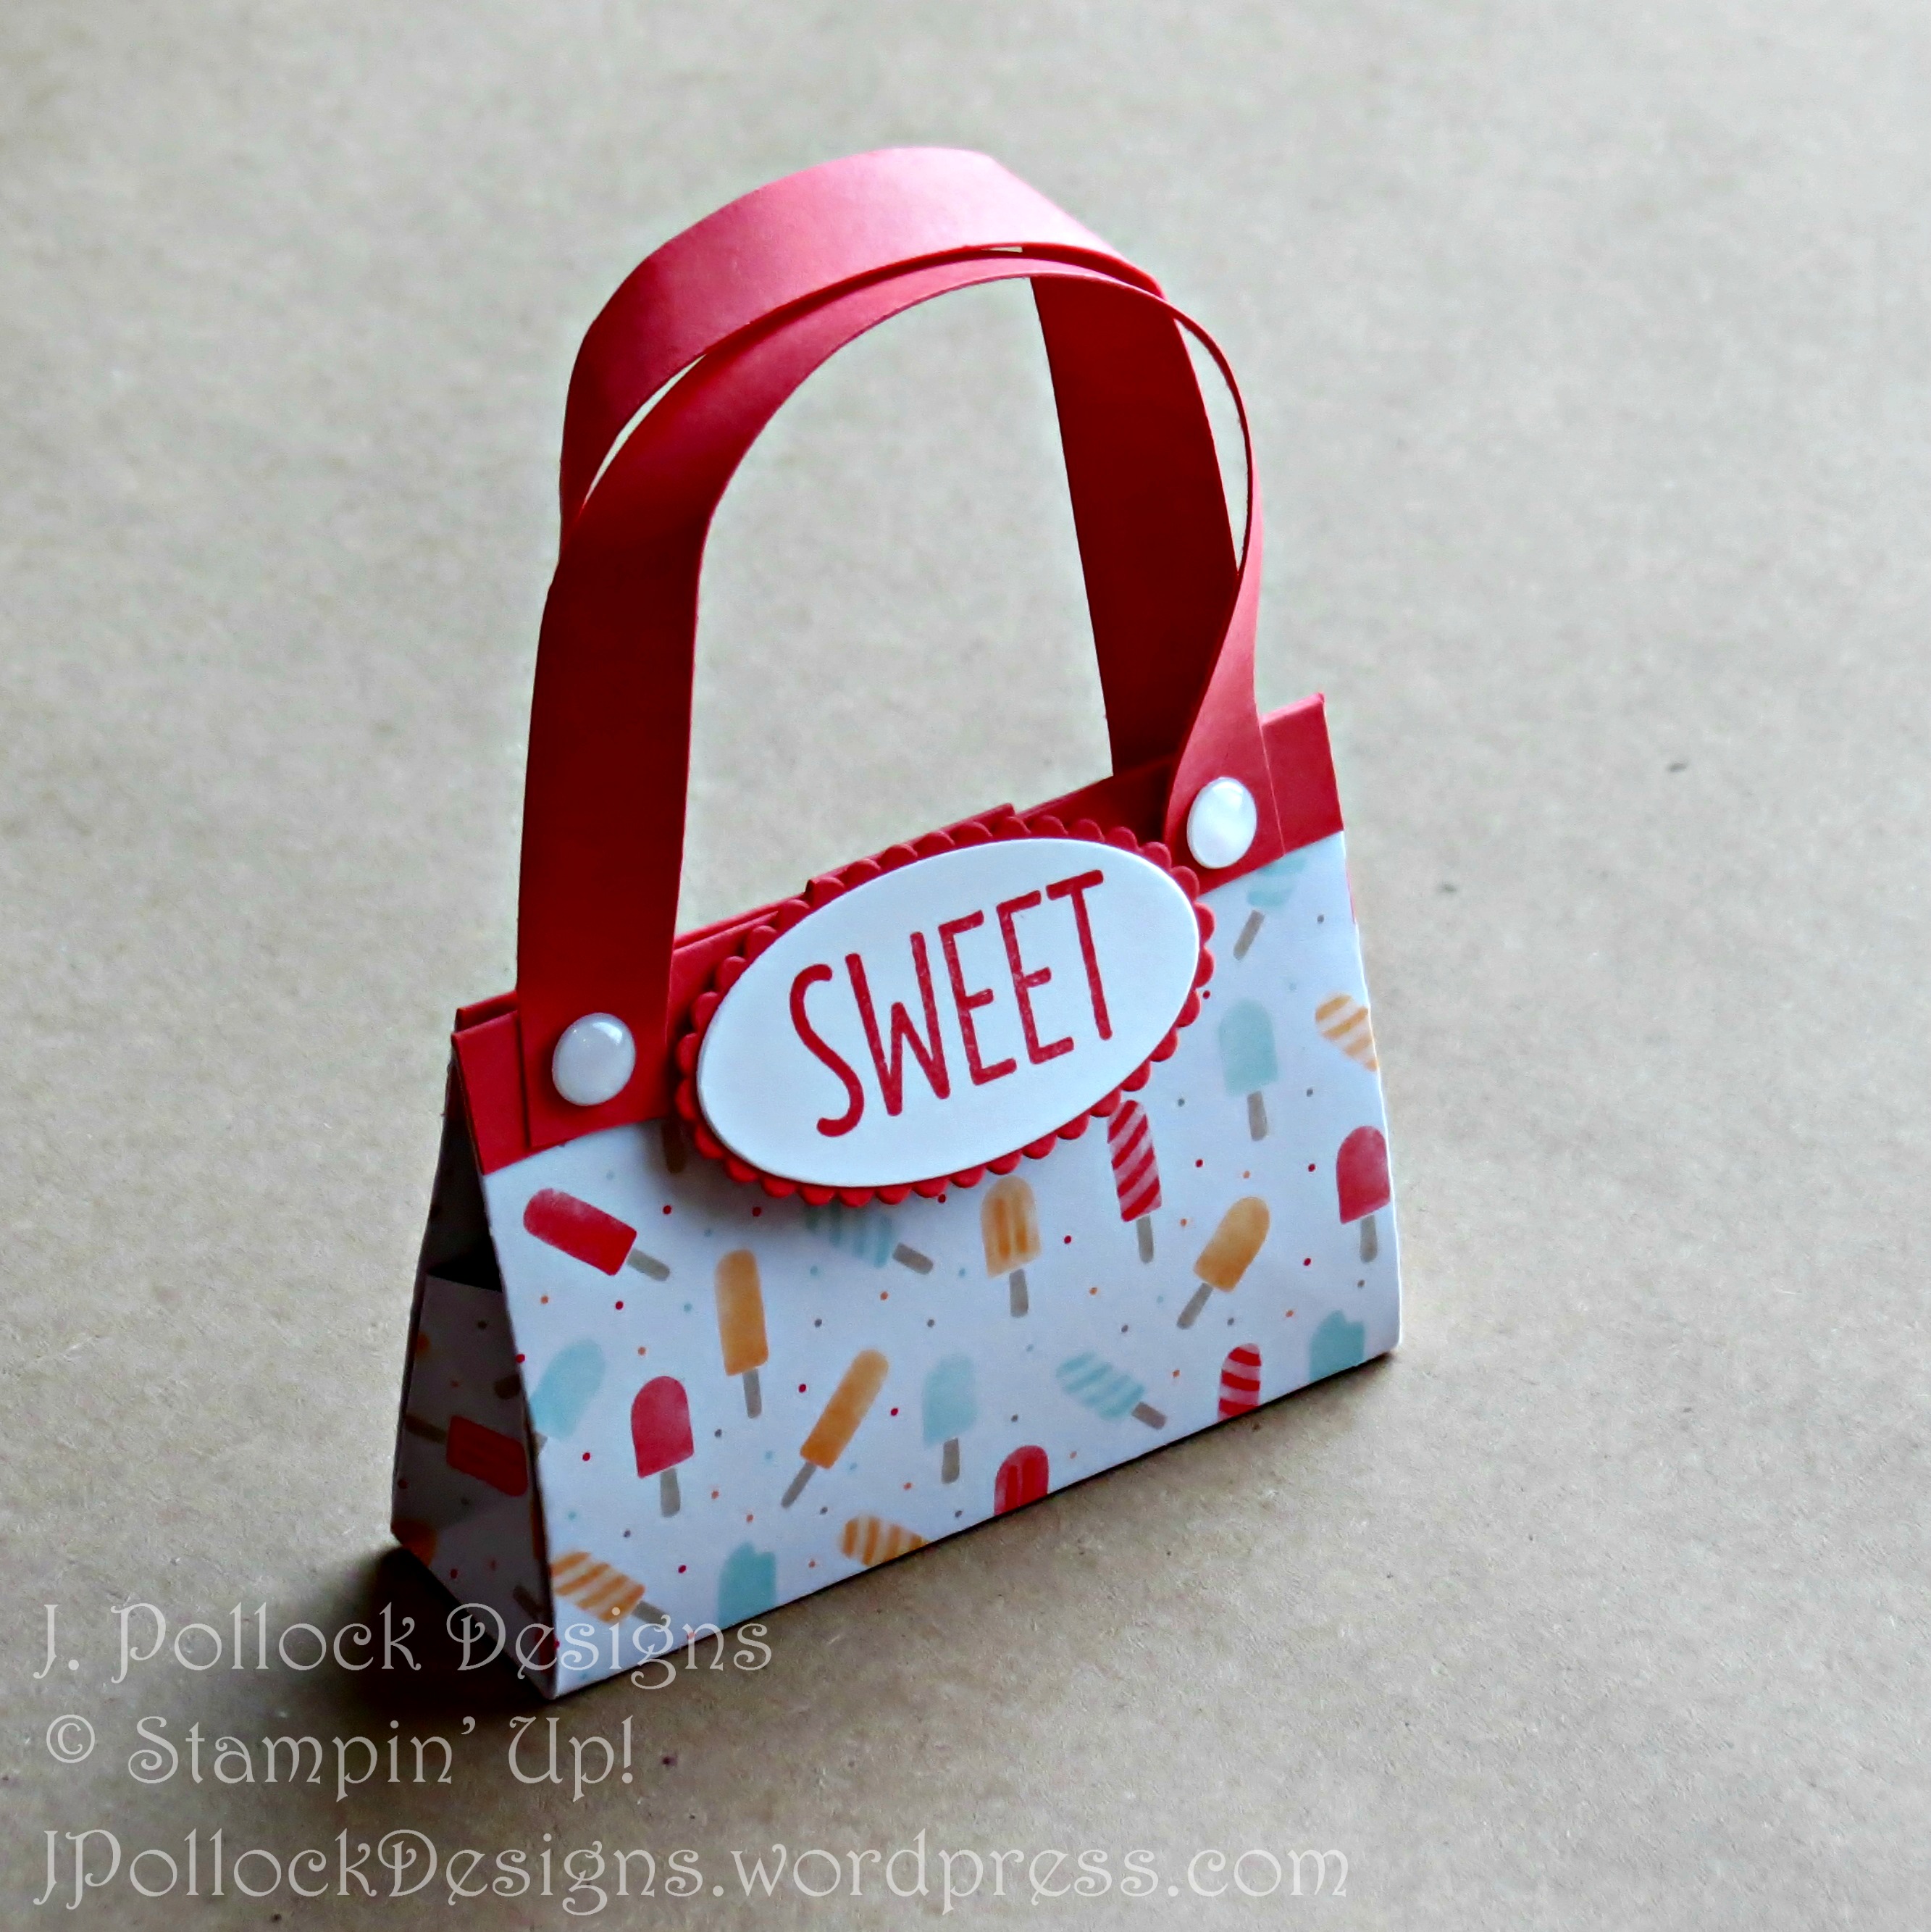
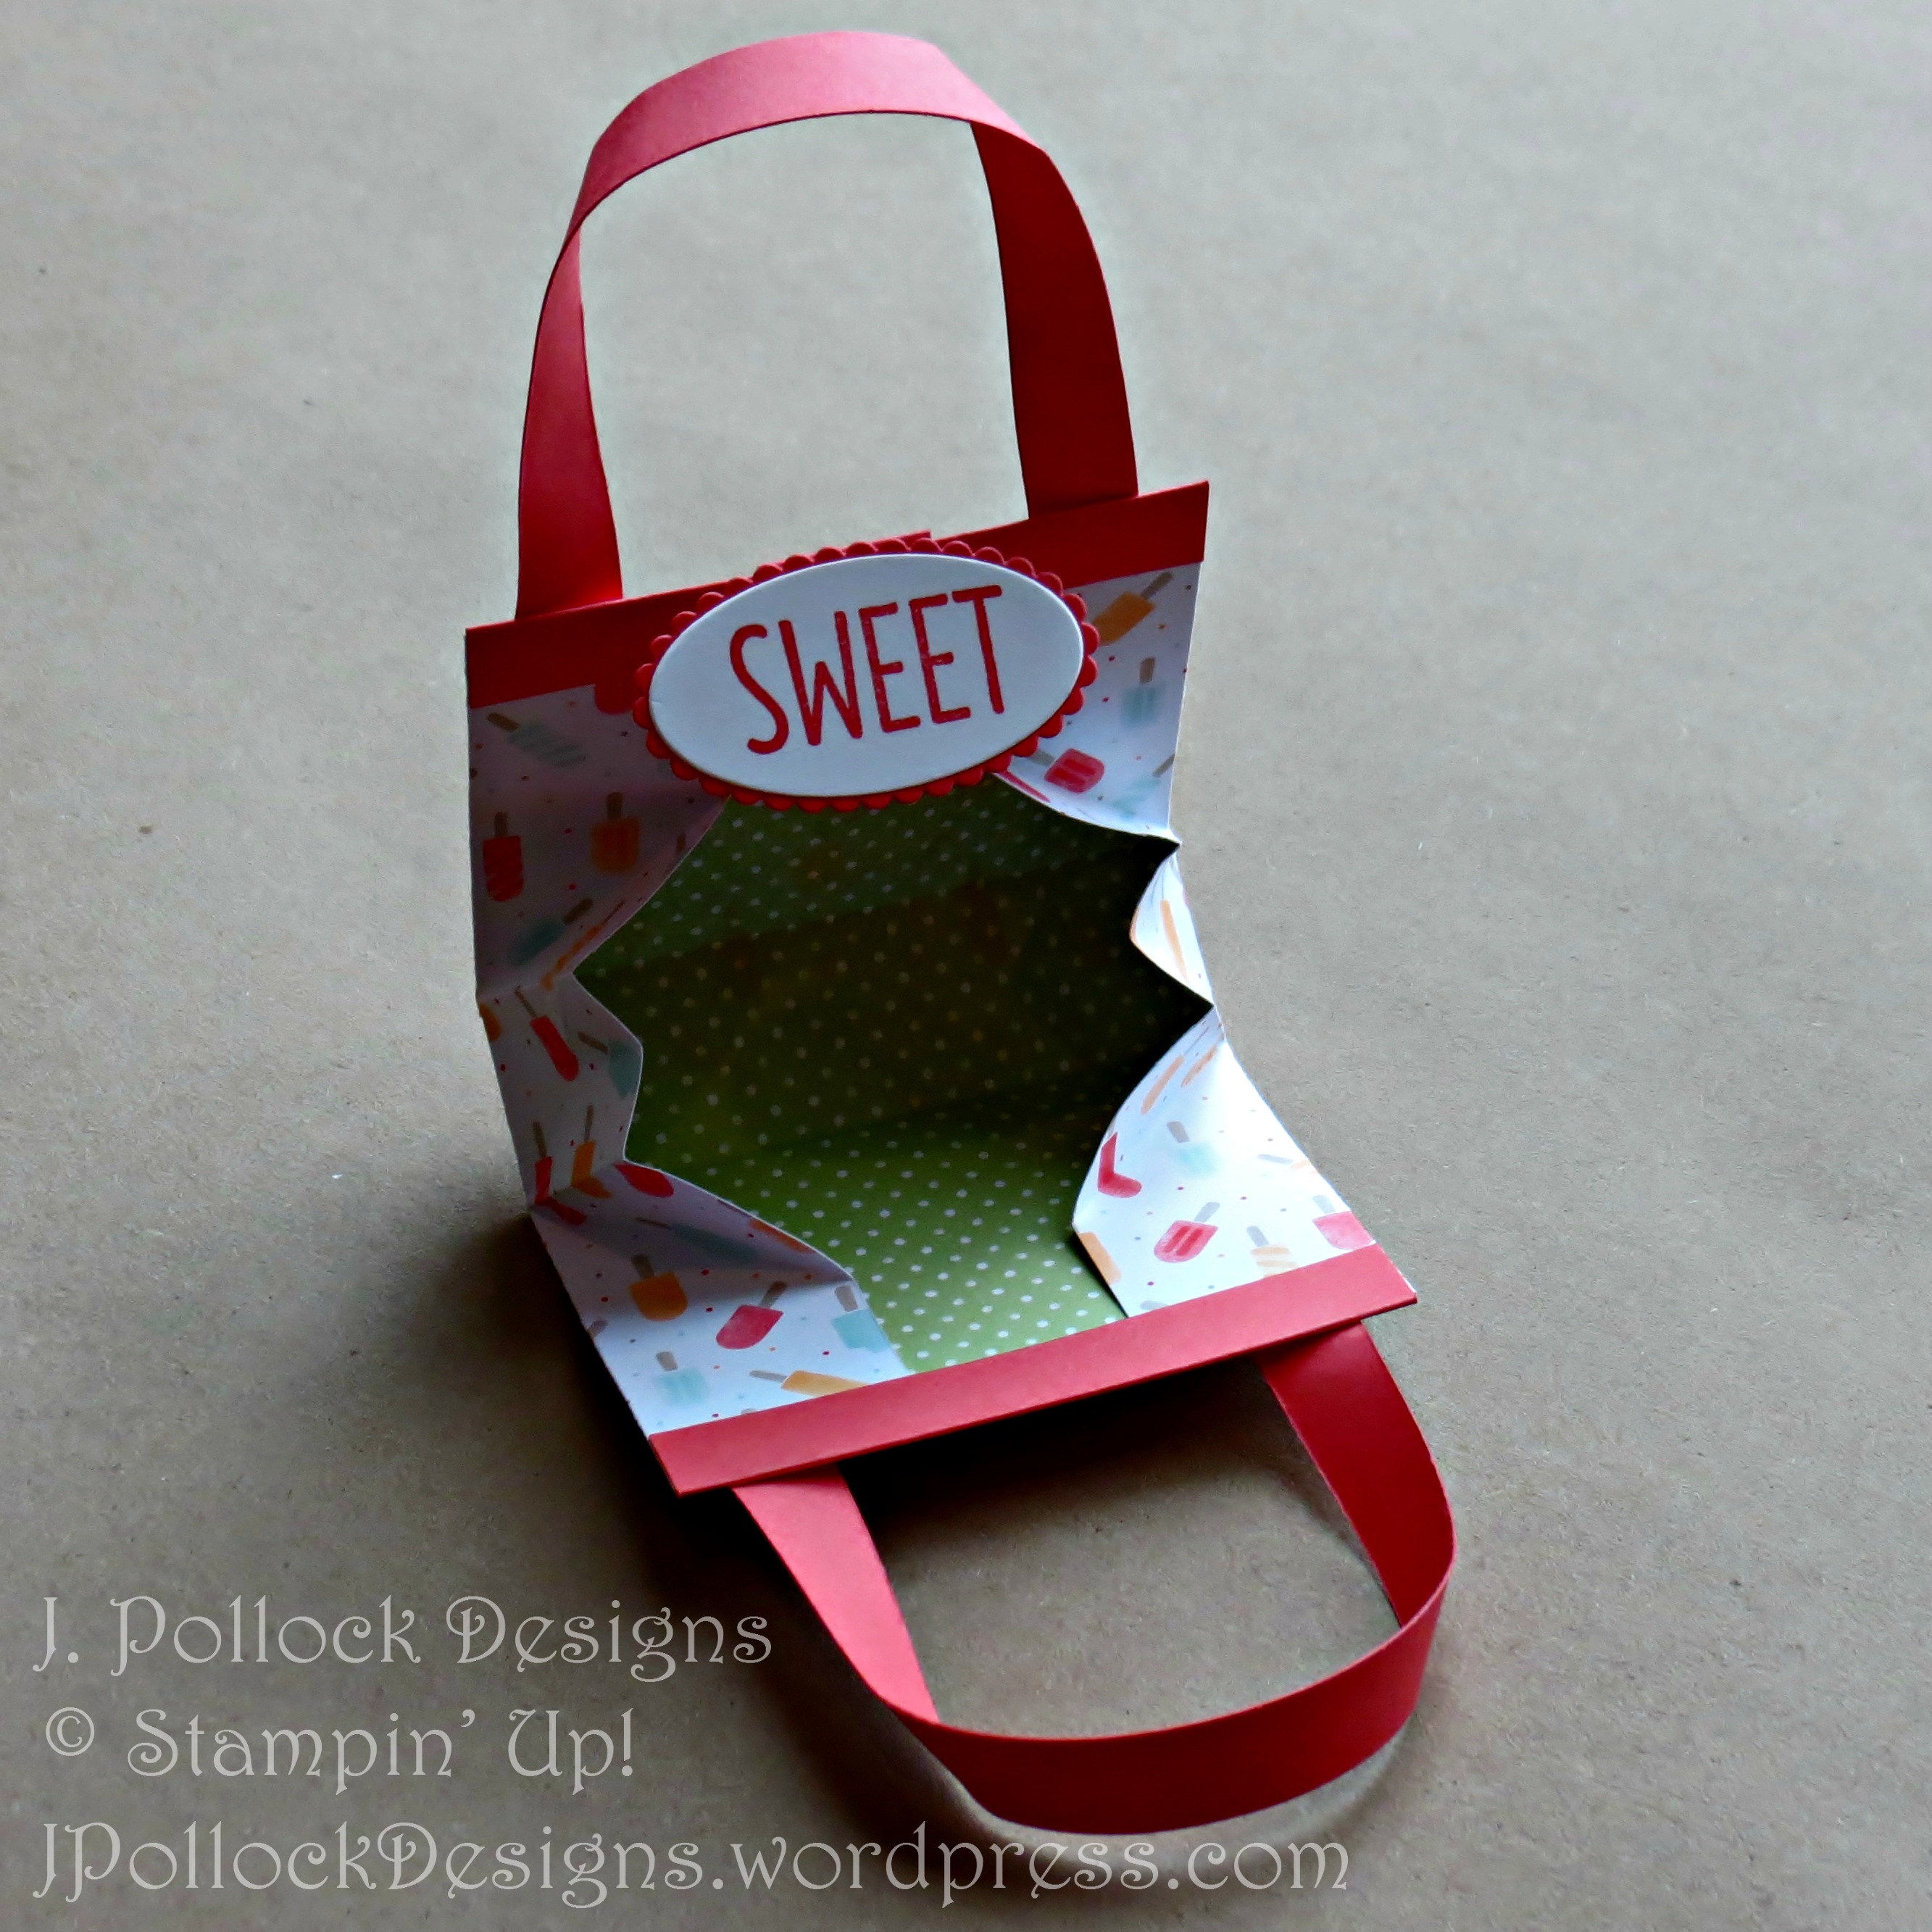
I signed up for another craft fair and it’s this May so I need to start working on items to sell. This one is from Pootles (I just love her!). I followed the directions from this post of hers.
I made this cute little candy purse based on this blog post. Just like yesterday, I would recommend using brads to hold onto the handles because they keep coming off.
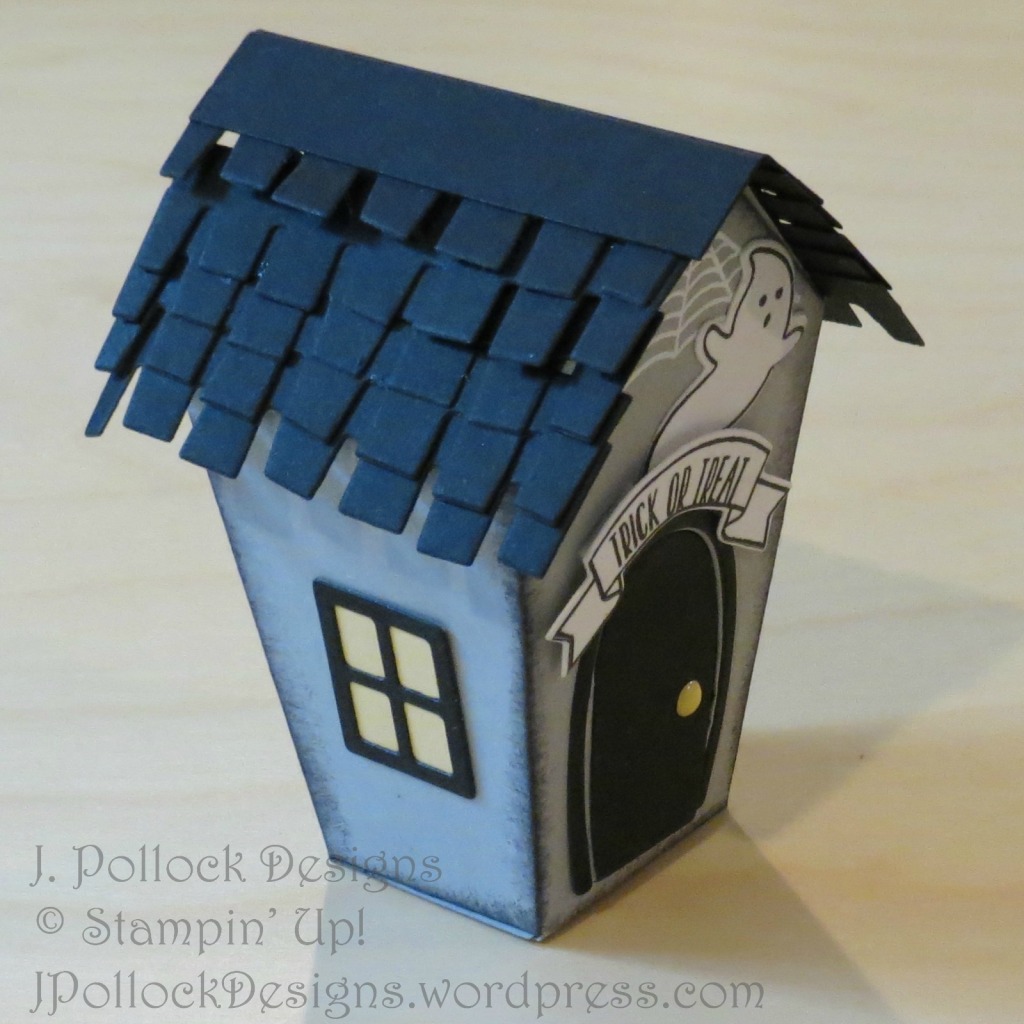
So sorry about the long delay between posts…I’ve just been mojo-less and what mojo I did have, went to birthday parties, Halloween costumes, and my classes. So I will share with you what we created in one of my latest classes today.
Measurements:
Smoky Slate
5 ½” x 8”
Basic Black
5 ½” x 5 ½”, 1’ x 2 ½” scored at ½” (halfway)
So Saffron
1” x 3 ½”
Whisper White
1 ½” x 4 ¼”
Instructions:
Die cut the house twice out of Smoky Slate. Die cut the rounded door out of one of the pieces.
Die cut 10 shingles, 3 rectangle windows, rounded door frame, and rounded door out of Basic Black.
Die cut 3 rectangle windows out of So Saffron keeping the 4 insides of each.
Stamp the ghost, banner, and “Trick or Treat” using Basic Black on Whisper White and die cut.
Stamp the spider web at the top of each house piece with Versamark and emboss with white Stampin’ Emboss Powder.
Ink the edges of the house with a stamping sponge and Basic Black ink.
Adhere die-cut pieces (except for shingles) to the house and assemble the house leaving the bottom open.
Adhere shingles and 1” x 2 ½” piece of Basic Black to roof.